- TOSIZE.pt
- Do it yourself
- DIY Projects
A custom shelving unit based on 2 Ikea Ivar cabinets, by Marion
A custom shelving unit based on 2 Ikea Ivar cabinets, by Marion
Create this project yourself with sheet material cut to size by TOSIZE.pt!
Marion
Average
3 minutes
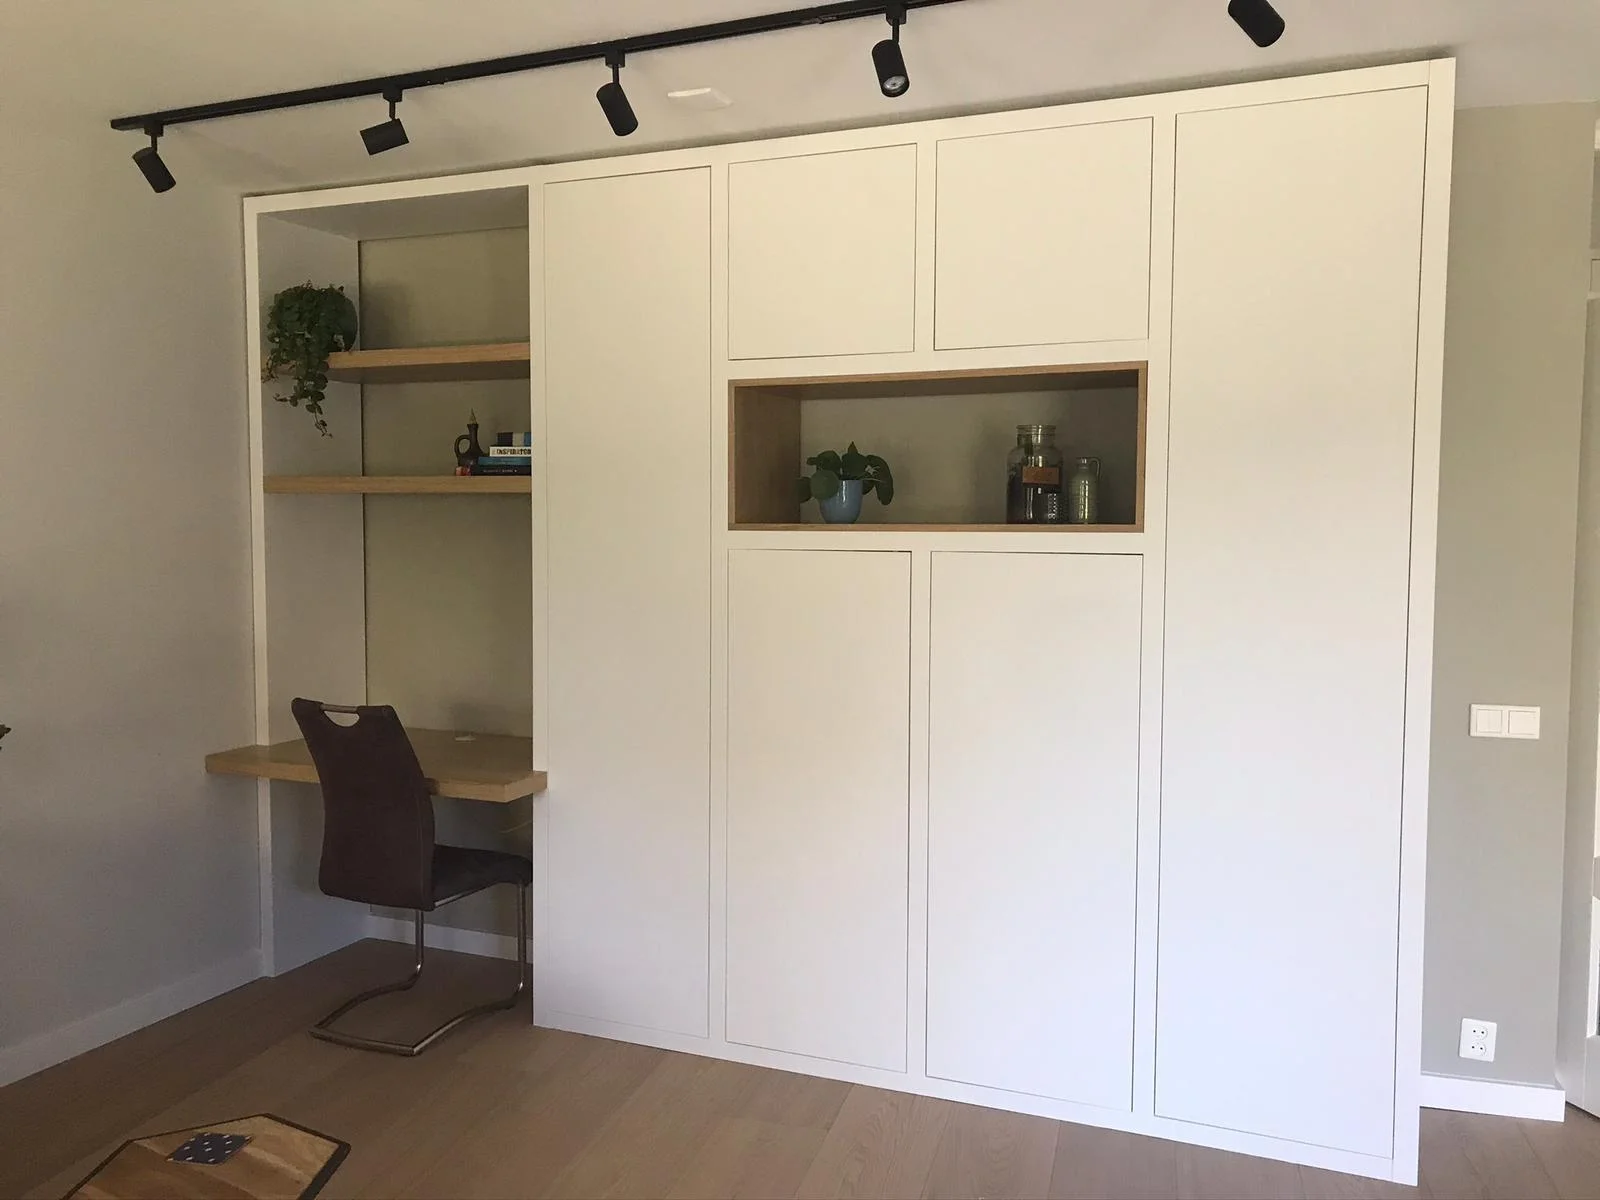
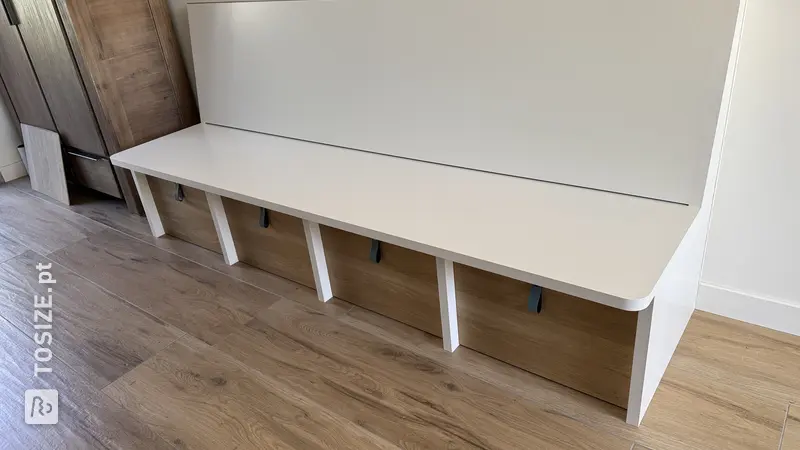
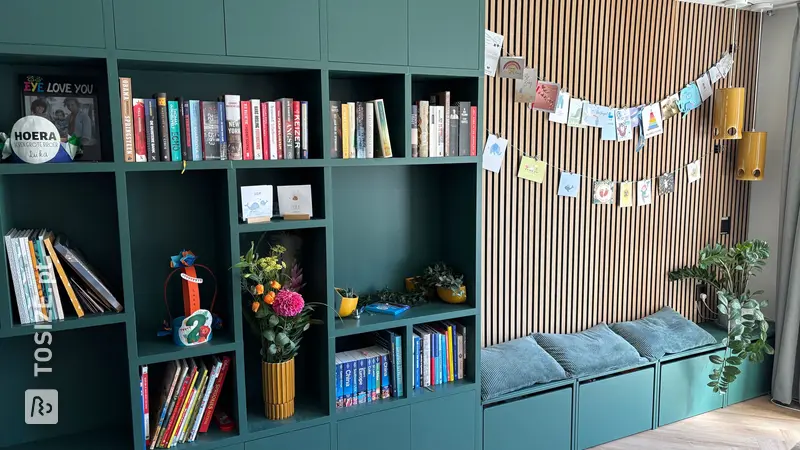
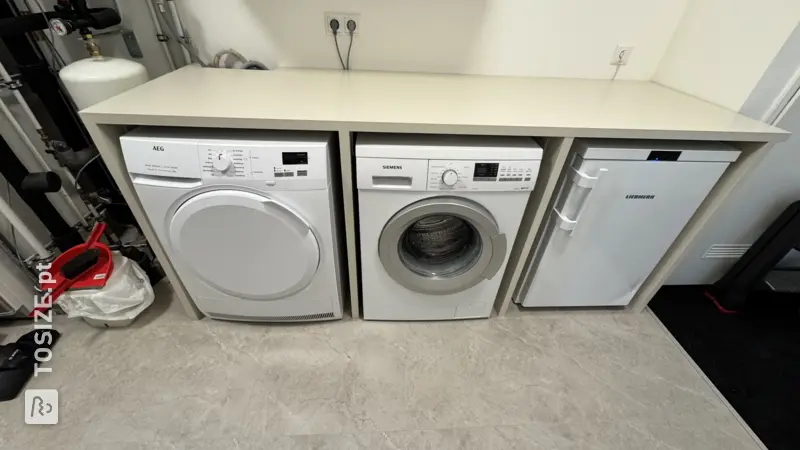
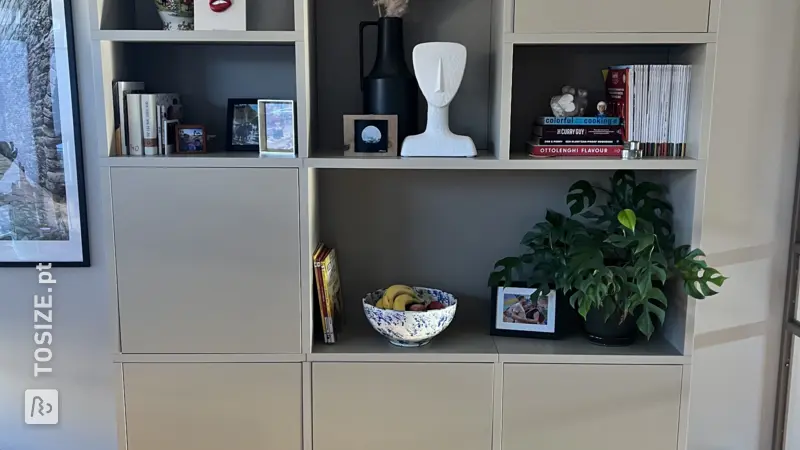
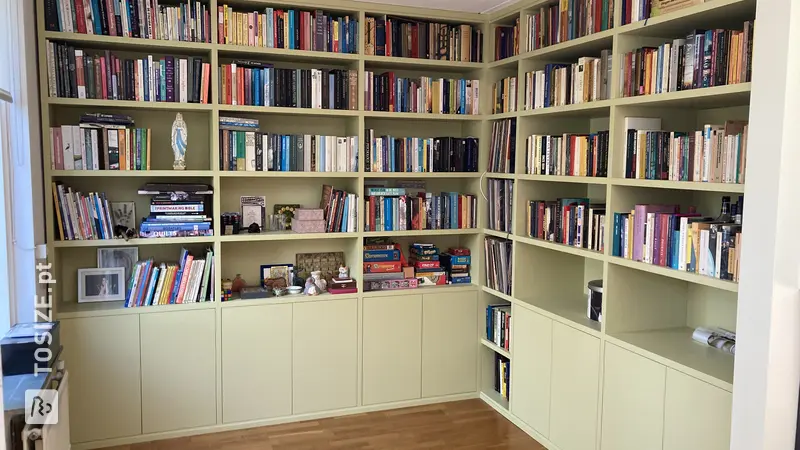
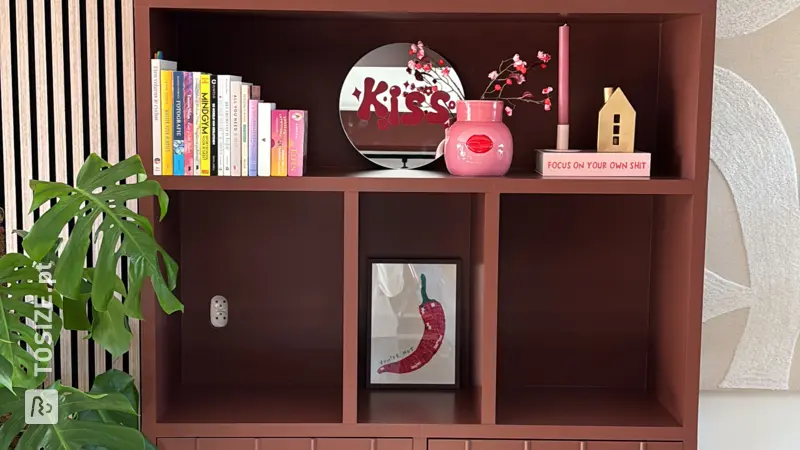
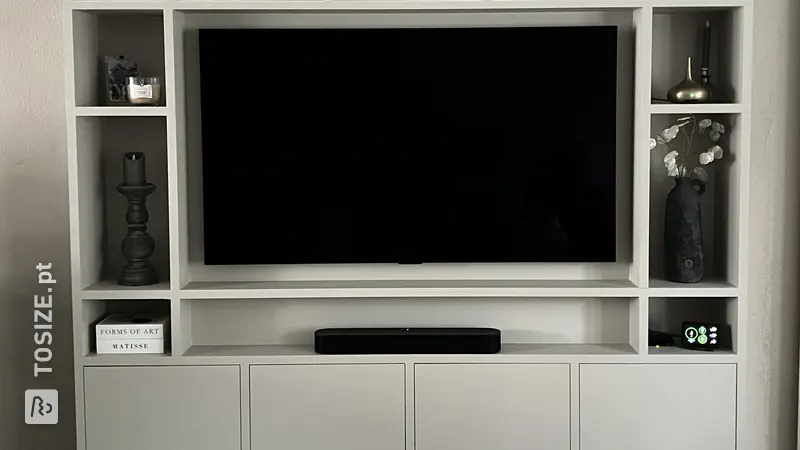
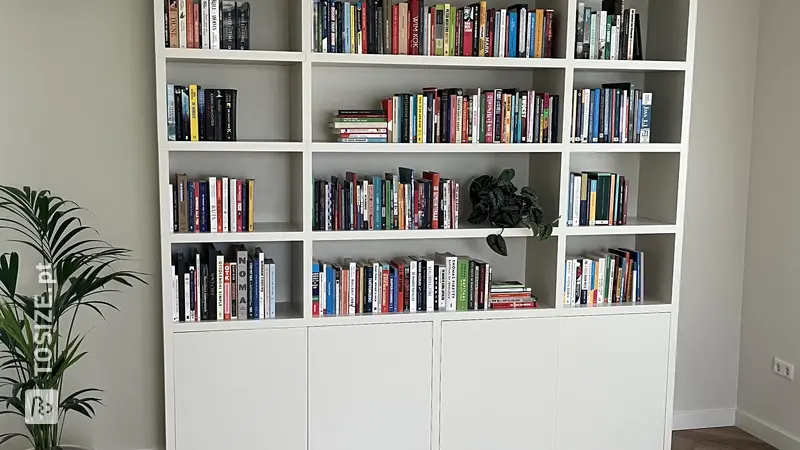
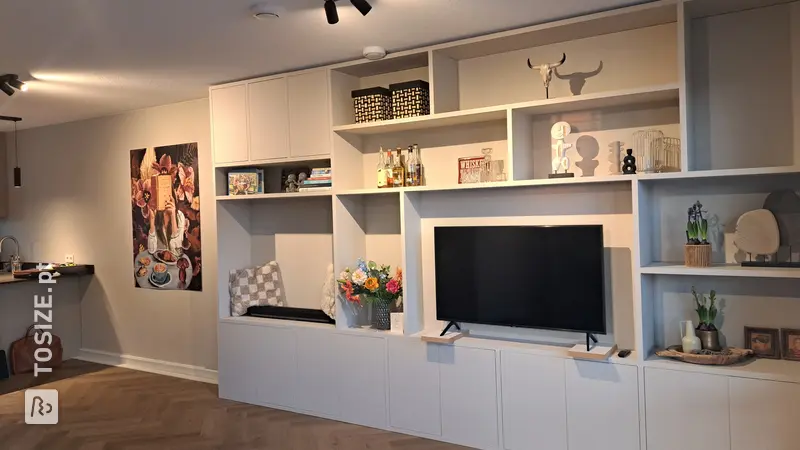
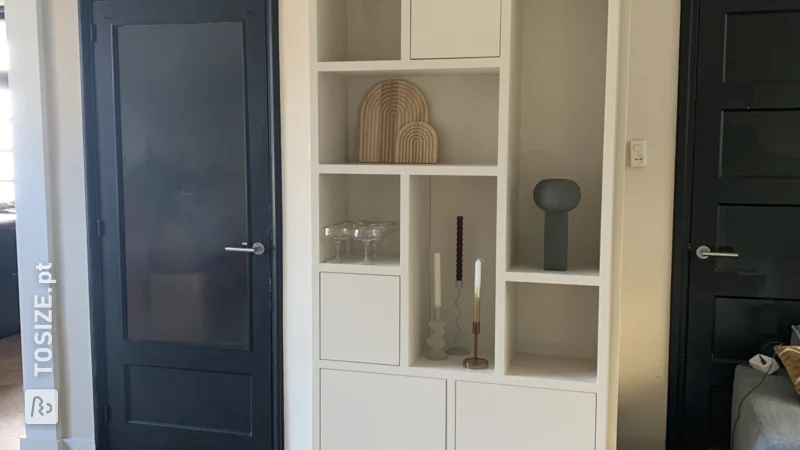
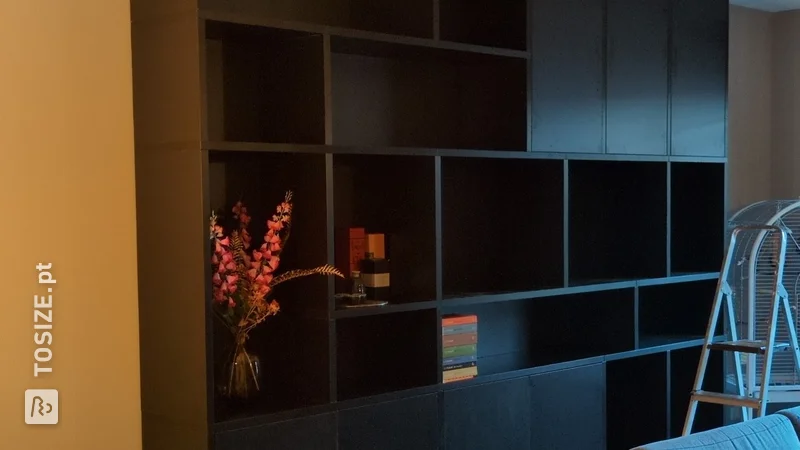
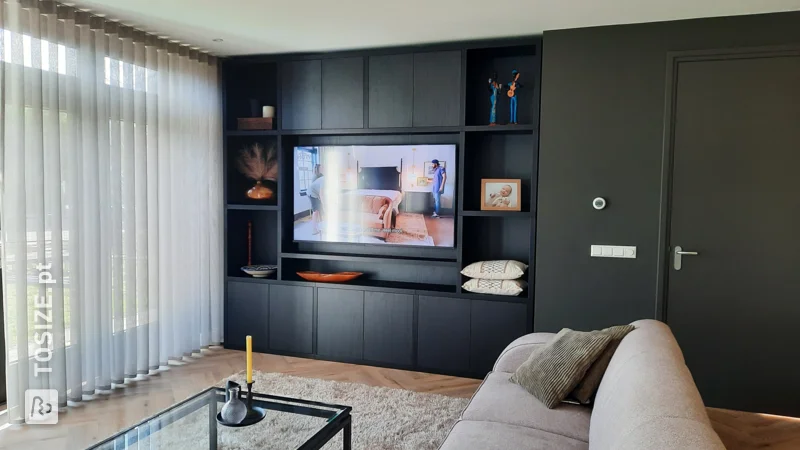
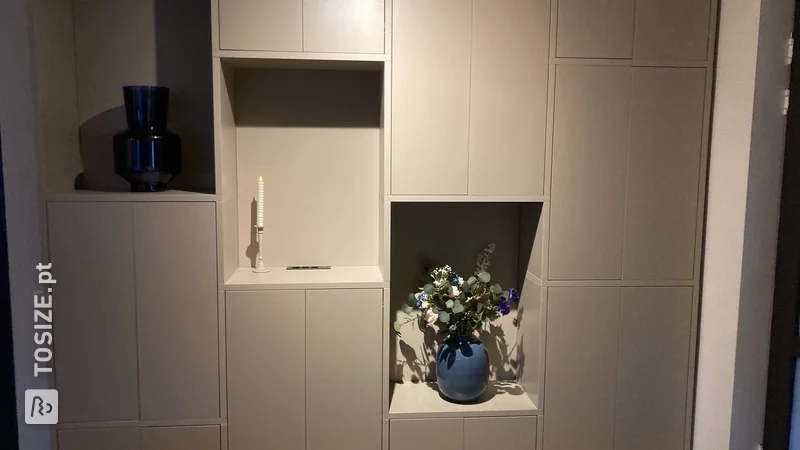
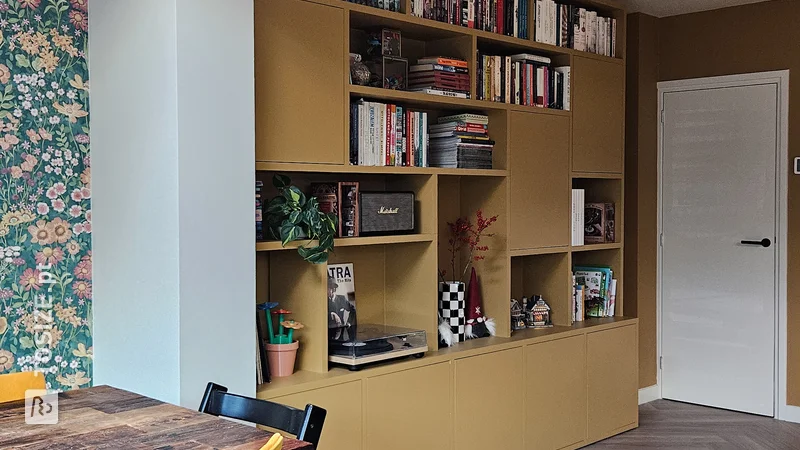
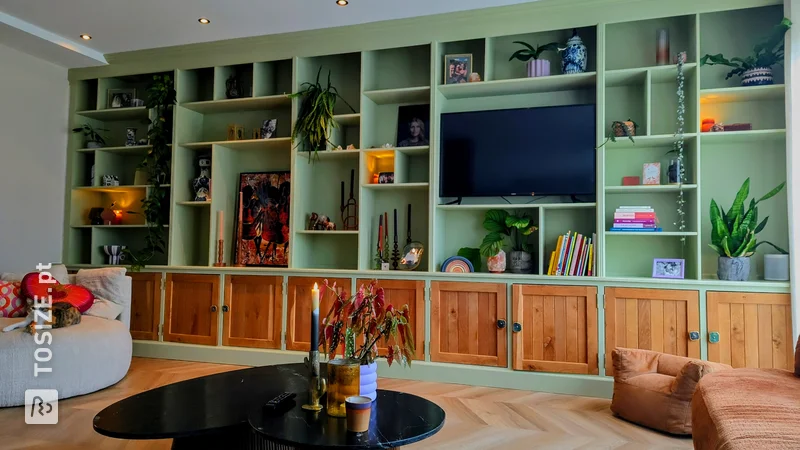
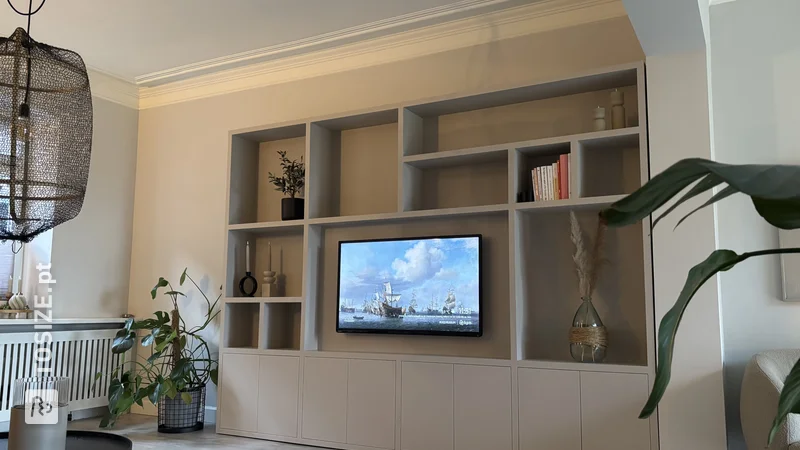
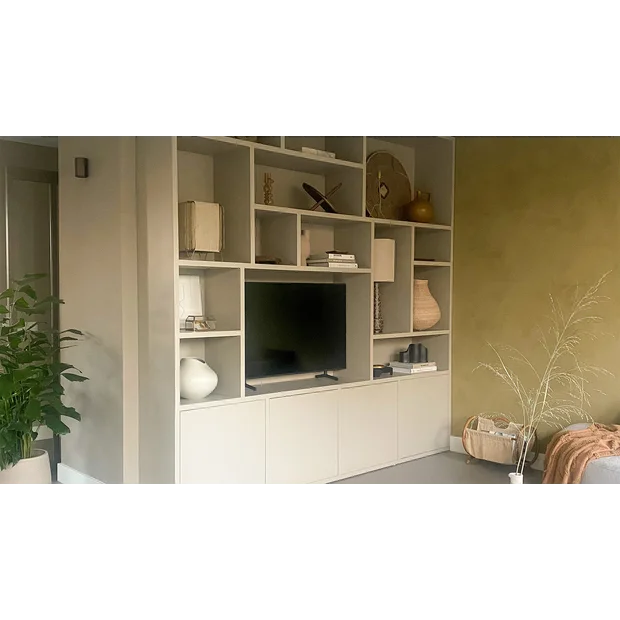
In this DIY project, Marion shows how she made a beautiful shelving unit with the base of two Ikea IVAR cabinets. By ordering the sawn sheet material online, she could start her job immediately.
Description by Marion
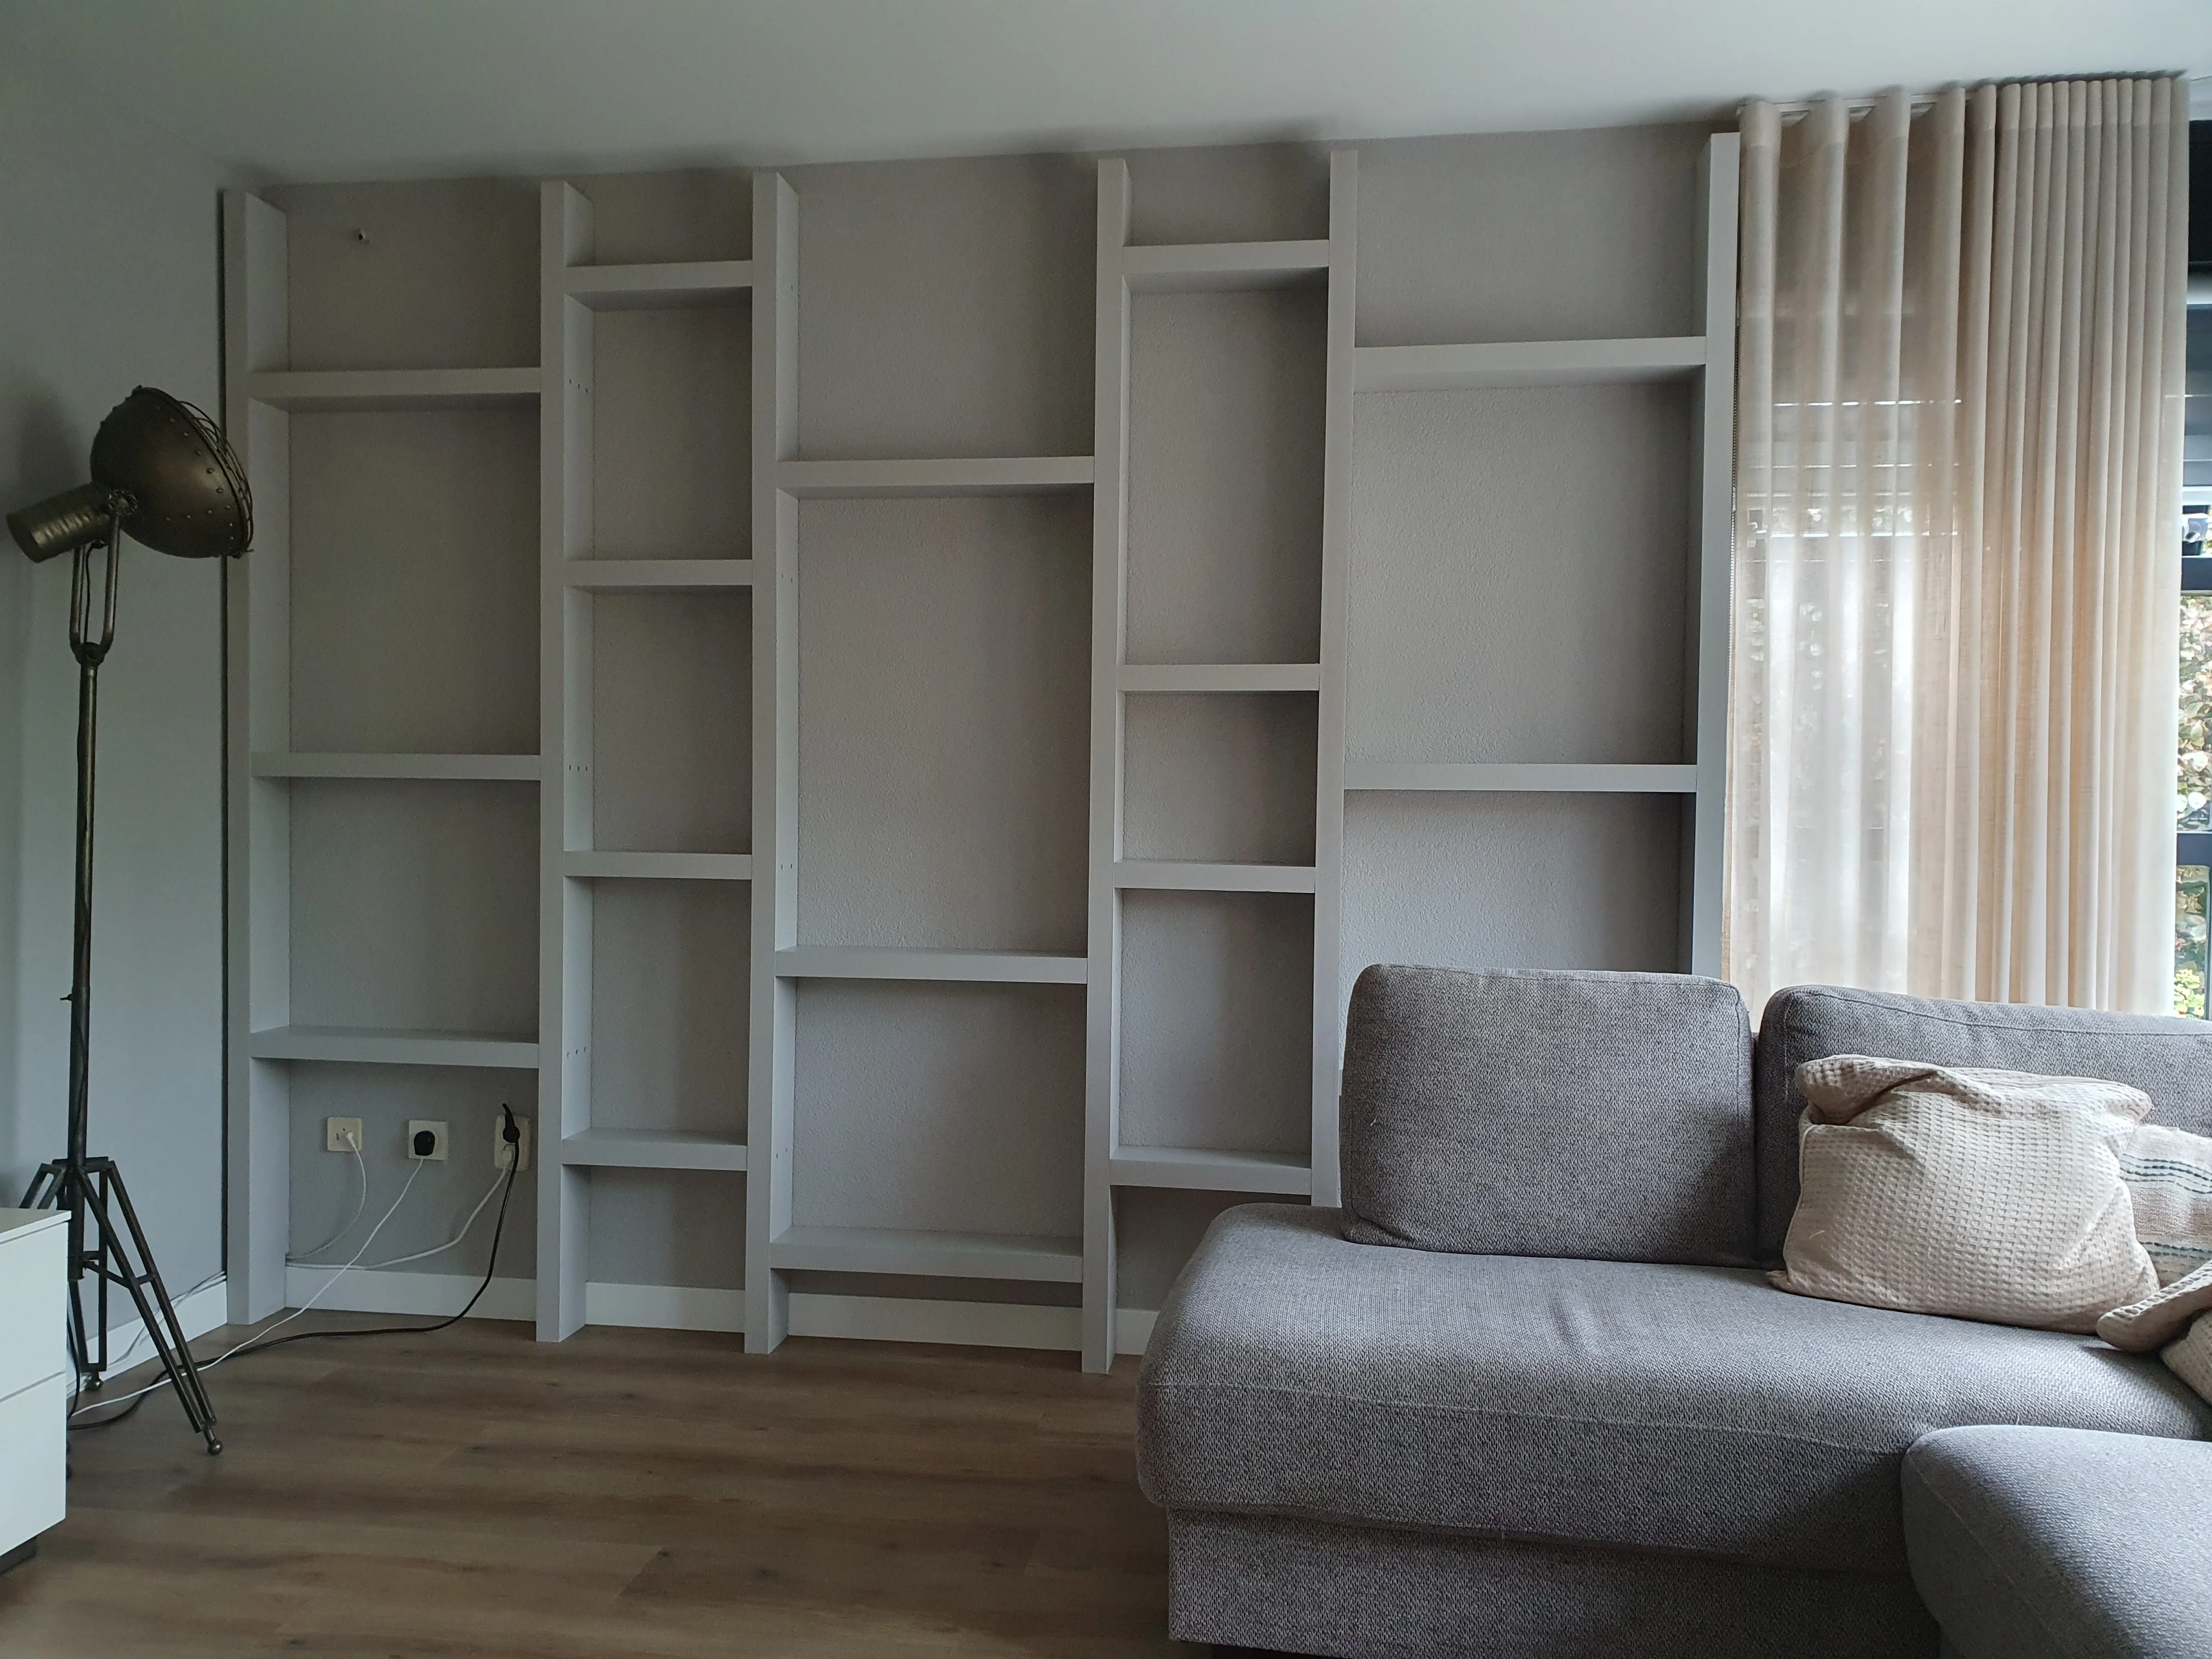
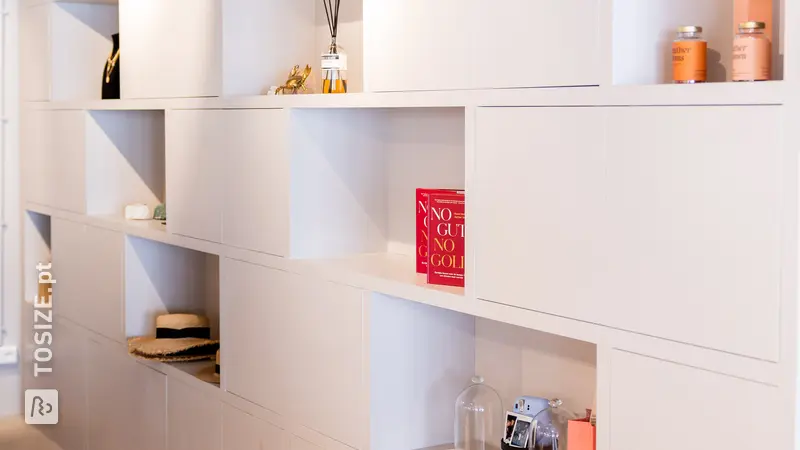
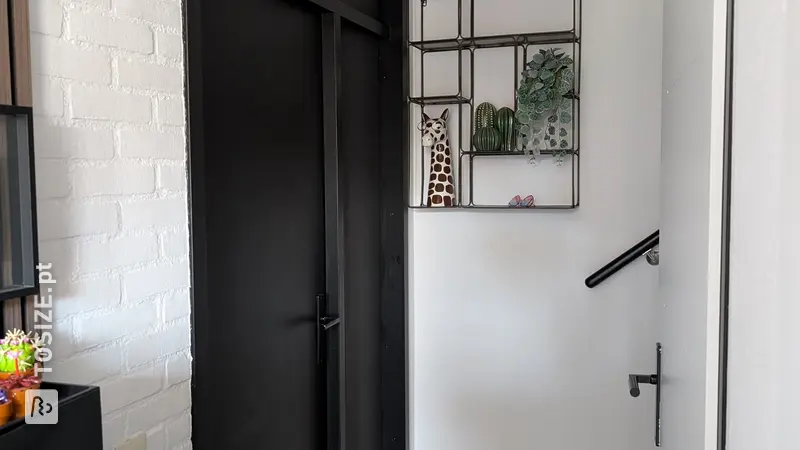
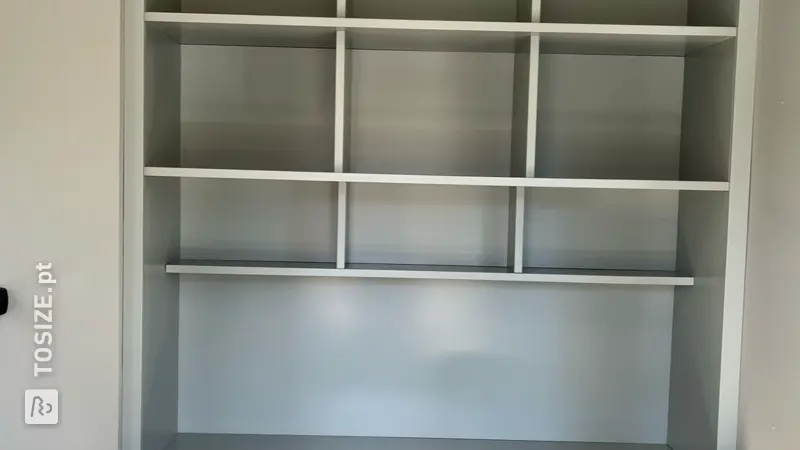
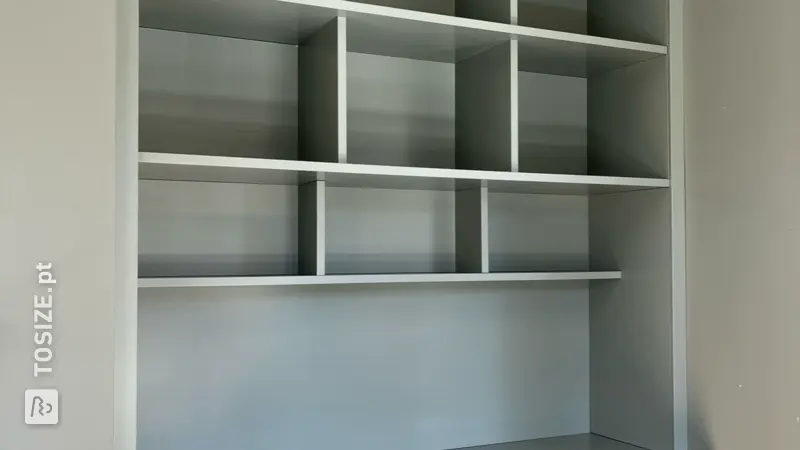
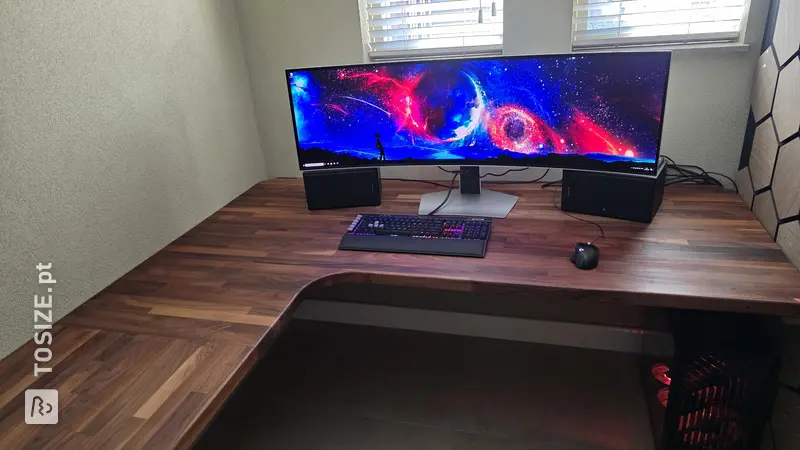
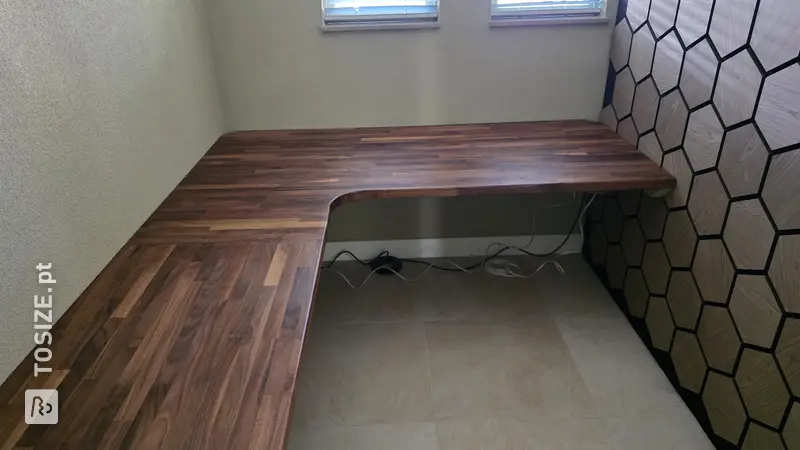
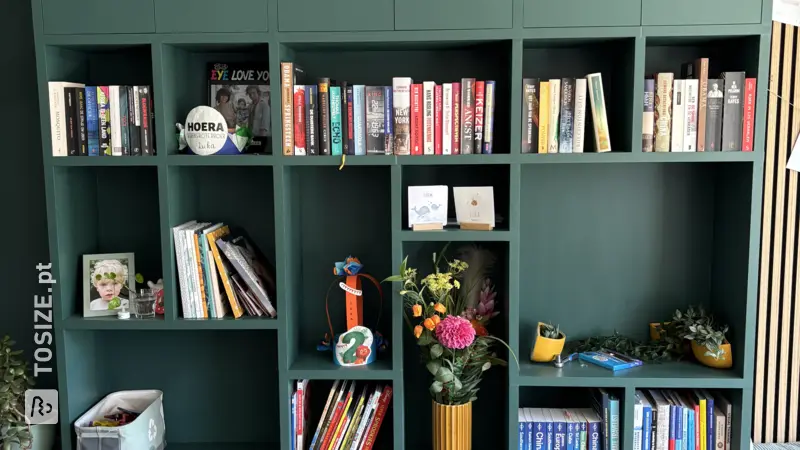
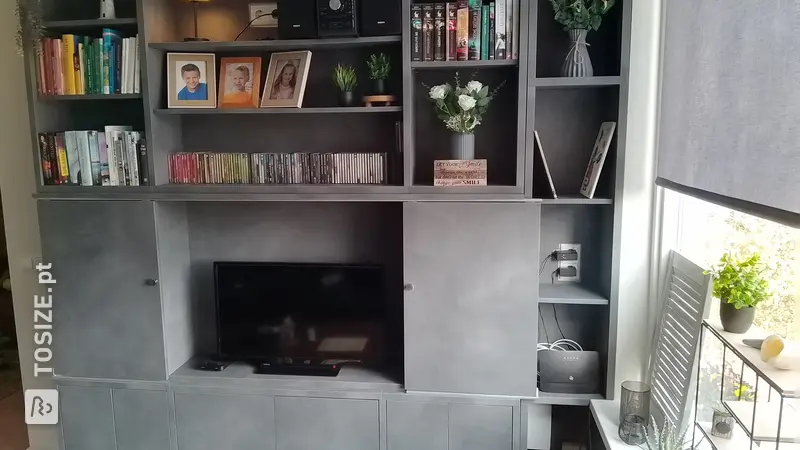
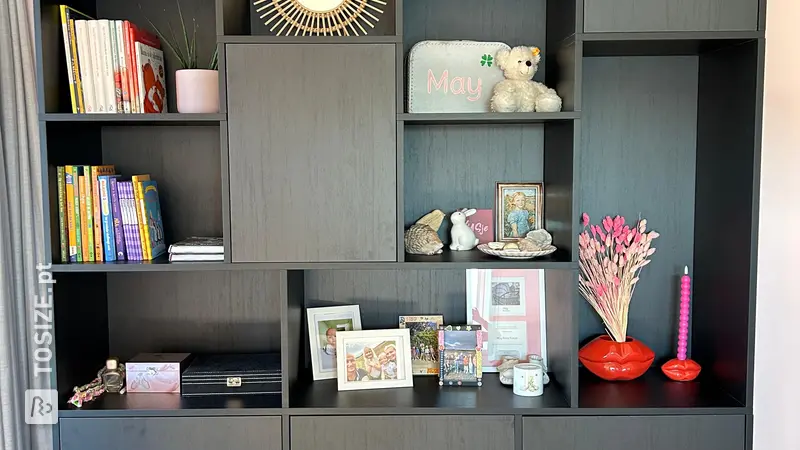
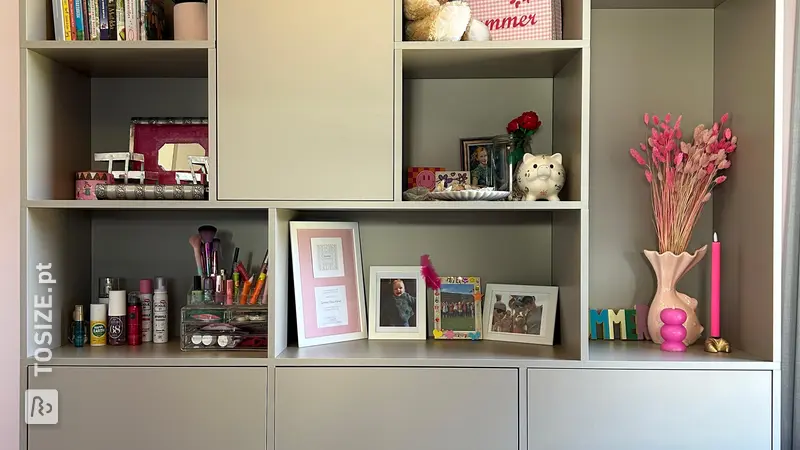
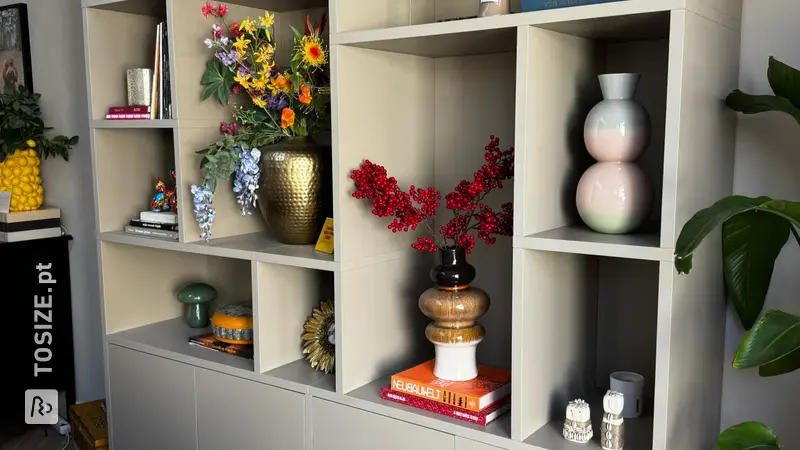
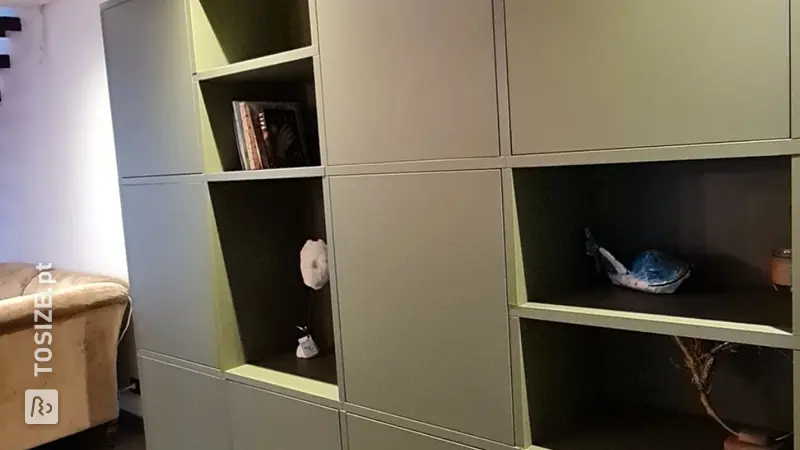
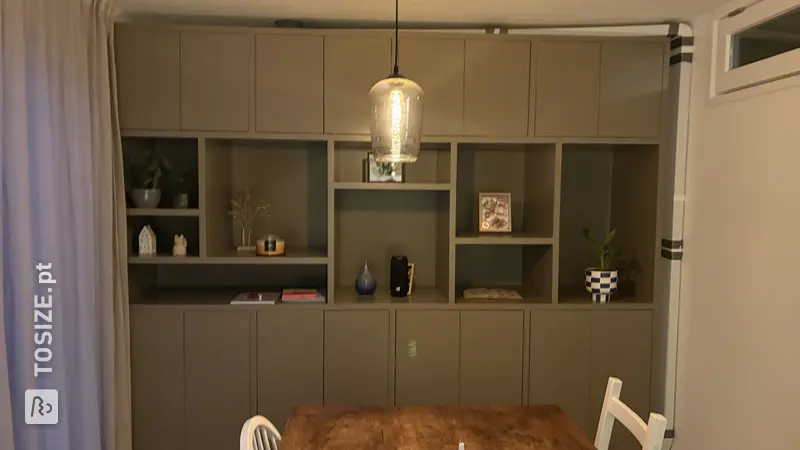
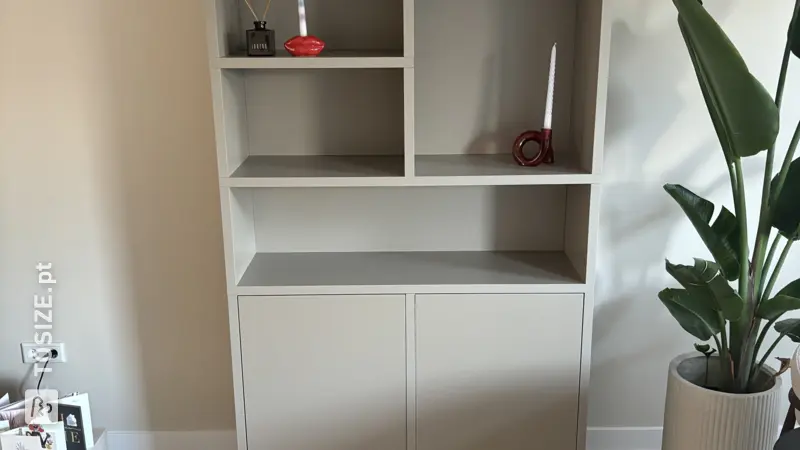
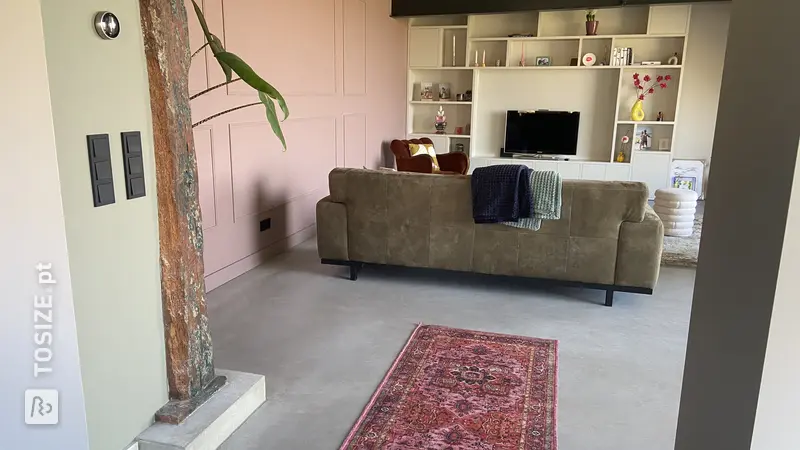
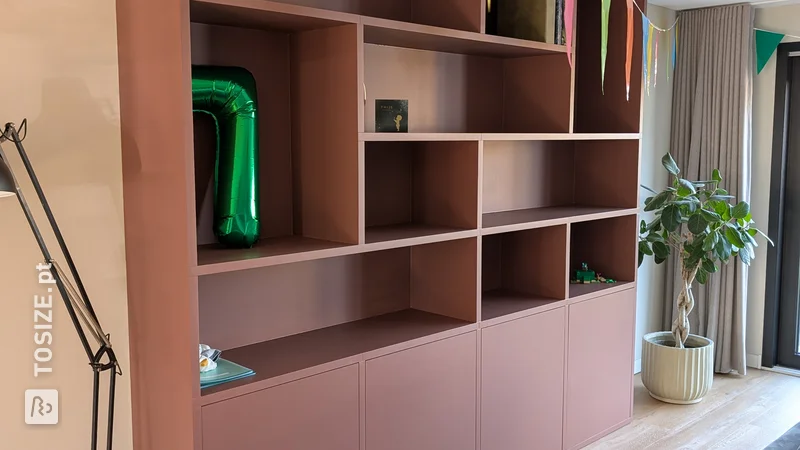
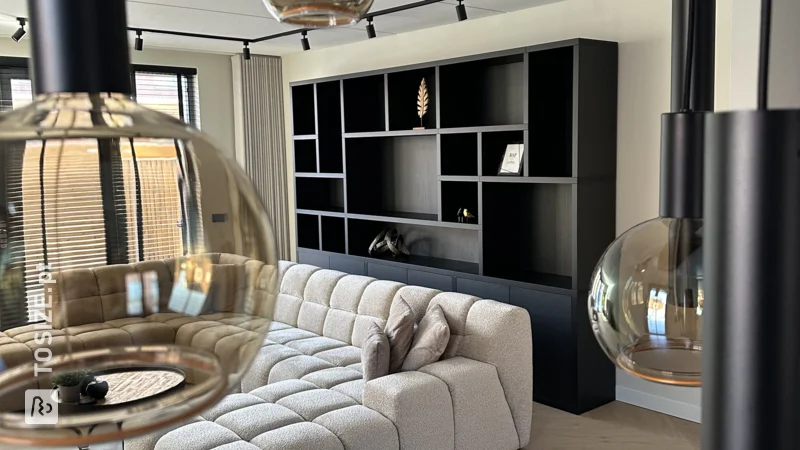
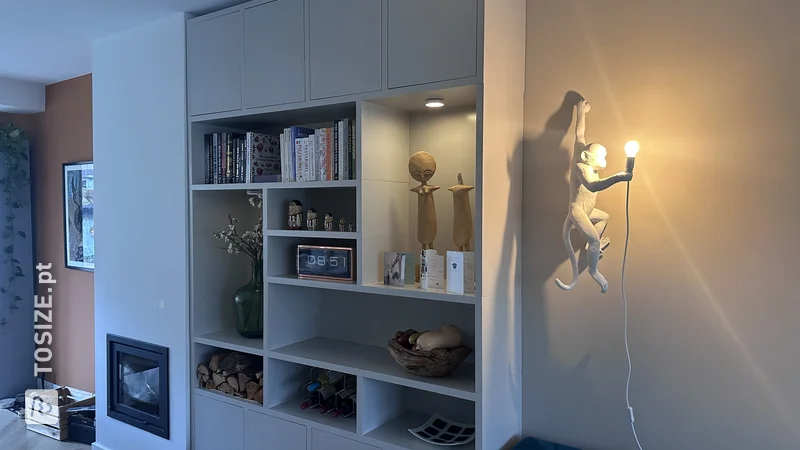
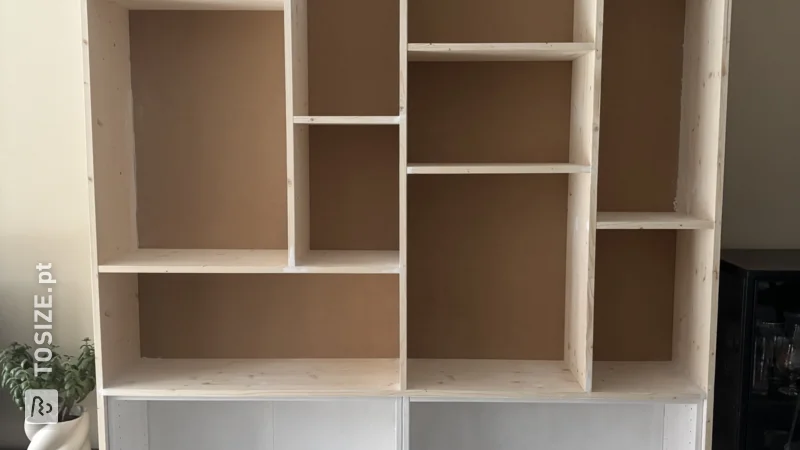
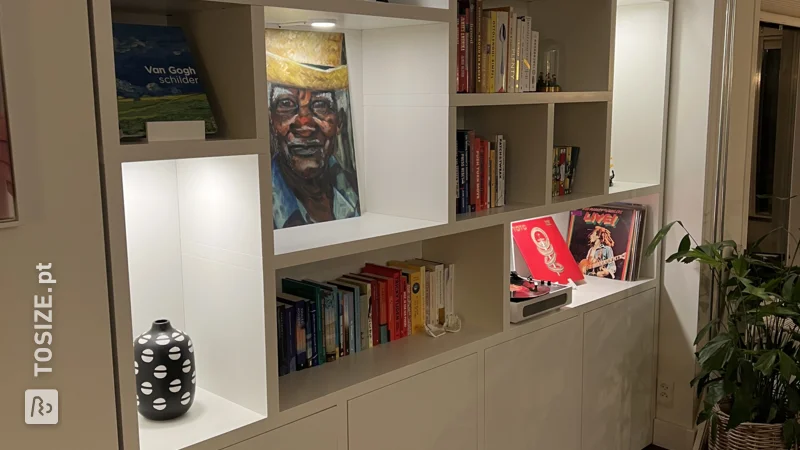
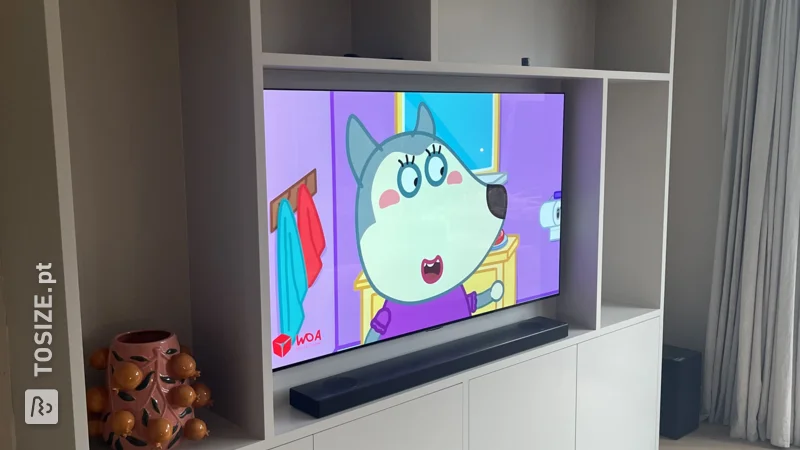
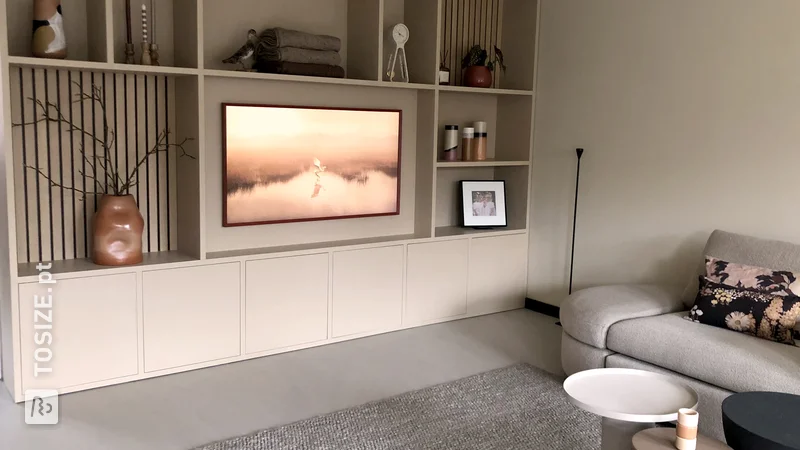
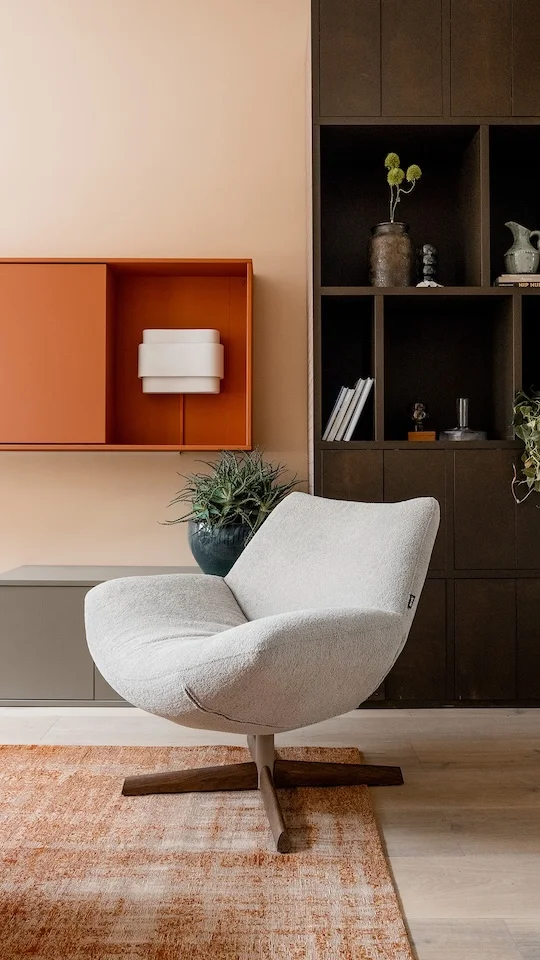
We came across a fantastic DIY shelving unit on the internet based on 2 Ivar Ikea cabinets. Instead of 30 cm deep, we chose to make the cupboard 50 cm deep for even more storage space. The first photo is an example of what it can look like and the rest of the photos are from our project. It still needs to be polished and sanded and then we will take it away.
How I made this project
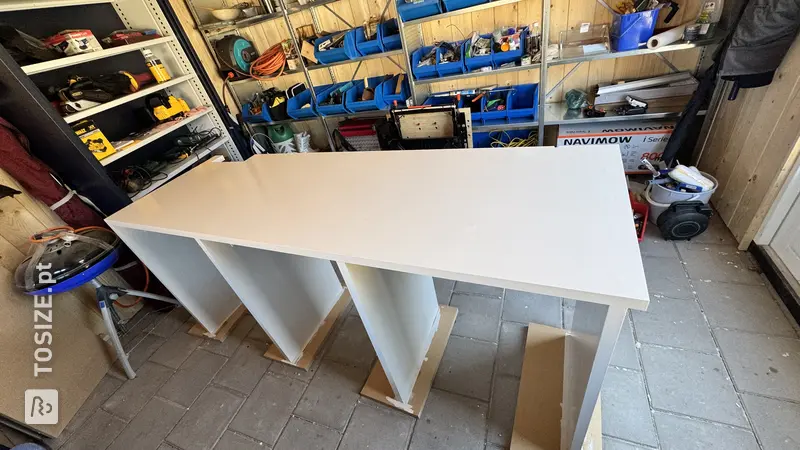
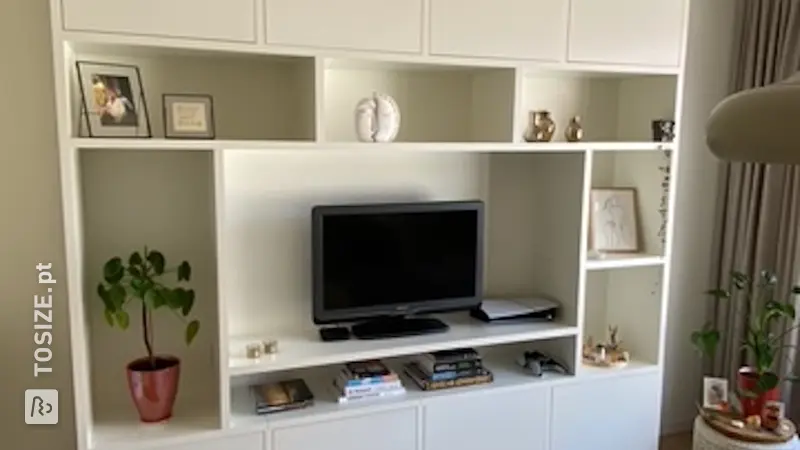
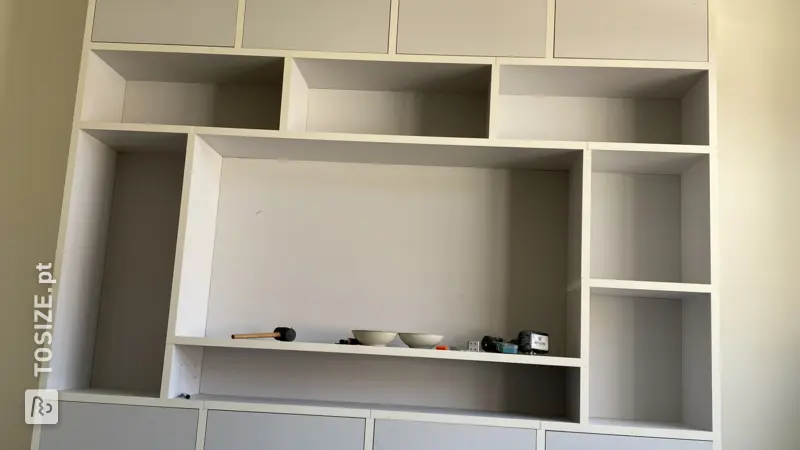
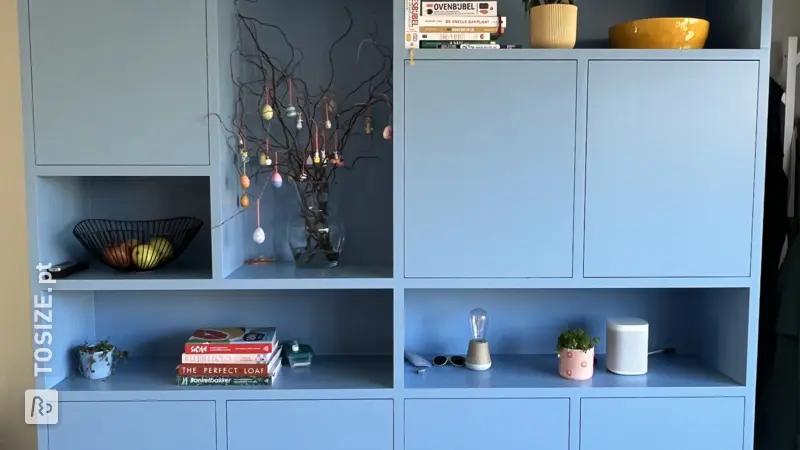
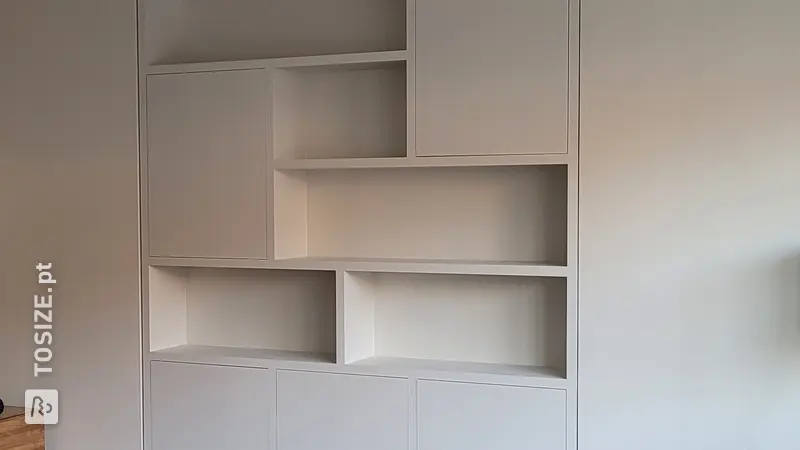
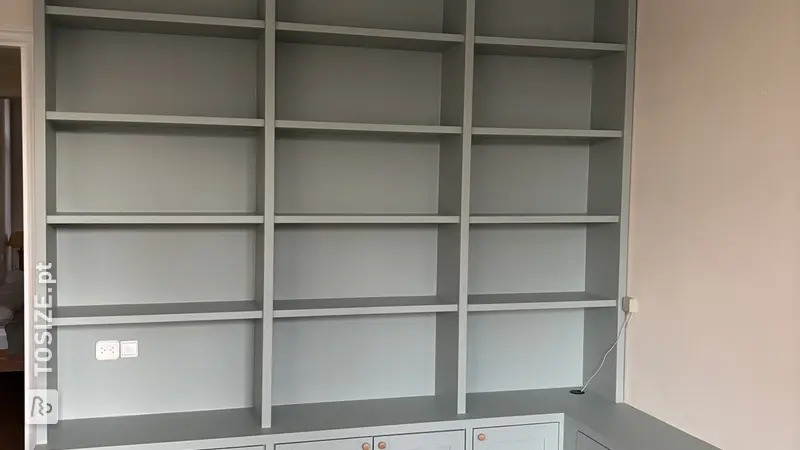
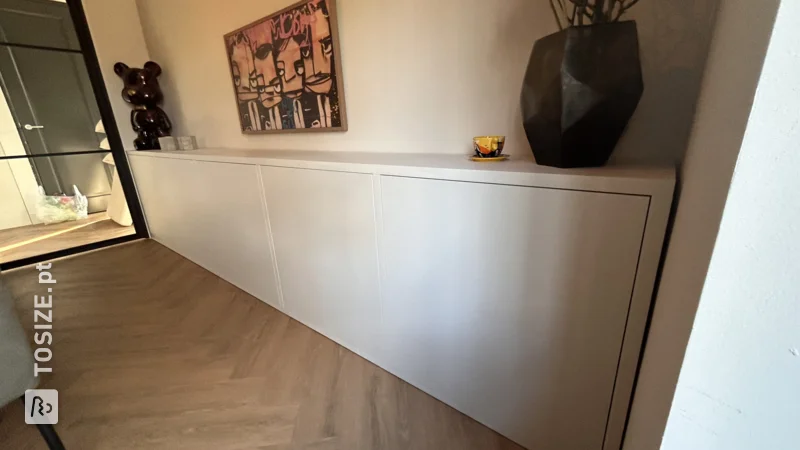
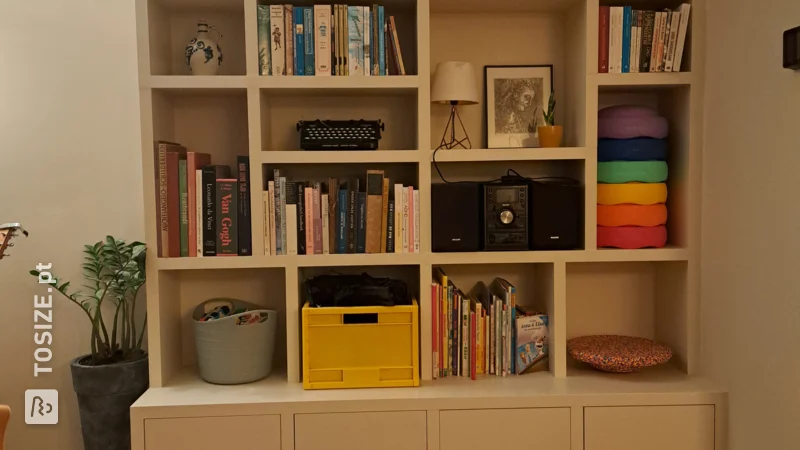
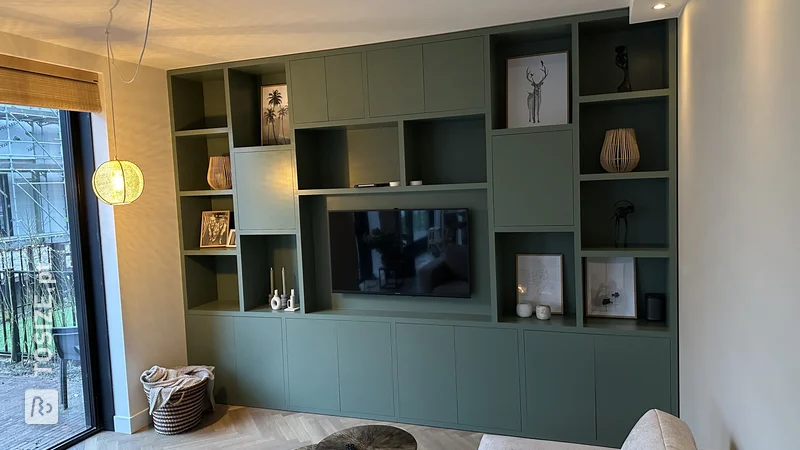
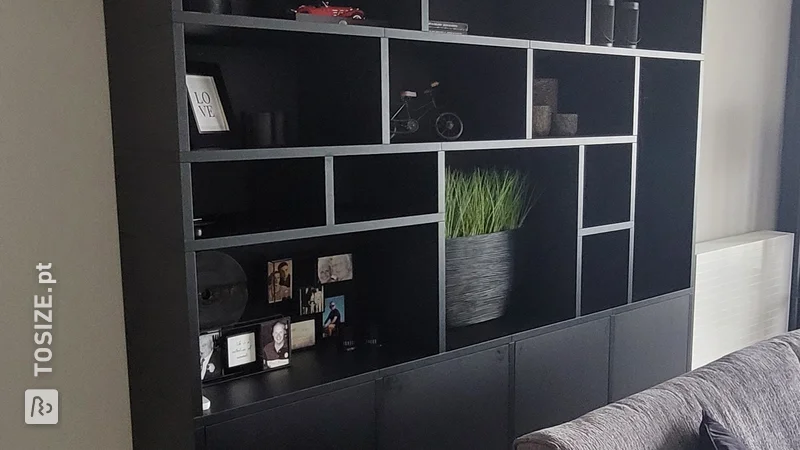
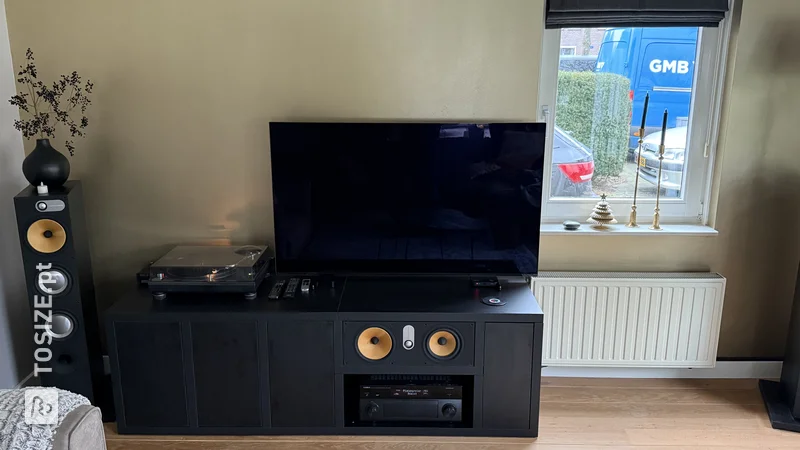
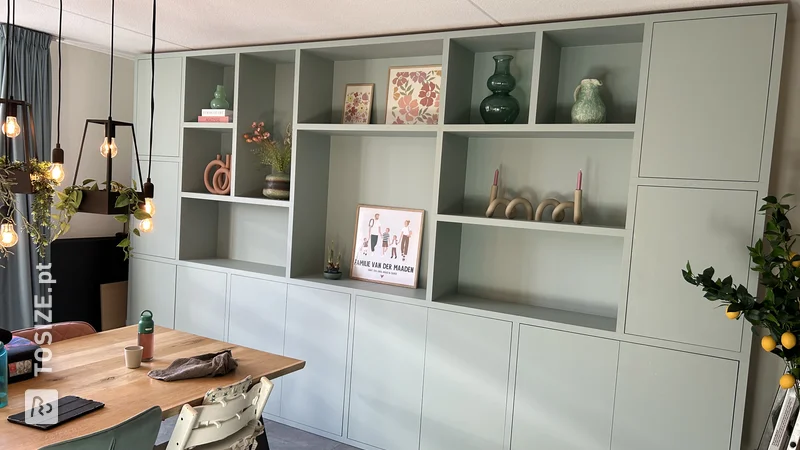
Start by assembling the Ikea IVAR cabinets. Leave your doors aside for a while. Are the frames put together? Make sure you also attach them properly to each other. You do this with mounting bolts (can be found with IKEA spare parts). First attach the base plate under the IVAR cabinets. This works best if you place the cabinet flat on the floor with the open side facing the ground. Because the Ivar cabinets fall low to the floor, Cindy chose to place a wooden plank underneath. This is slightly less deep than the cupboard. This way you create a recessed skirting board, as it were, and you can be sure that the doors will not slide across the floor when opened. The cupboard also sits a little less solidly on the ground and provides a little more air. Finally, attach the intermediate plate on top of the IVAR cabinets. Then create the conversion with the pine furniture panels. Start with the two sides and attach them from the inside of the IVAR cabinets. Use a Stanley corner clamp to ensure that the corners are square to each other. Pre-drill the wooden panels to prevent splitting. Once the frame is firmly in place, place the back plates on the cabinet and attach them lengthwise to the IVAR cabinet. Take the height of your skirting board into account to ensure that the cabinet fits perfectly to the wall. Attach the plates every 20 cm with a 30 mm screw. Voila: the foundation is in place! Place the cabinet upright and in the right place. Time to determine the division of subjects. To eliminate the seam of the back plates, Cindy opted for a low upright in the middle. Because they wanted to attach the shelves blindly (no shelf supports), they staggered the shelves. This way you can secure the planks via the side walls with 40 mm screws and fill the holes later.
Dimensions of my DIY project
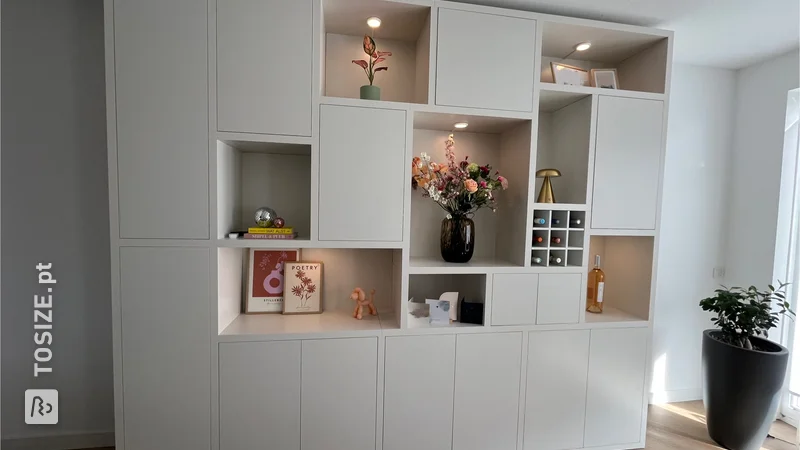
163.6 x 230.0 x 50.0 cm
Tip! Also check out our handy DIY tips!
What now?
Want to make this DIY project? Check out Marion's saw list and complete your order easily.
€ 882,31
View all sheet materials