- TOSIZE.pt
- Do it yourself
- DIY Projects
Cupboard under the windowsill, by Tryntsje
Cupboard under the windowsill, by Tryntsje
Create this project yourself with sheet material cut to size by TOSIZE.pt!
Tryntsje
Average
2 minutes
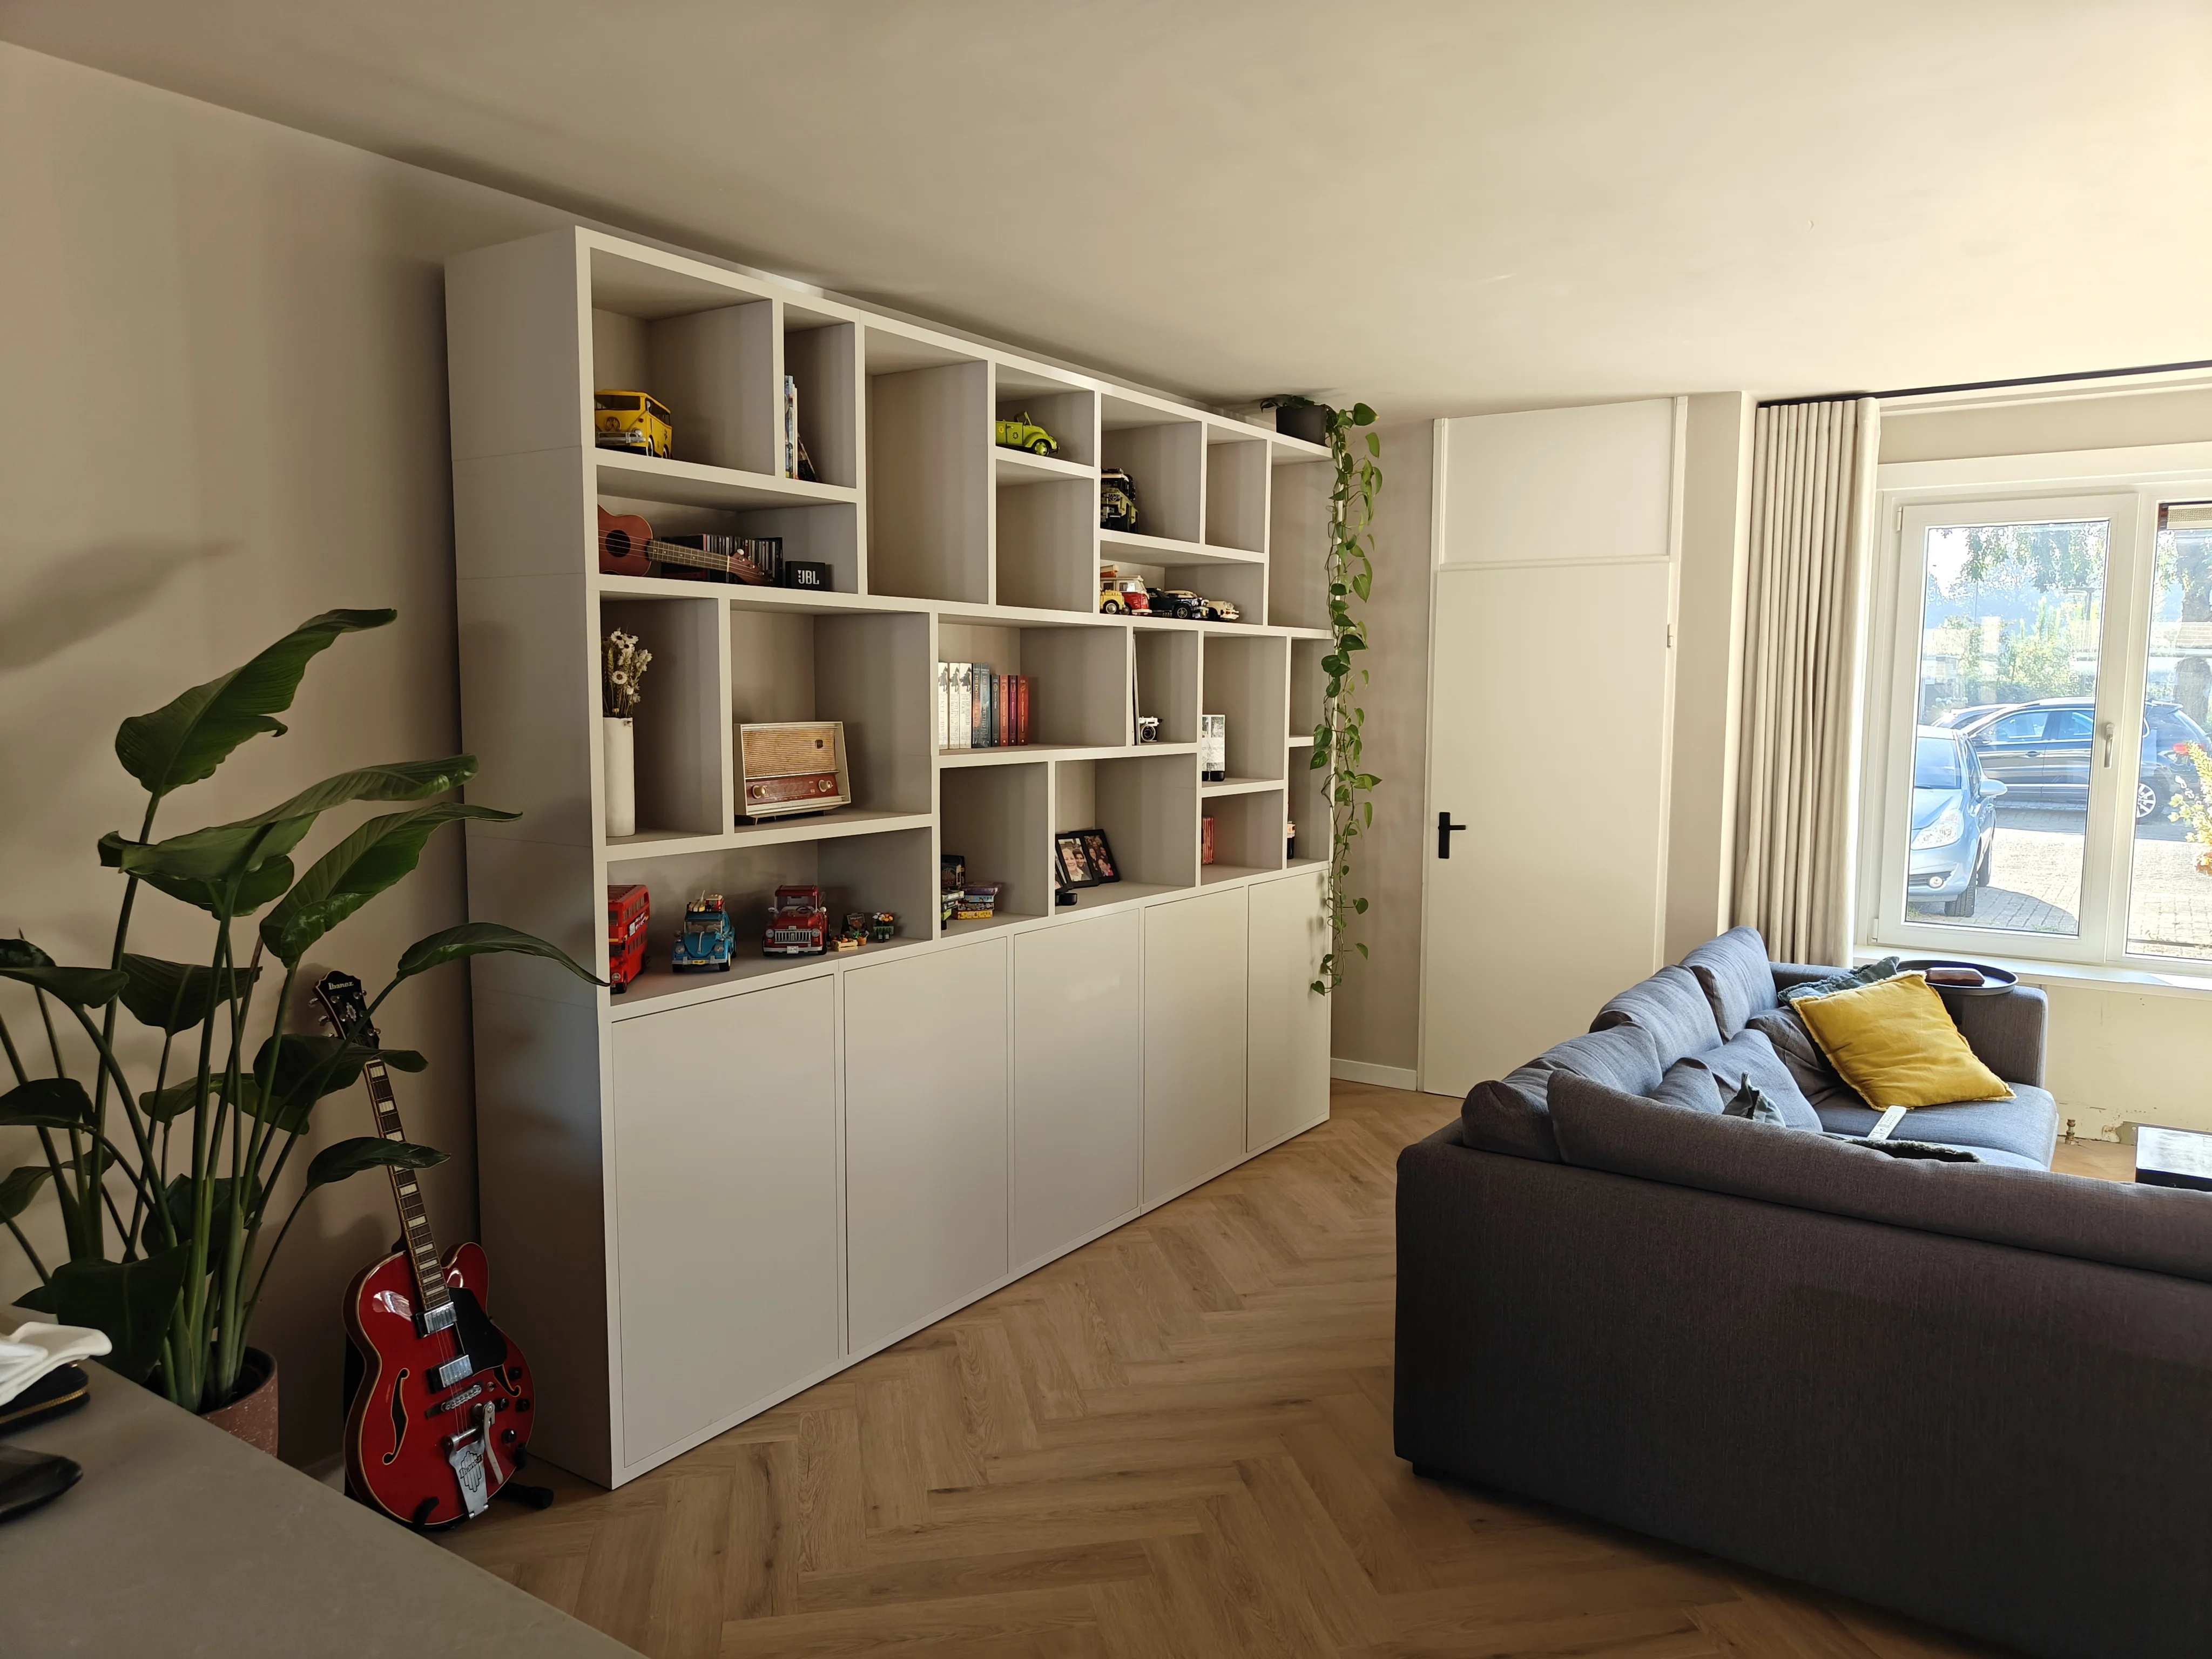
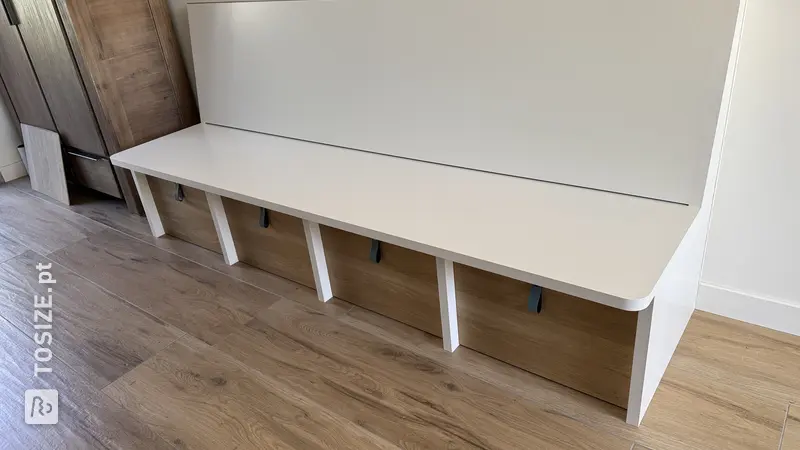
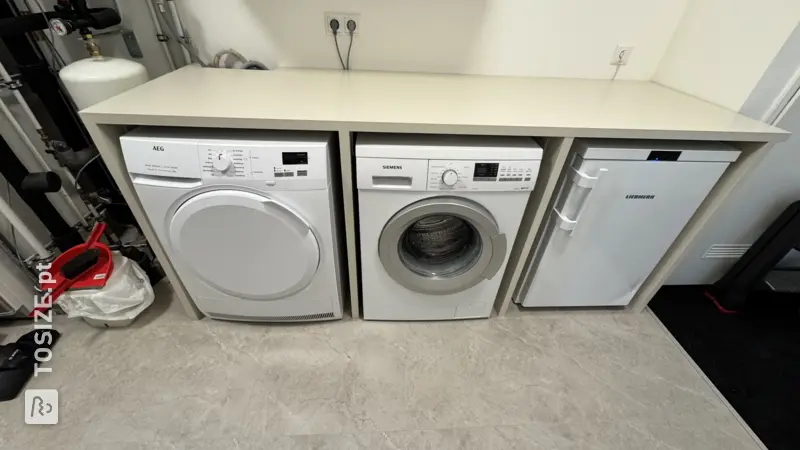
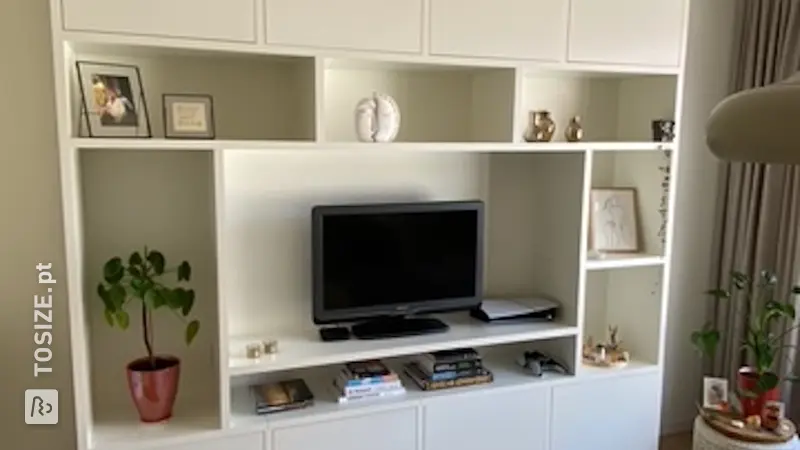
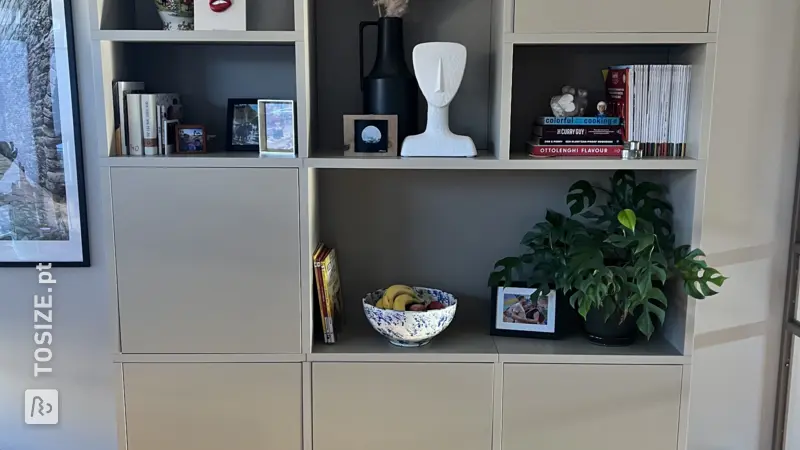
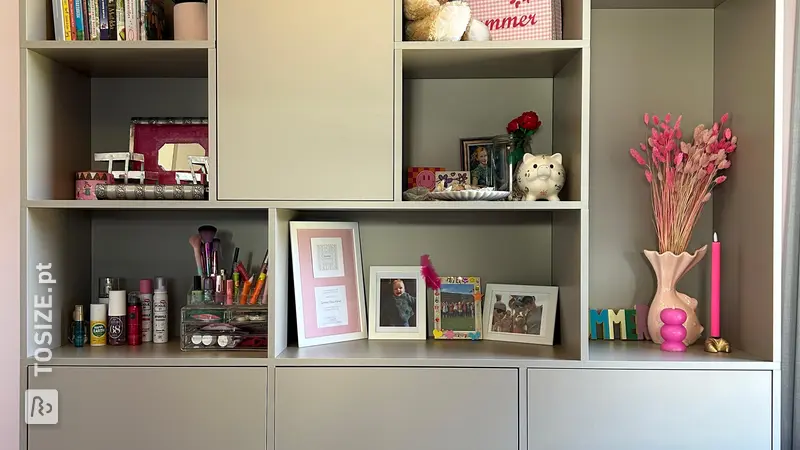
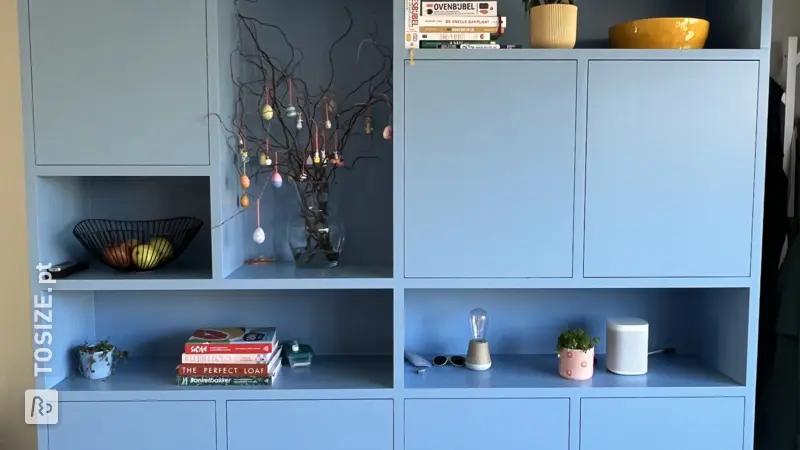
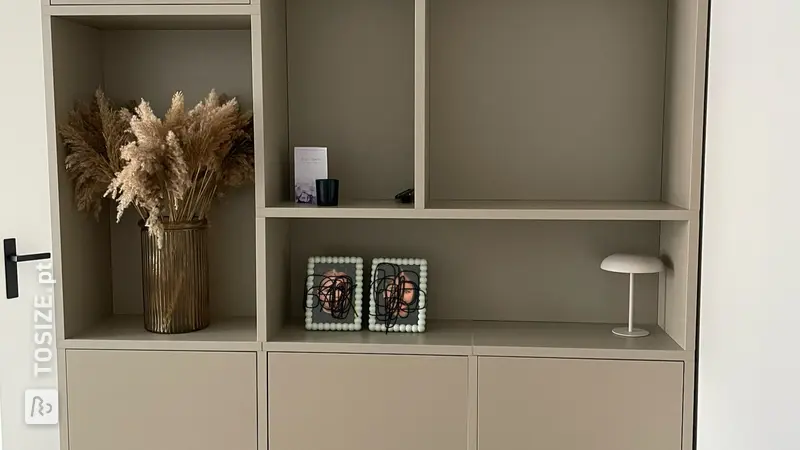
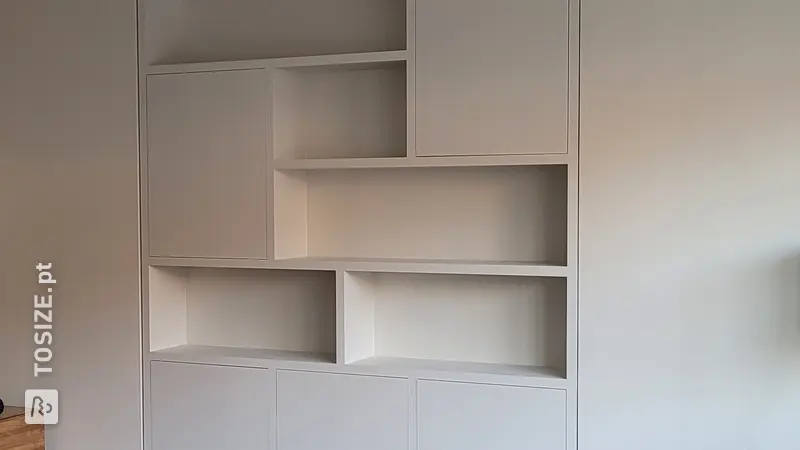
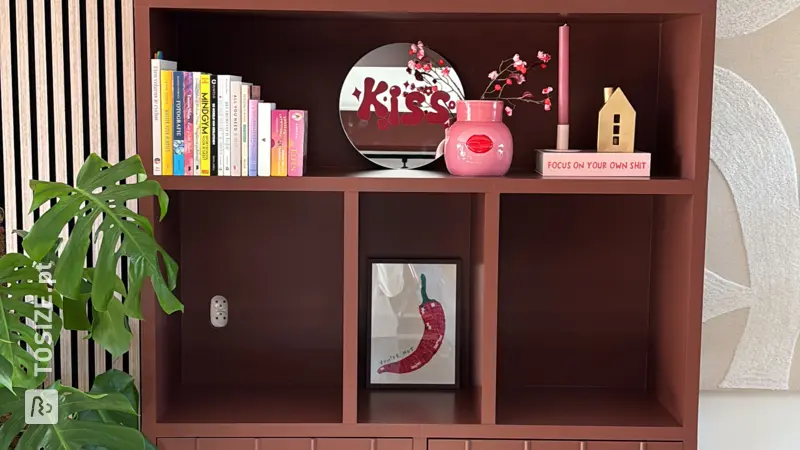
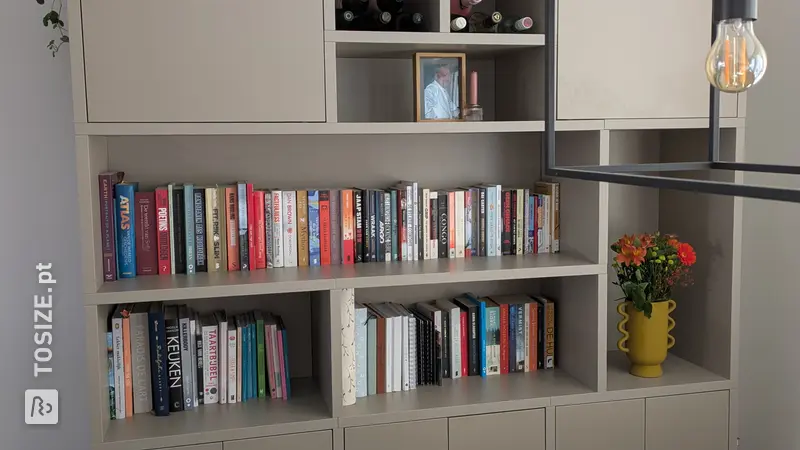
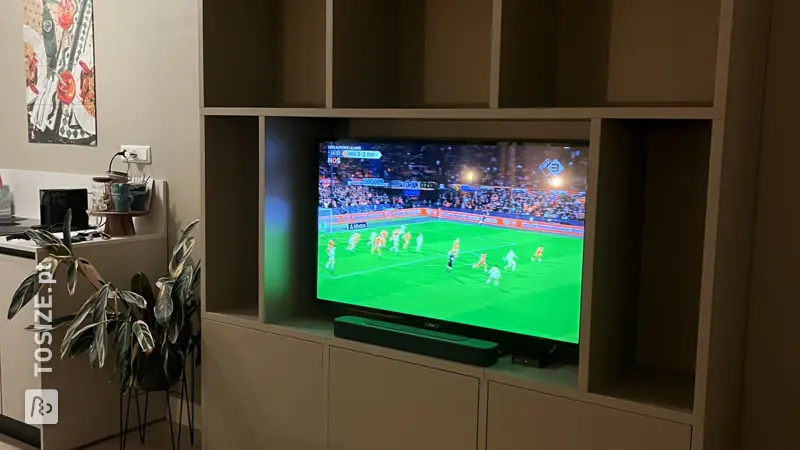
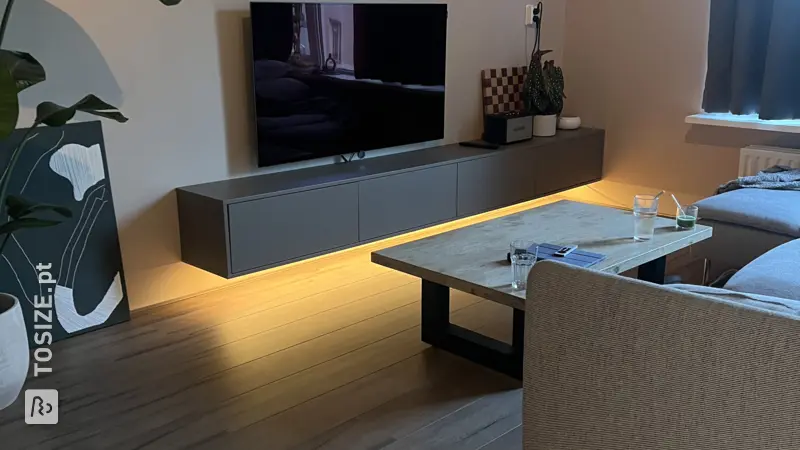
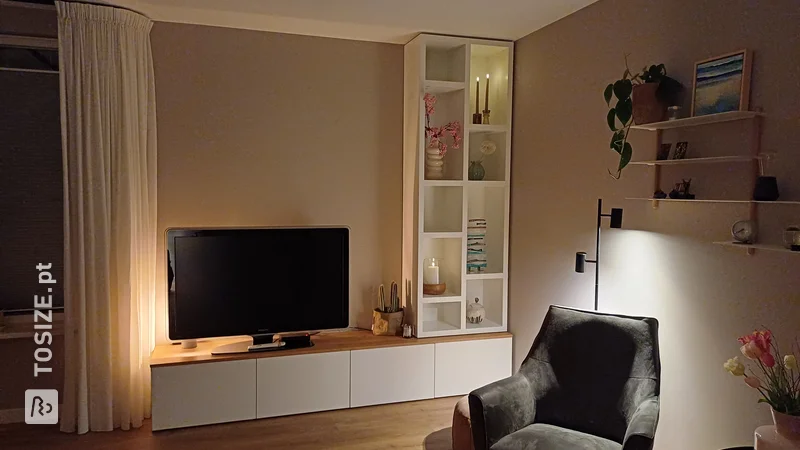
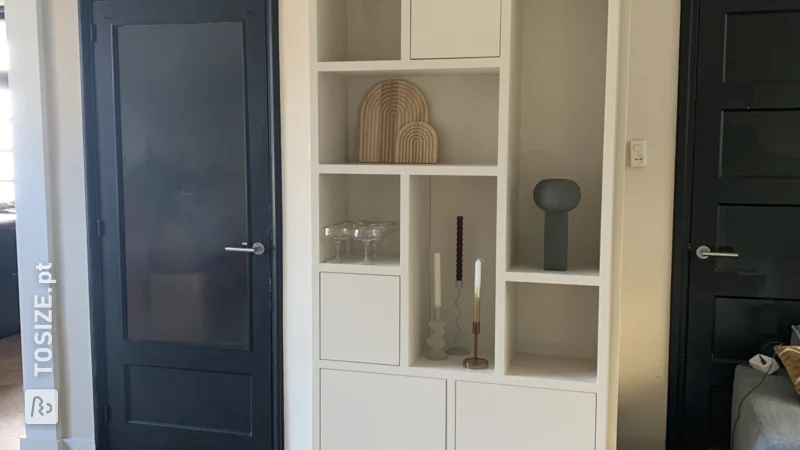
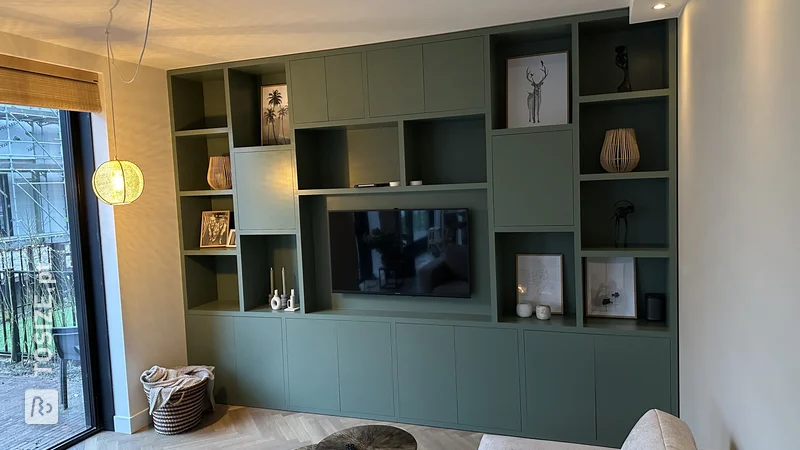
In this project, Tryntsje shows how she made a beautiful custom storage unit for the kitchen. She needed a custom cupboard under her windowsill. With the help of sawn MDF clear and moisture resistant, it has become a beautiful result!
Description by Tryntsje
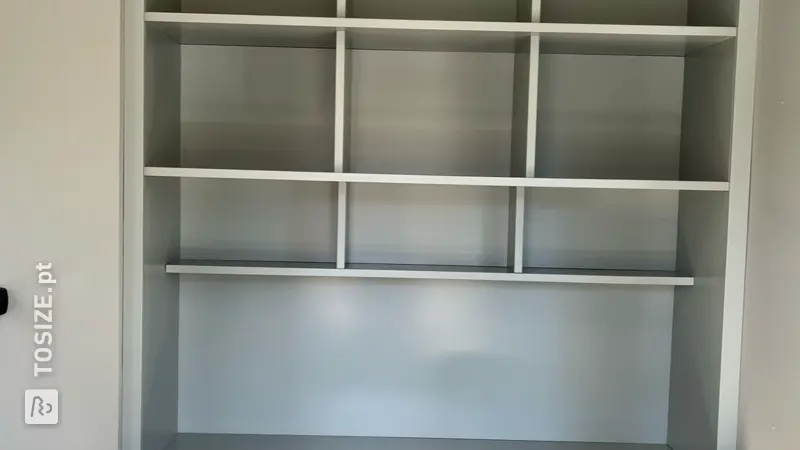
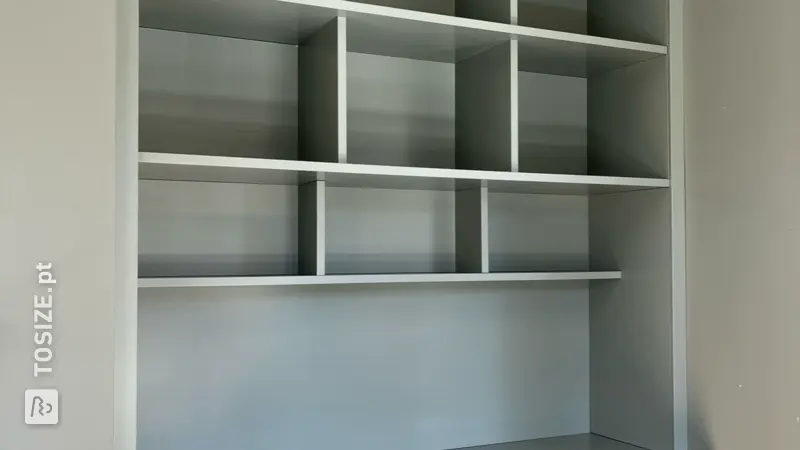
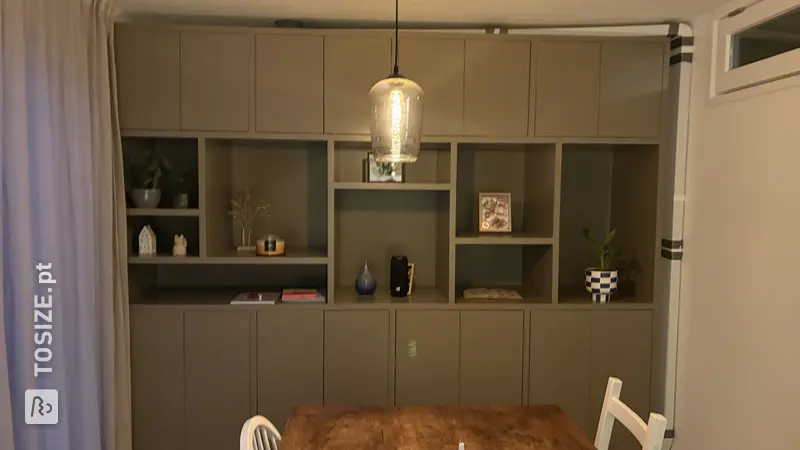
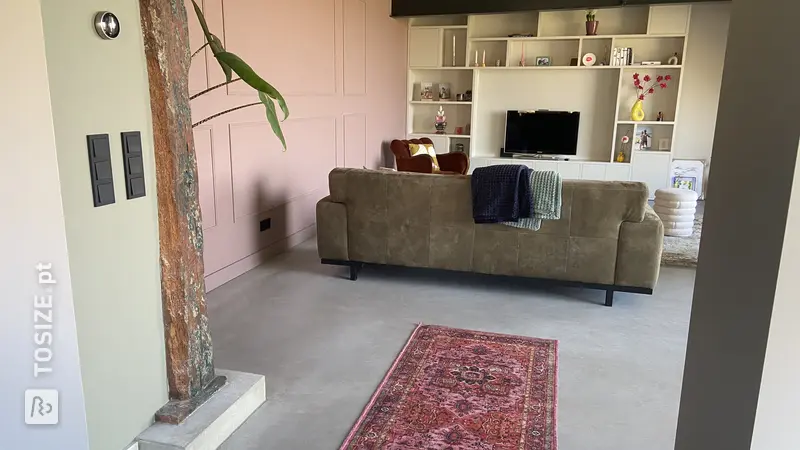
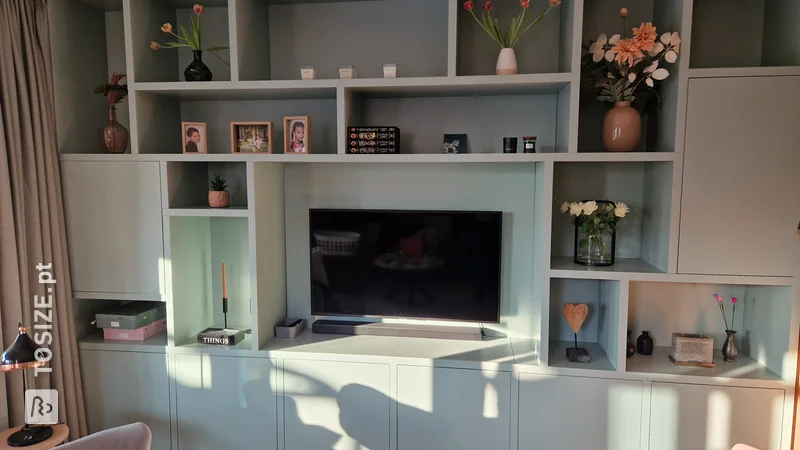
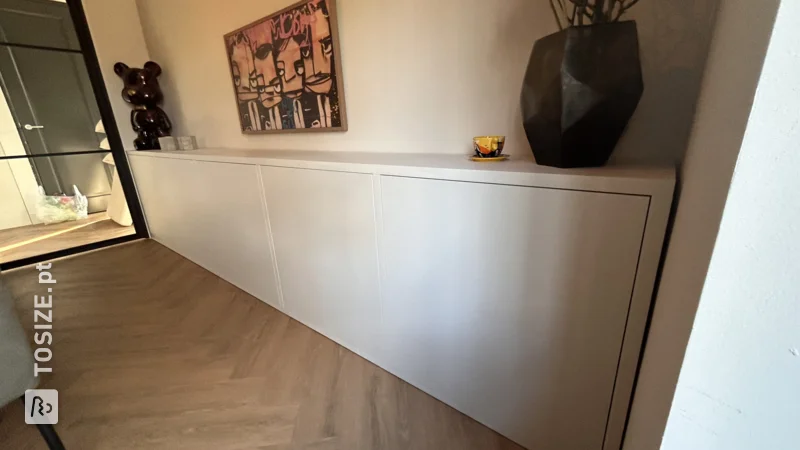
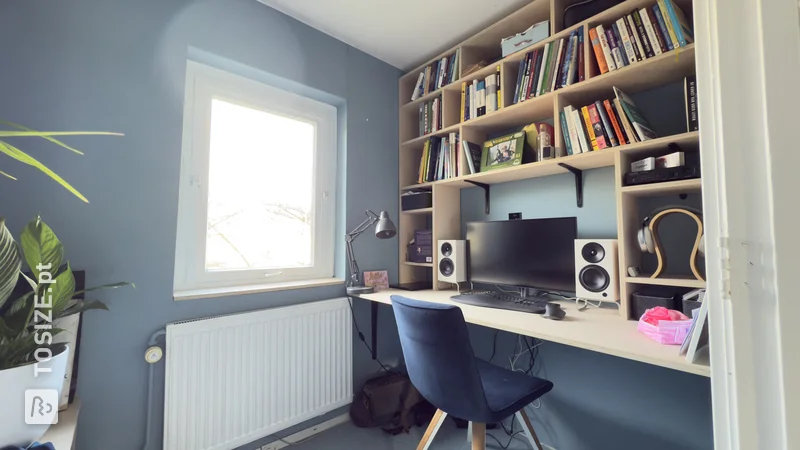
We had all kinds of loose storage units in our kitchen under the windowsill. A cupboard on wheels, two chests, loose bottles on the floor, etc. I wanted that differently. I made a kitchen cupboard under the windowsill that is almost 3 meters wide. It fits exactly between the kitchen and the walls.
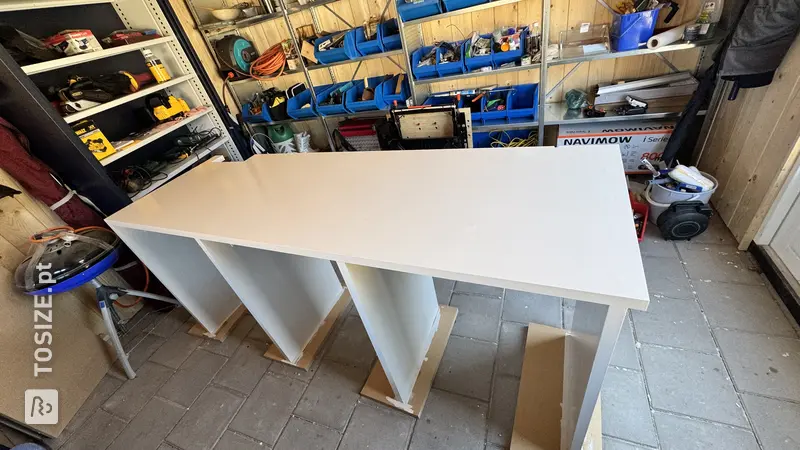
How I made this project
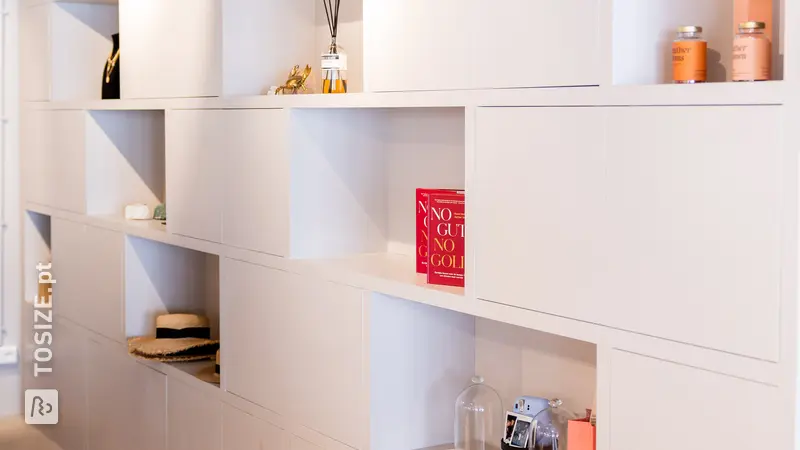
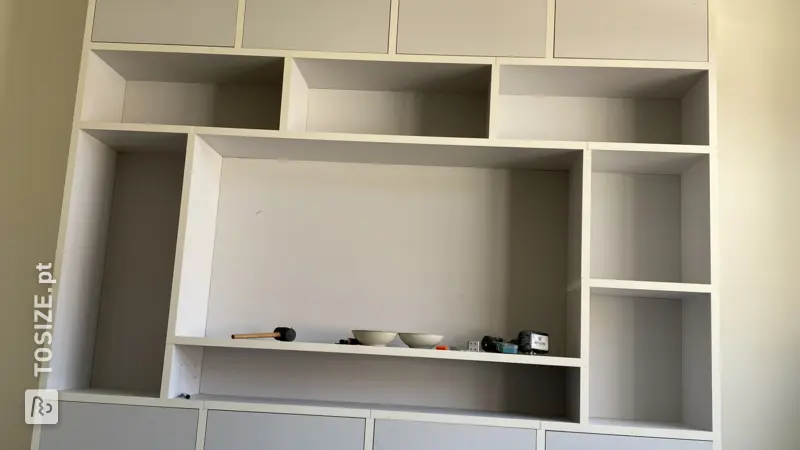
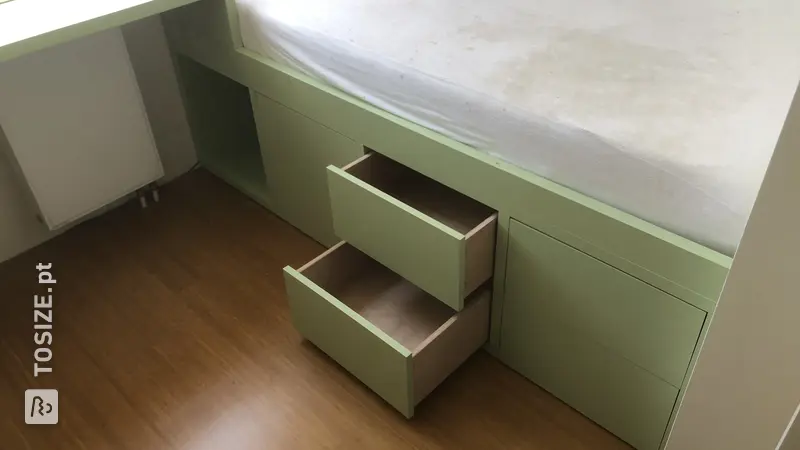
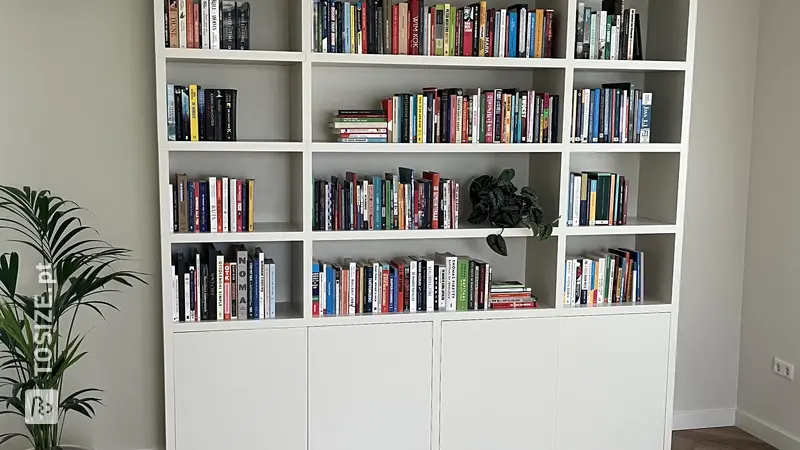
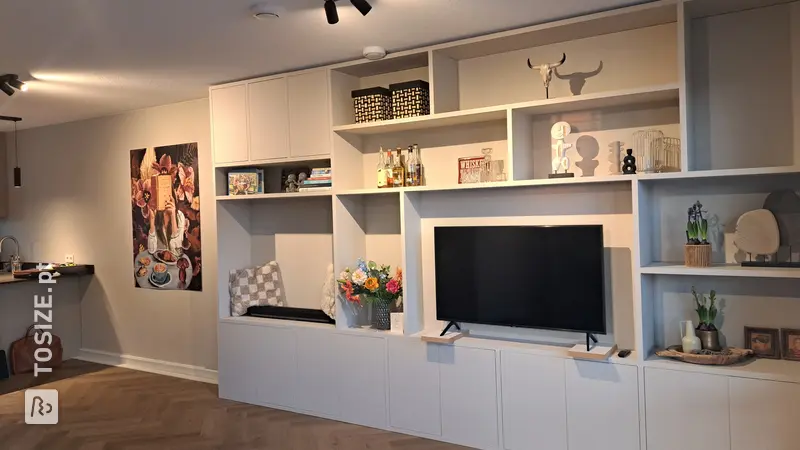
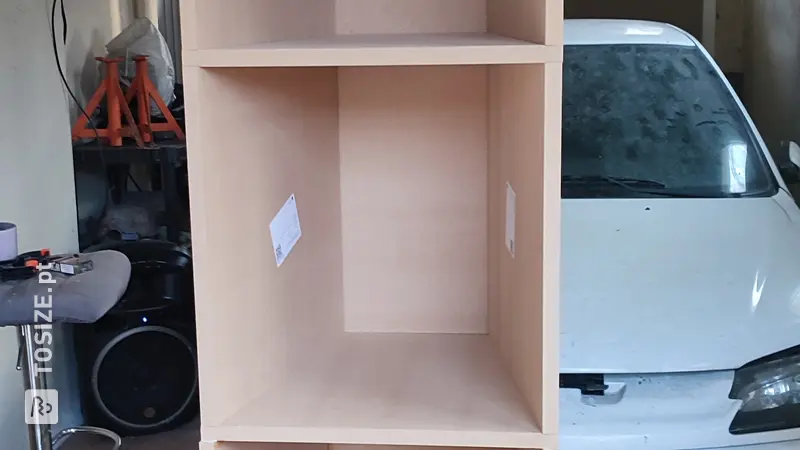
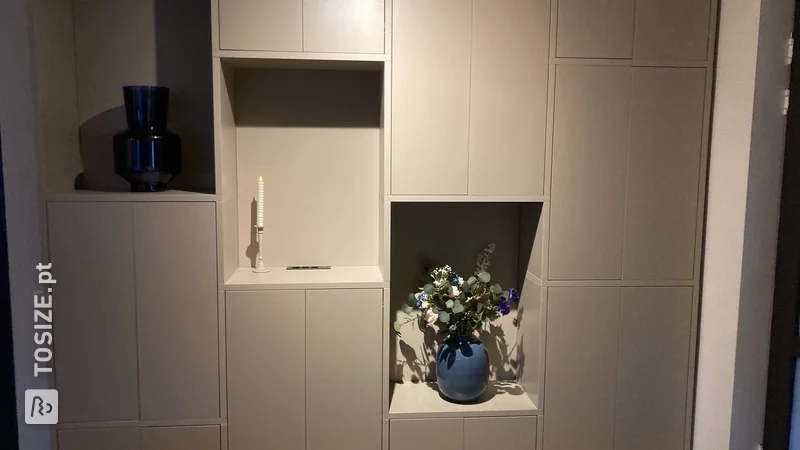
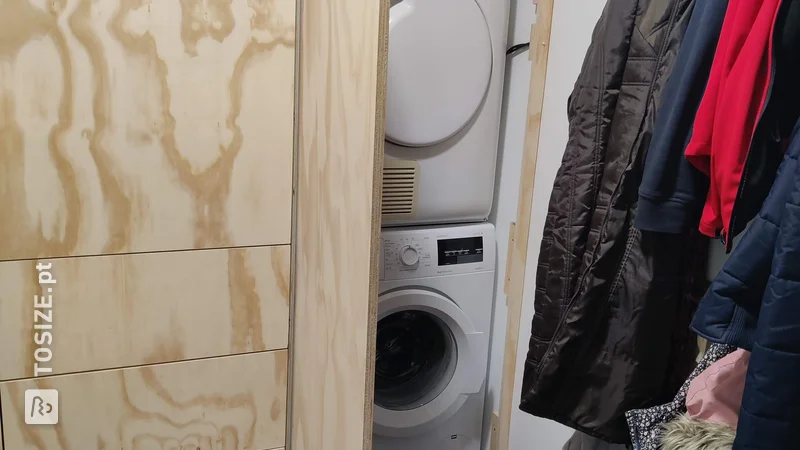
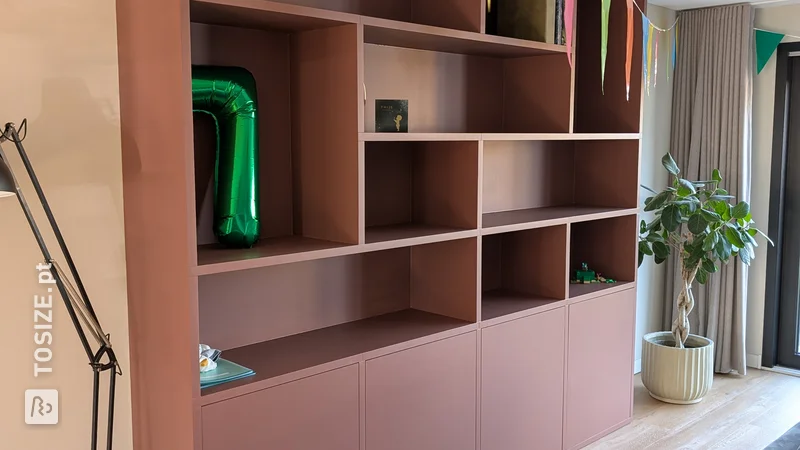
First I thought out and drew what the cabinet should look like and what functions the cabinet should have . In any case, the food processor had to fit in the cupboard. The back wall of the cabinet is the wall. I first painted this with washable paint. I assembled and painted the cabinet in steps. Layer by layer. I finished the end edges with edge sealer. I had measured a few parts too tightly, so I had to shave off those parts a bit. I used special MDF screws to mount the MDF together. I secured the top plate from below using a kreg tool. The corner clamps allowed me to make nice right-angled corners. This cabinet is attached to the wall in two places with a metal corner plate. Finally, the doors were mounted with concealed hinges. The cabinet is so sturdy that you can sit on it without any problems. Tips: - edge sealer: ensure a nice smooth surface, for example sand well or even polish it a bit. Otherwise you'll still have a bit of a rough edge. - measuring: measure the height in several places. I assumed that the two window sills in our new-build house had the same height... luckily the sawing experts were able to cut six planks by 0.7 cm. - painting: use good primer and good top paint for intensive use. This layer of paint is so hard that I had to use a drill to make a hole to install a screw. Ideal for the kitchen.
Dimensions of my DIY project
297.0 x 29.0 cm
Tip! Also check out our handy DIY tips!
What now?
Want to make this DIY project? Check out Tryntsje's saw list and complete your order easily.
€ 252,79
View all sheet materials