- TOSIZE.pt
- Do it yourself
- DIY Projects
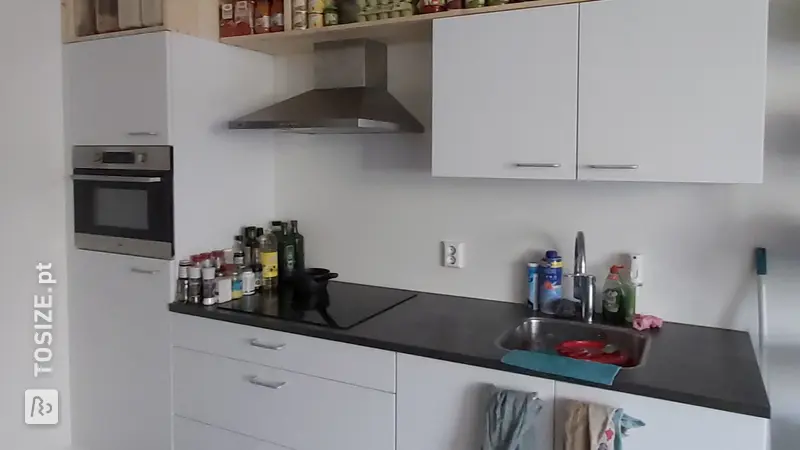
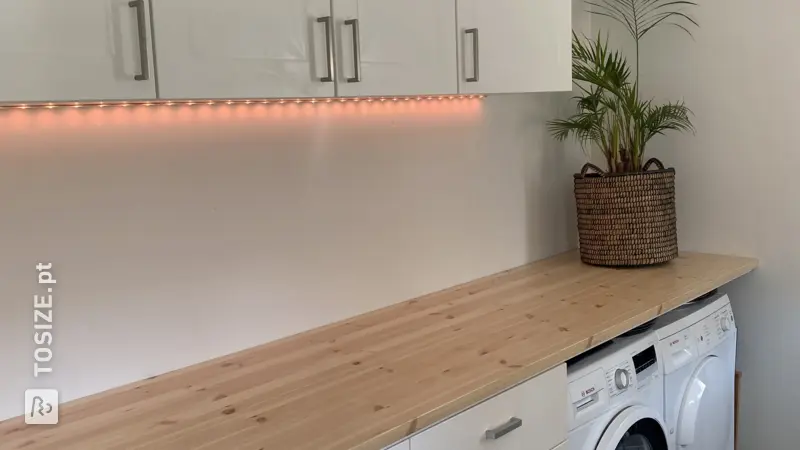
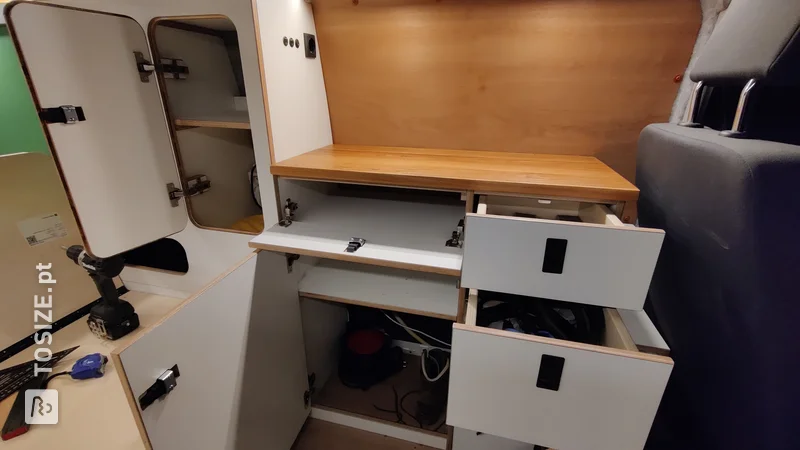
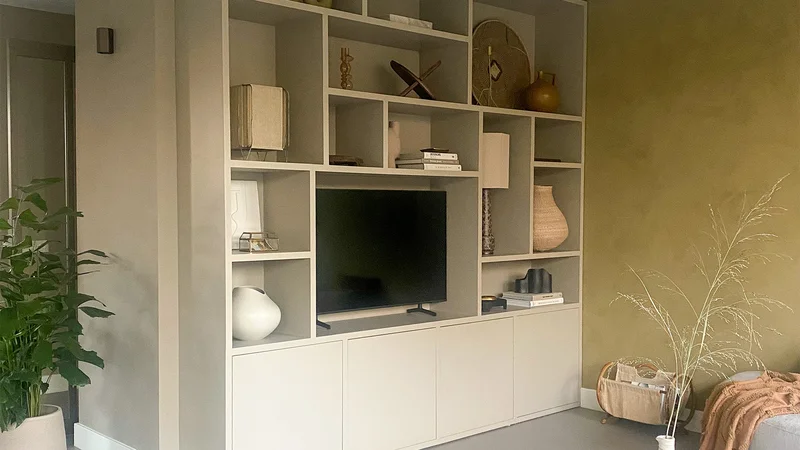
Custom kitchen cabinet, made of pine, by Robin
Custom kitchen cabinet, made of pine, by Robin
Create this project yourself with sheet material cut to size by TOSIZE.pt!
Robin
Average
2 minutes
Description
This project consists of two parts:
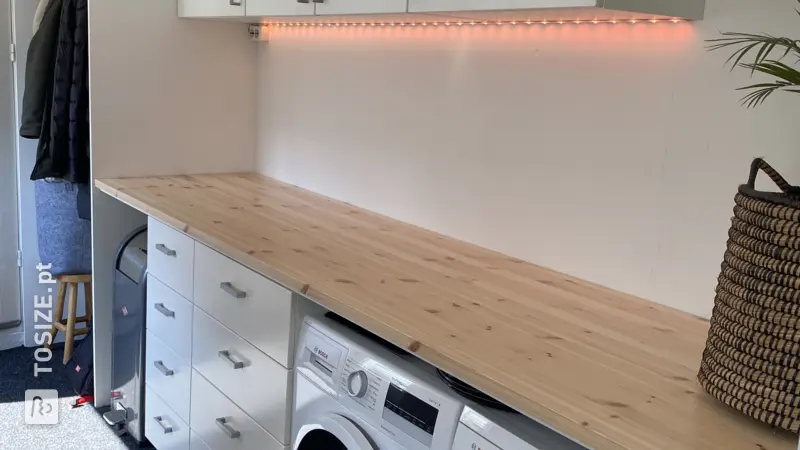
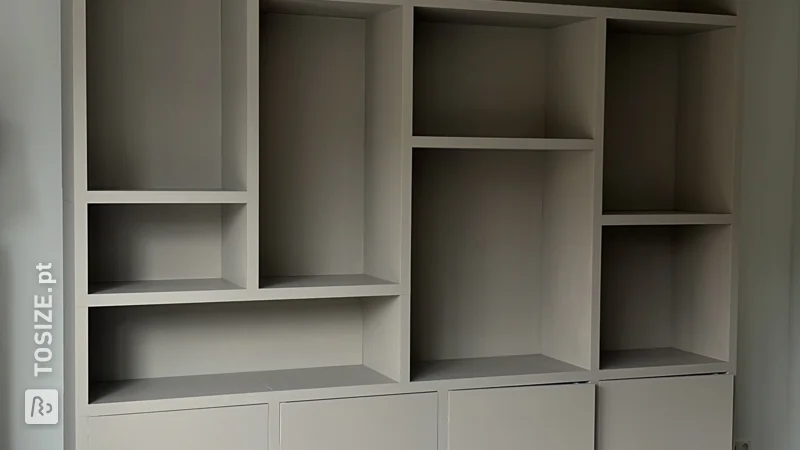
- Kitchen cabinet made of wooden, pine furniture panels with 6 shelves: 2 closed shelves behind cabinet doors, 2 fixed shelves and 2 extendable shelves intended for 2× 2 pine Ikea KNAGGLIG chests.
- Wooden (pine) frame for composite kitchen worktop with MDF lacquer foil back wall with integrated electricity. These cables are located in the MDF panel so that no slots had to be milled in the wall. This panel also provides a smooth back wall behind the kitchen worktop that is easy to clean.
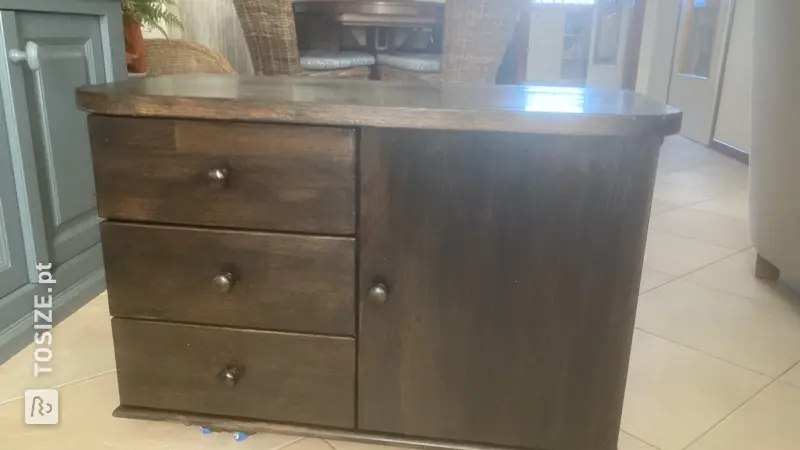
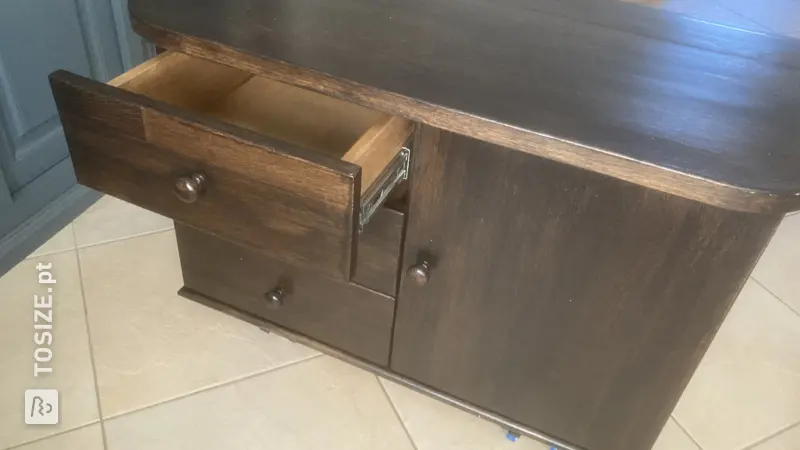
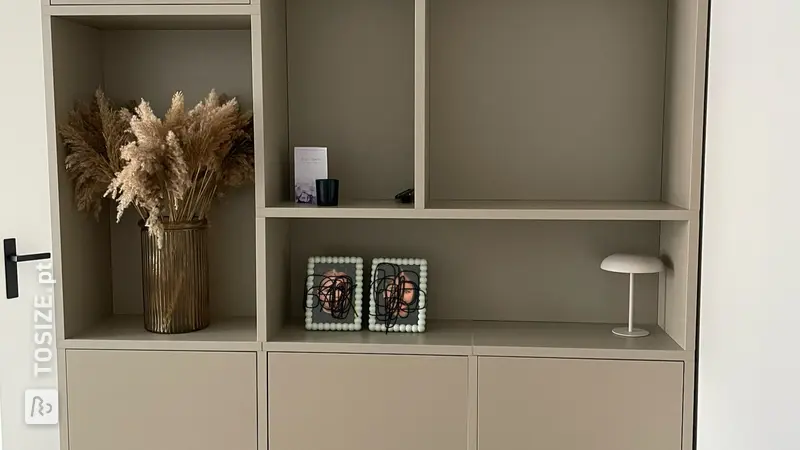
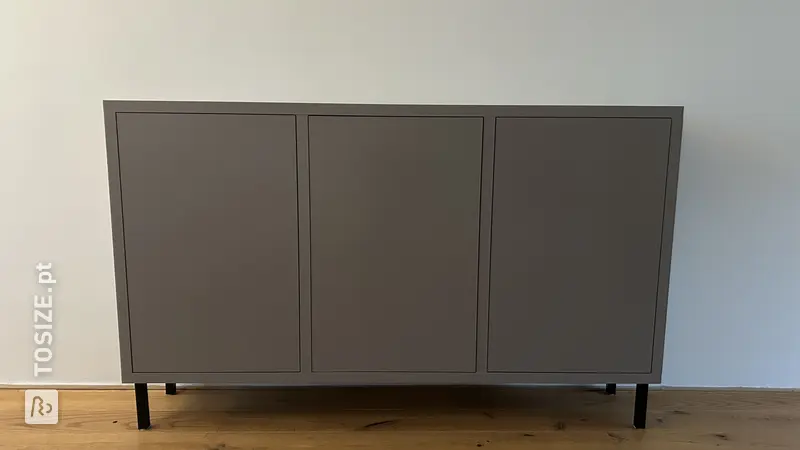
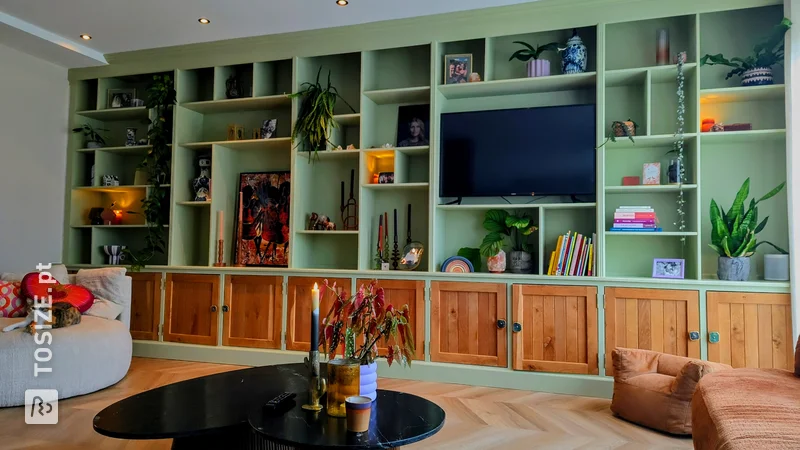
Country kitchen cabinet
Cabinet:
- Furniture panels cut to size by TOSIZE.pt br - Panels lightly sanded and varnished twice with Rambo Pantserlak Interior Pure Oak (0803).
- Fixed shelves attached with invisible shelf supports (Italiana Ferramento PK2), drilled with an 18mm forstner drill
- Holes for hinges drilled into the doors with a 35mm Forstner drill
- Attaching hinge mounting plates to uprights.
- Fronts for the drawers attached with 6mm dowels
- Attaching shelf supports and drawer guides to the uprights
- Installing shelves, attaching the back wall with (short) chipboard screws to the uprights and the bottom shelf
- Placing drawers in drawer guides
- Screwing hinges to the uprights.
Frame: br - Holes for the sockets drilled/chiseled into the stone wall to which the panel will be mounted.
- Socket holes drilled into the lacquer-based MDF panel with a 74mm hole saw.
- Slots for electrical equipment milled with a router
- End edges of the MDF panel finished with diluted wood glue
- Panel painted with Flexa Tight in the lacquer off-white satin gloss (RAL9010)
- Cables installed in the milled slots on the rear
- Mounting flush-mounted box. The model used clamps itself to the MDF panel.
- Panel mounted with mounting kit, seams finished with acrylic sealant
- Panel lacquered for a second time with Flexa Strak in the lacquer. Now the sealant layer can also be neatly painted.
- Mounting sockets
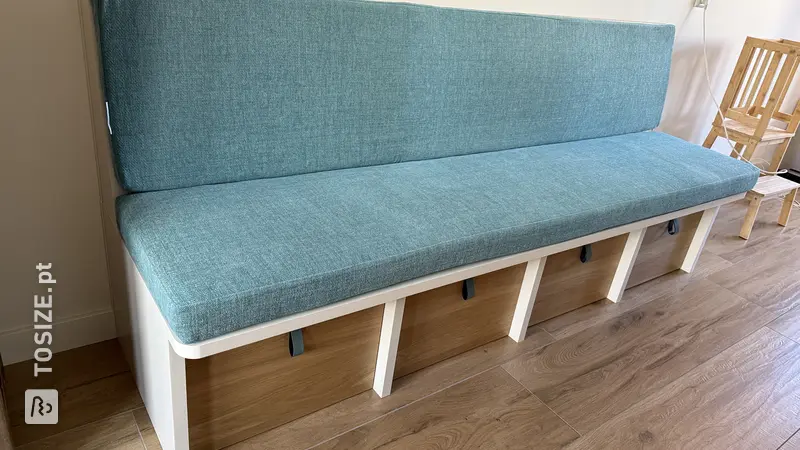
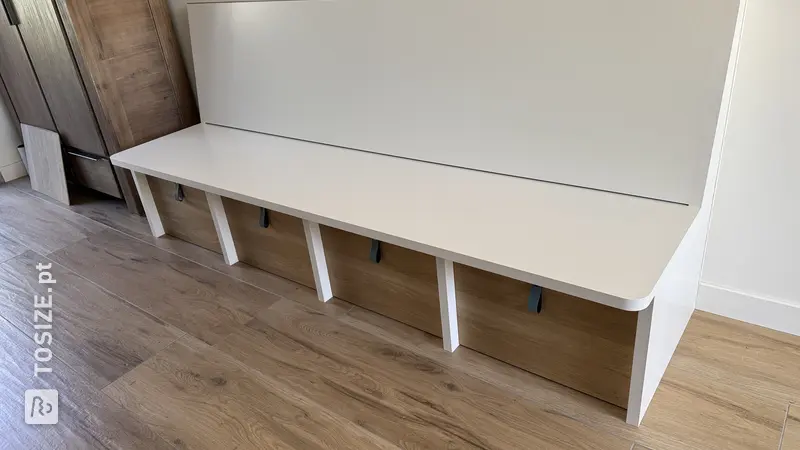
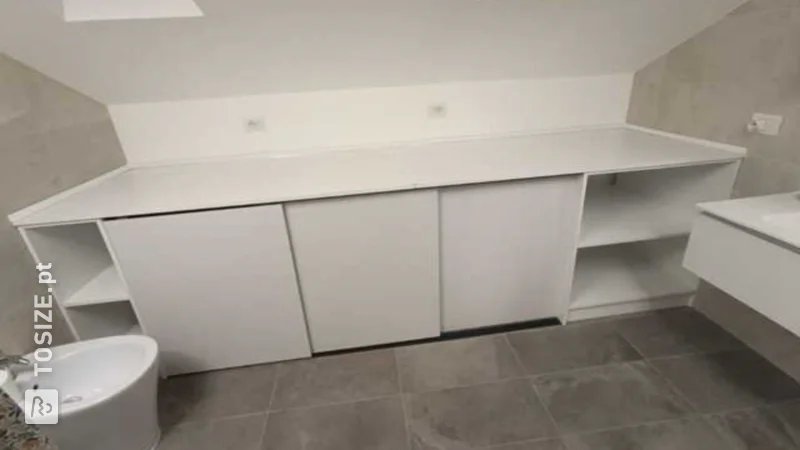
The composite worktop unfortunately has a long delivery time and has not yet been delivered at the time of writing, so in the photo only the frame on which this top will be placed is visible.
The dimensions of the project
Case: 200.0×101.0×40.0cm (height×width×depth) br Worktop frame: 96.0x203.0x67.0 cm (height×width×depth)
Tip! Also check out our handy DIY tips!
What now?
Want to make this DIY project? Check out Robin's saw list and complete your order easily.
€ 889,73
View all sheet materials