- TOSIZE.pt
- Do it yourself
- DIY Projects
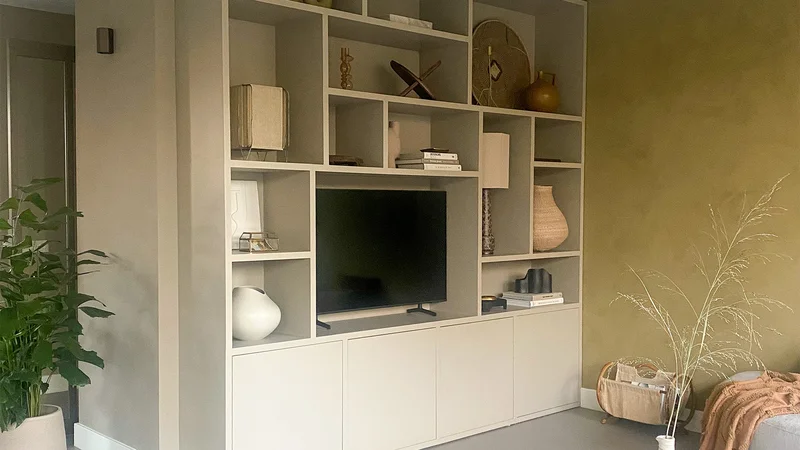
DIY Wardrobe under sloping wall with recess for bed and IKEA PAX wardrobe layout, by Harrie
DIY Wardrobe under sloping wall with recess for bed and IKEA PAX wardrobe layout, by Harrie
Create this project yourself with sheet material cut to size by TOSIZE.pt!
Harrie
Challenging
3 minutes
Description of Harrie
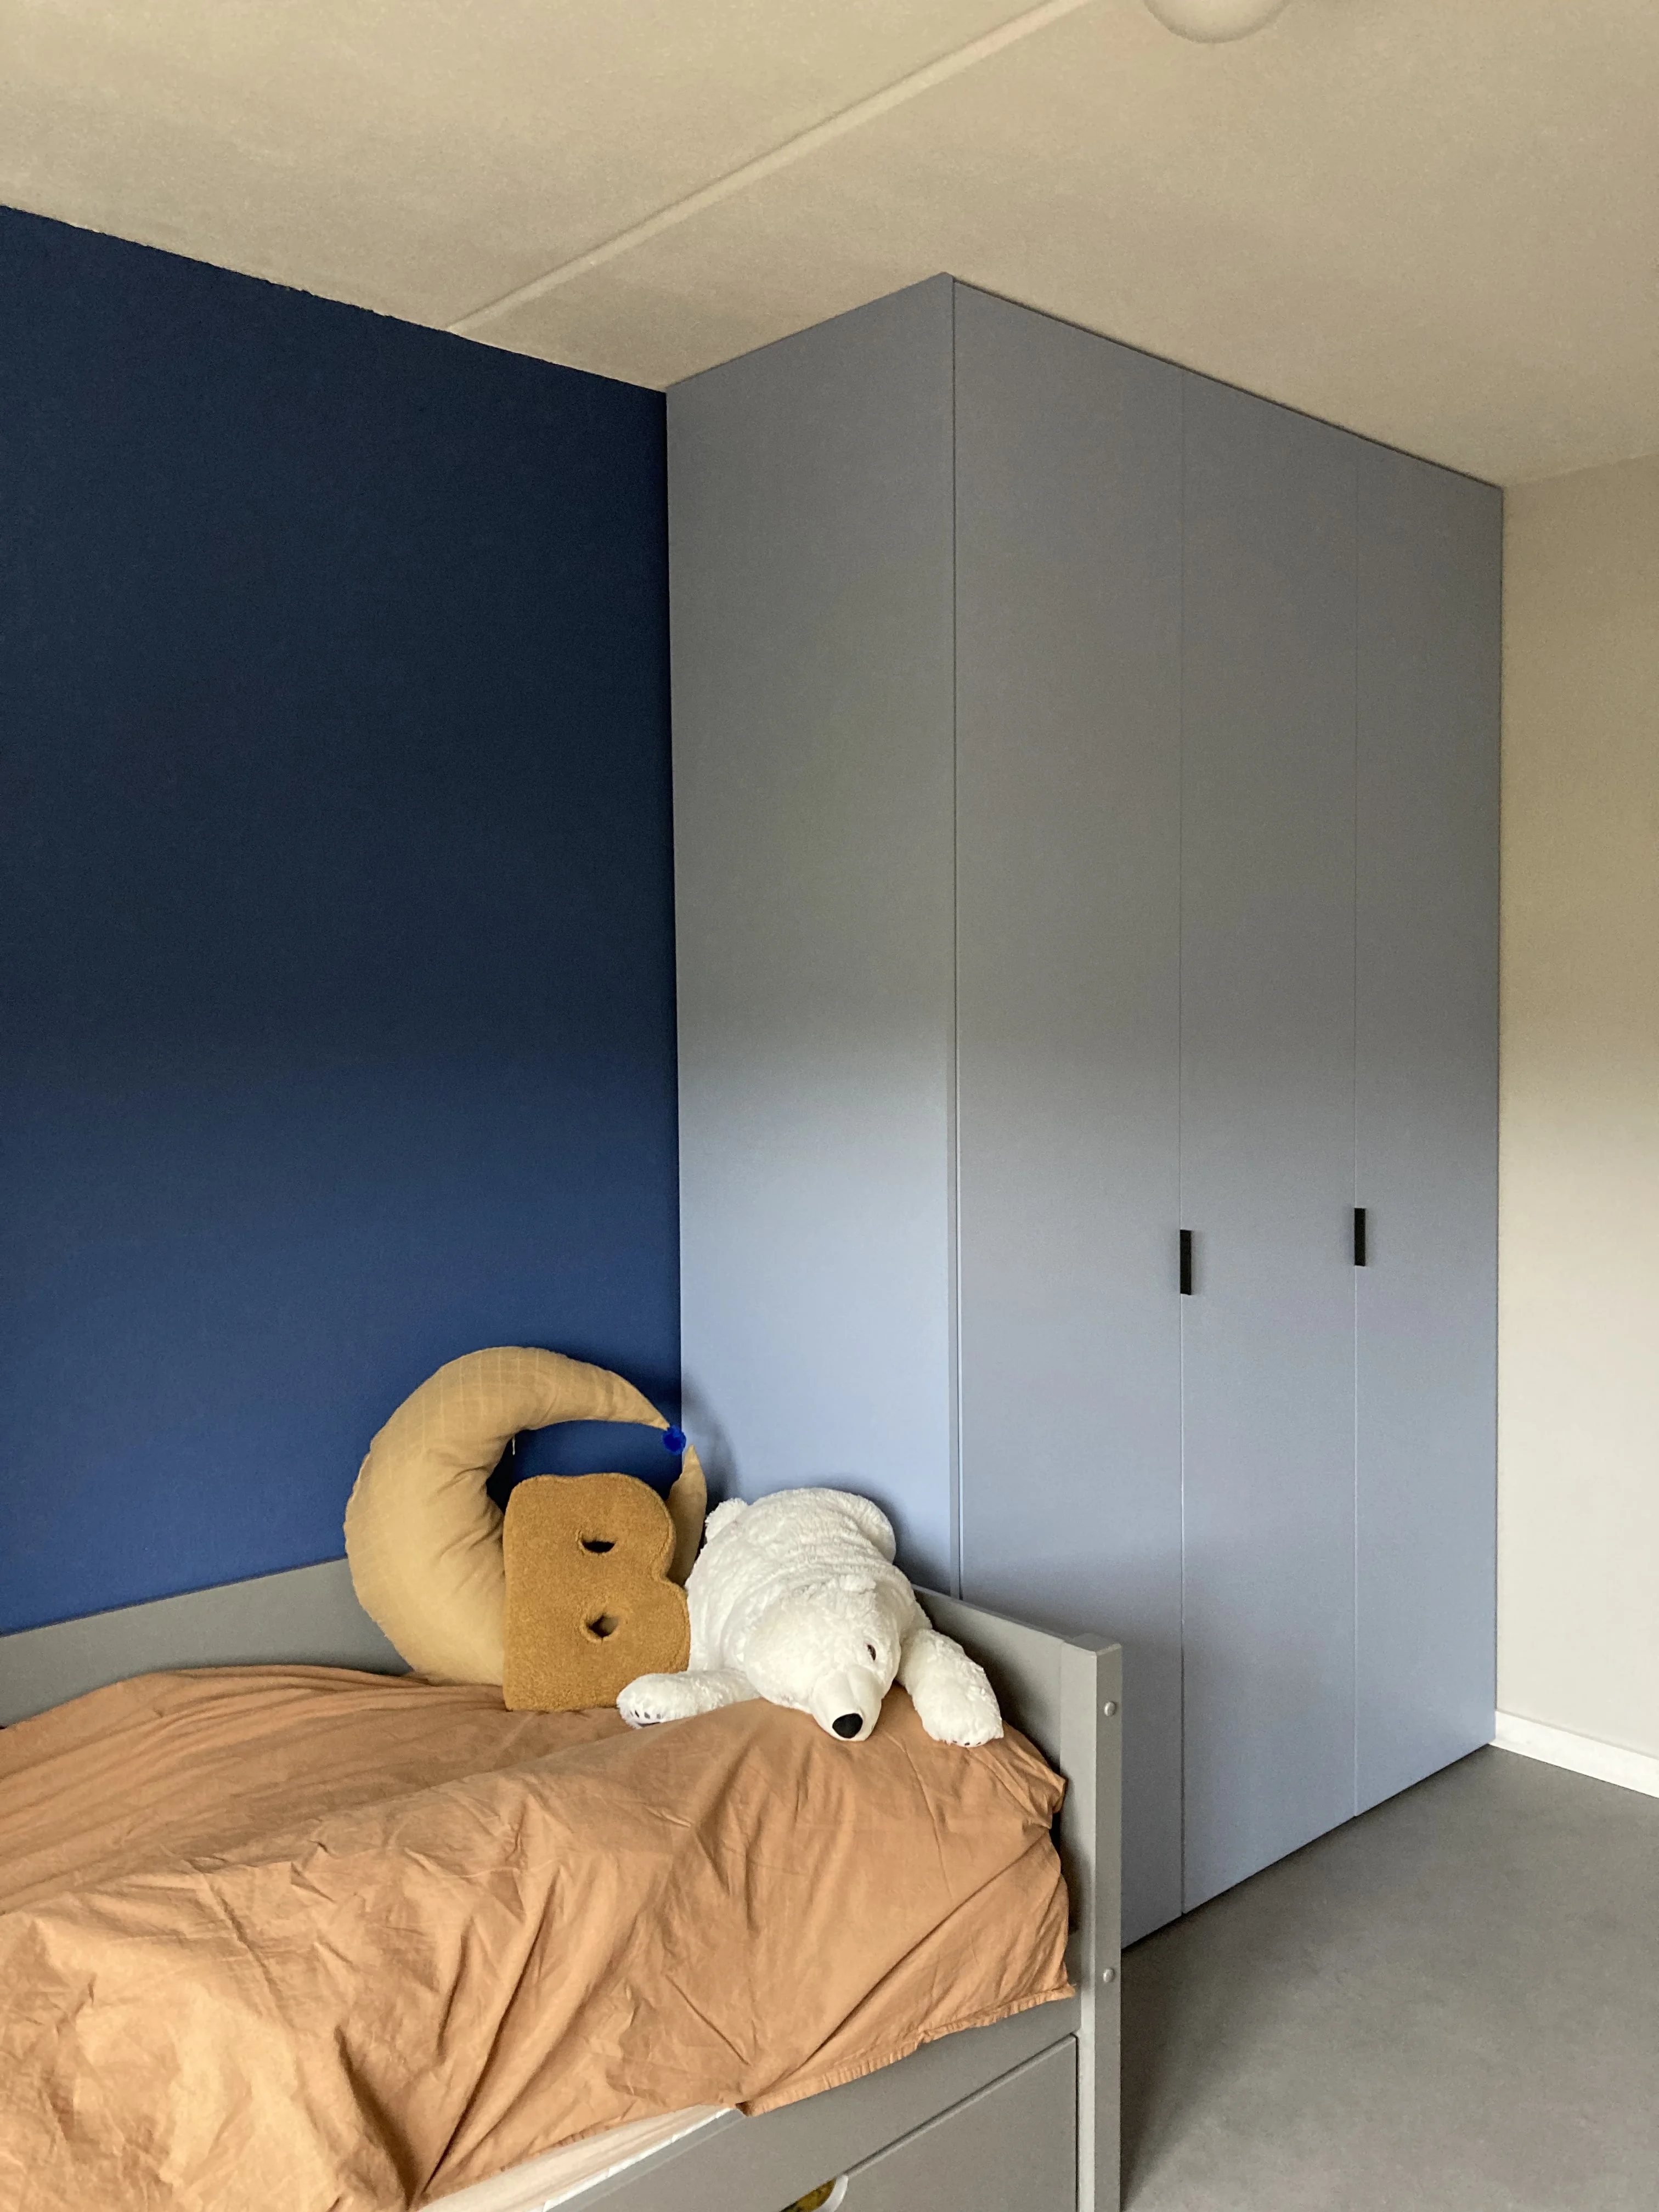
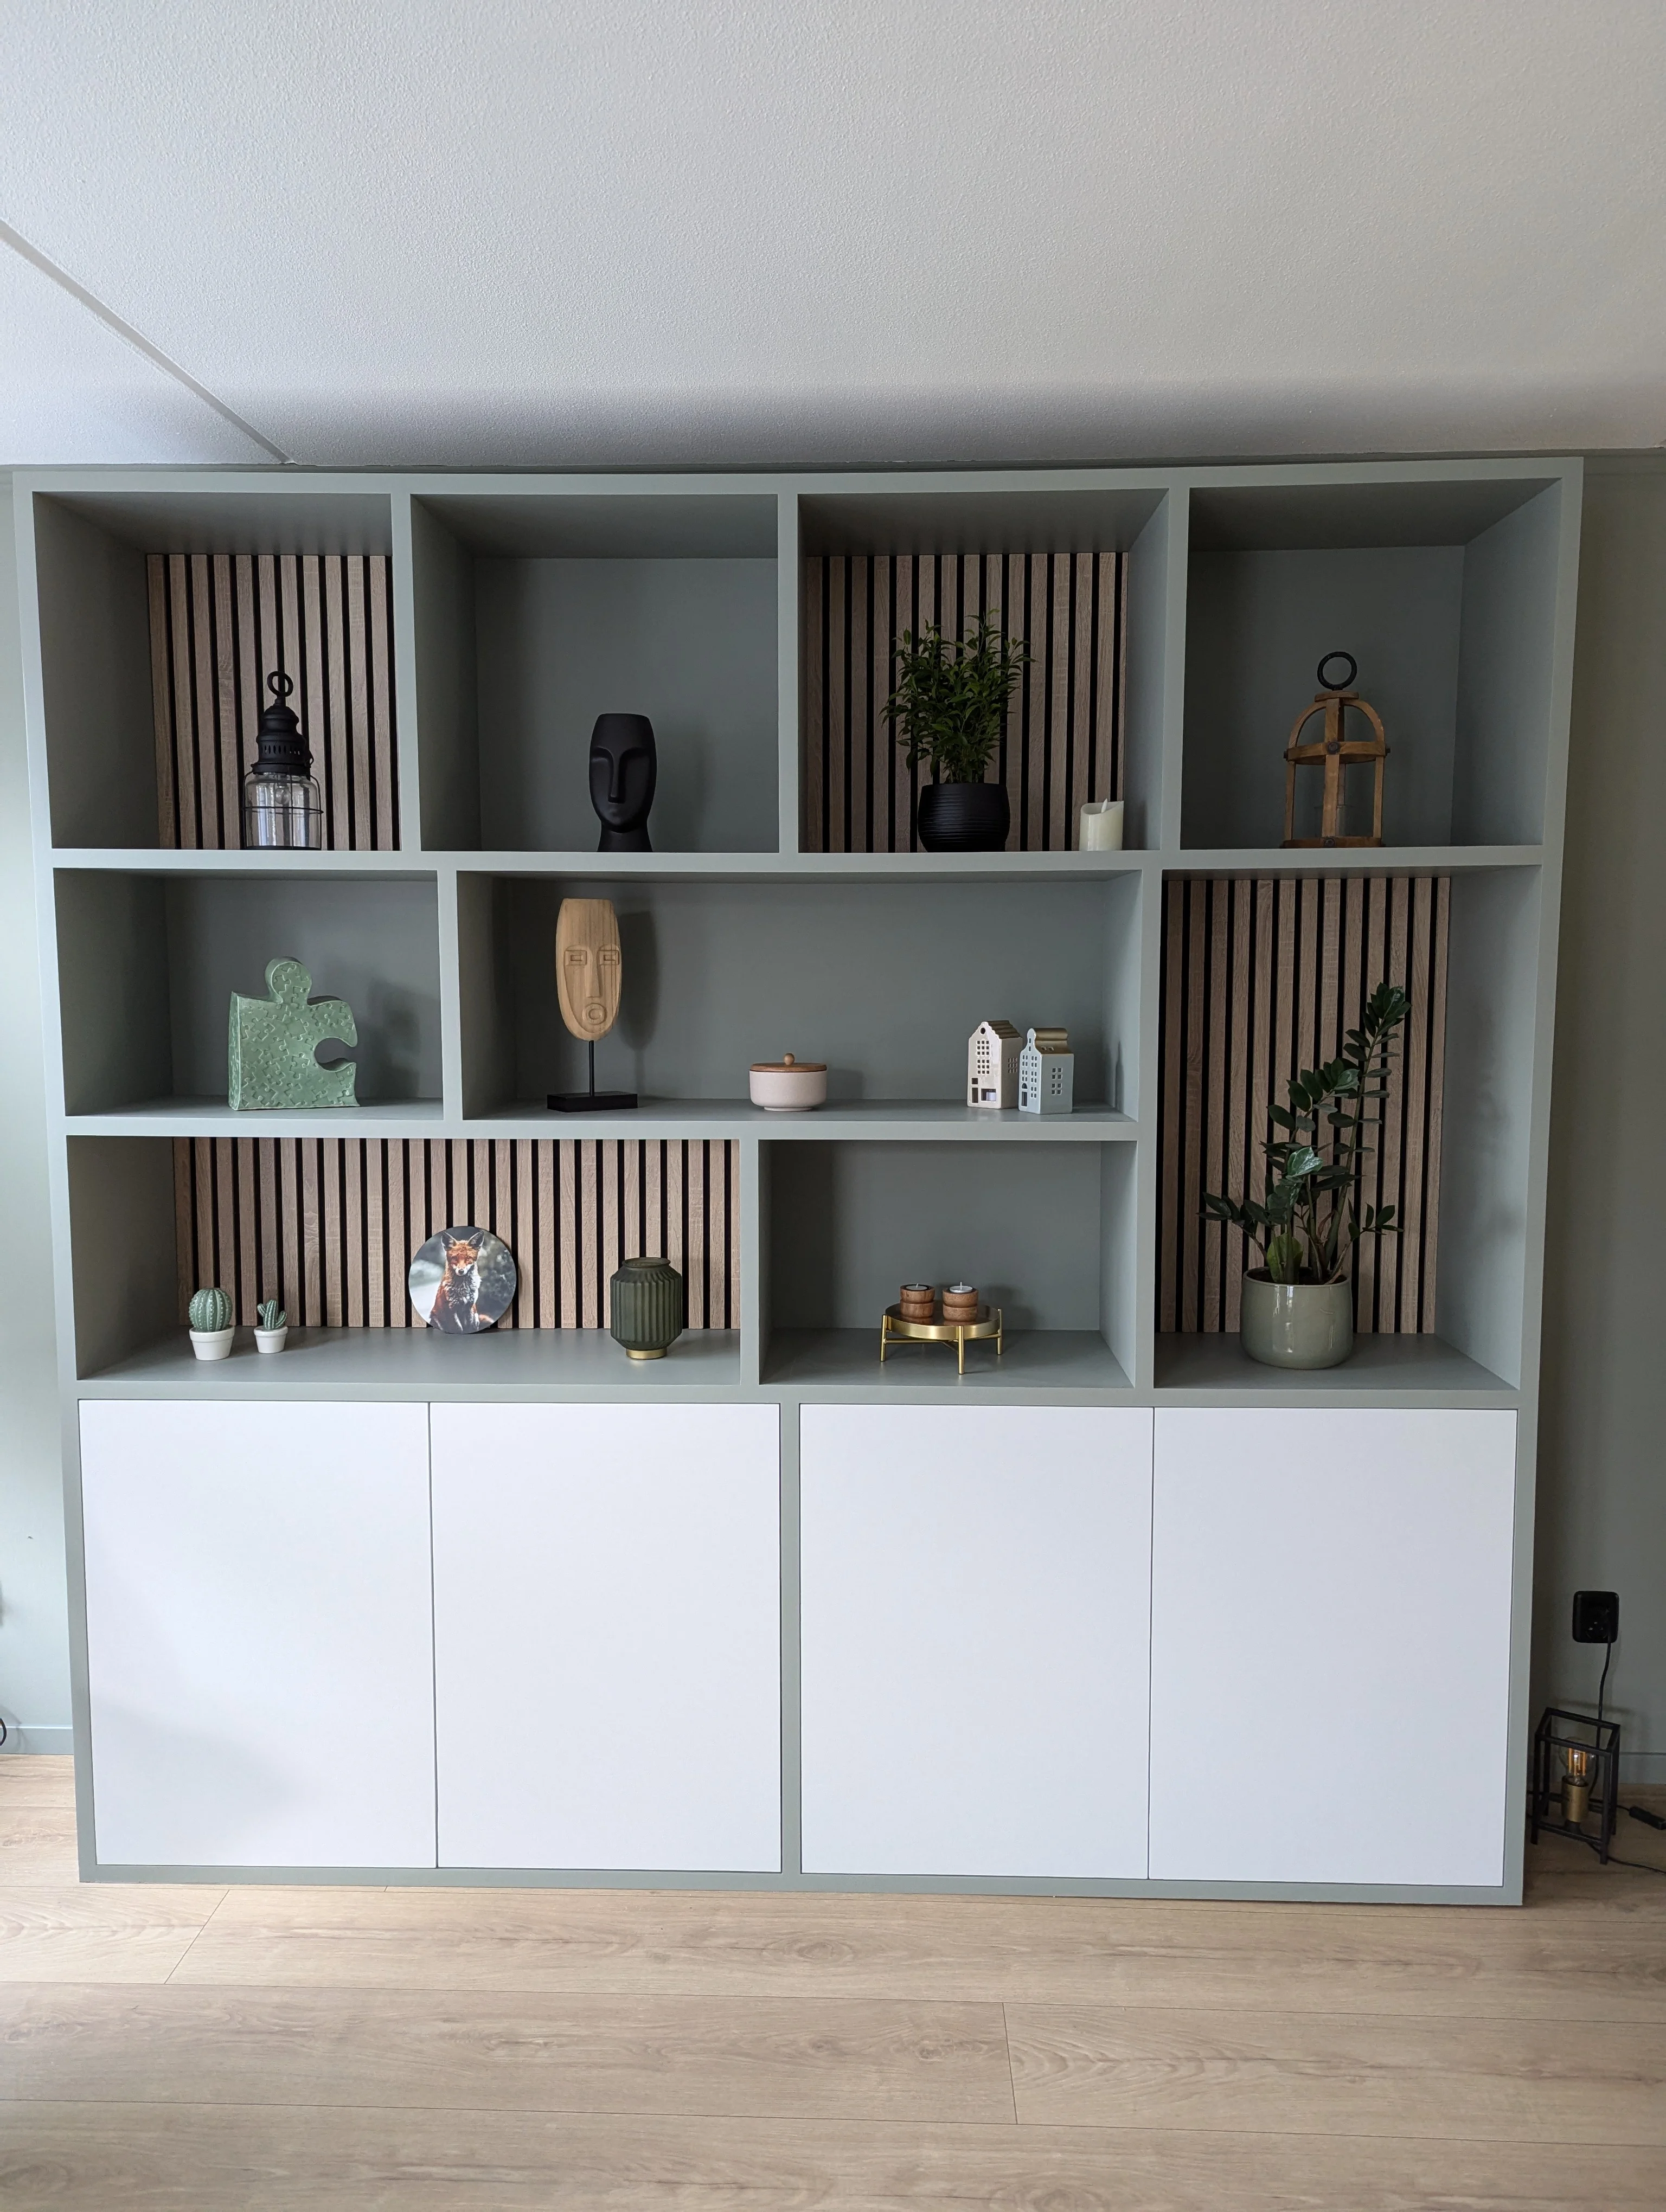
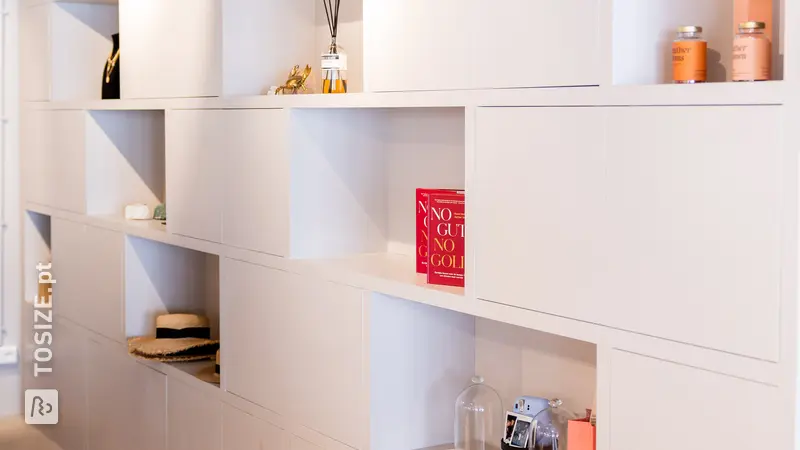
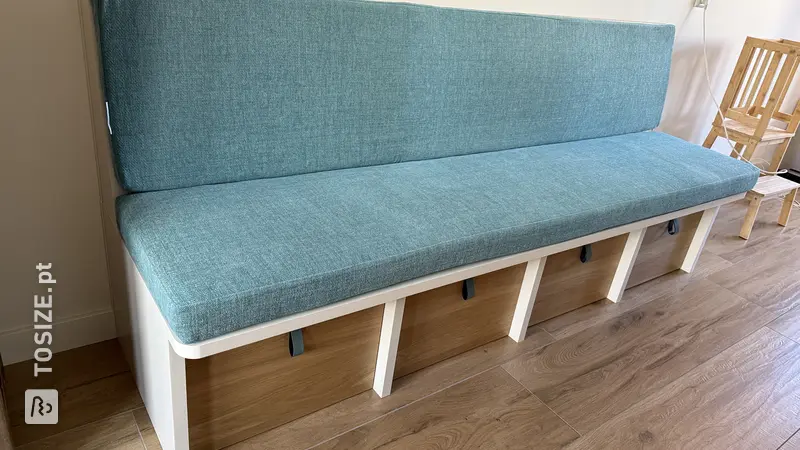
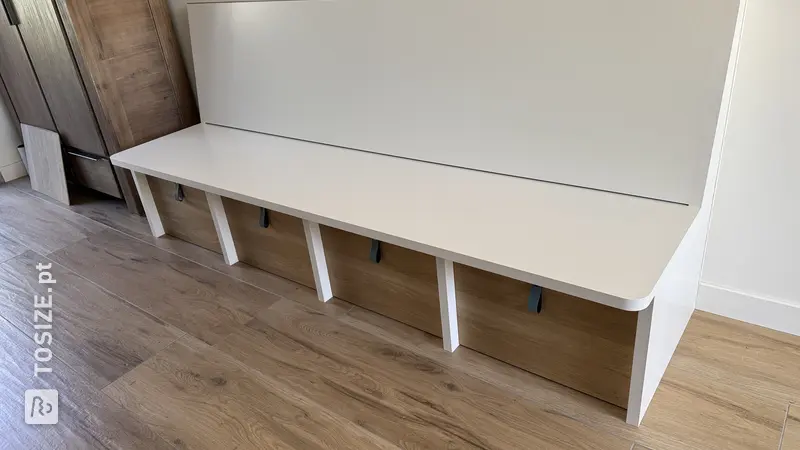
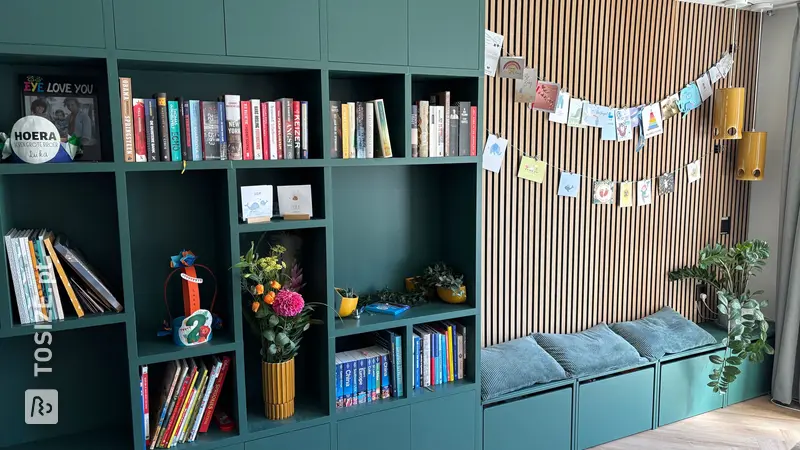
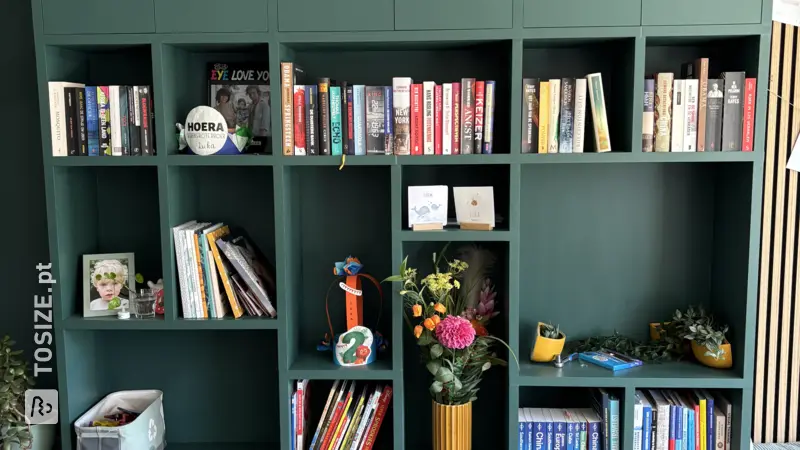
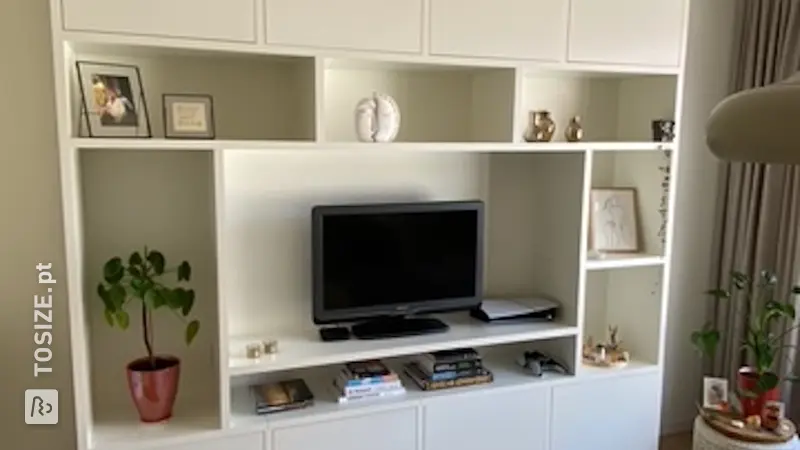
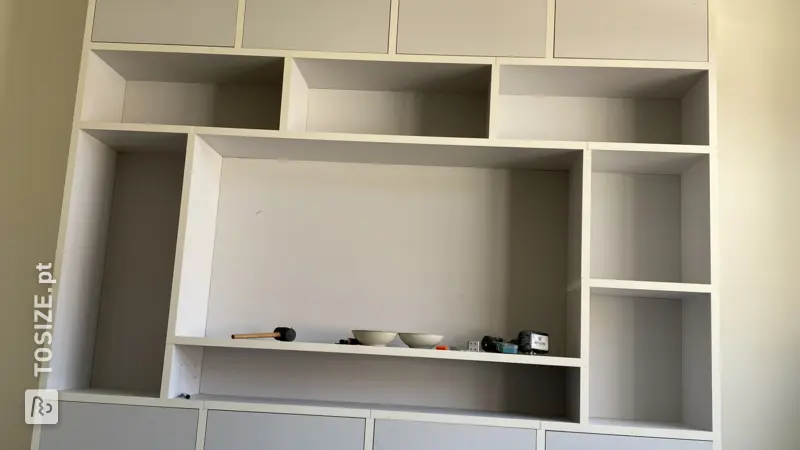
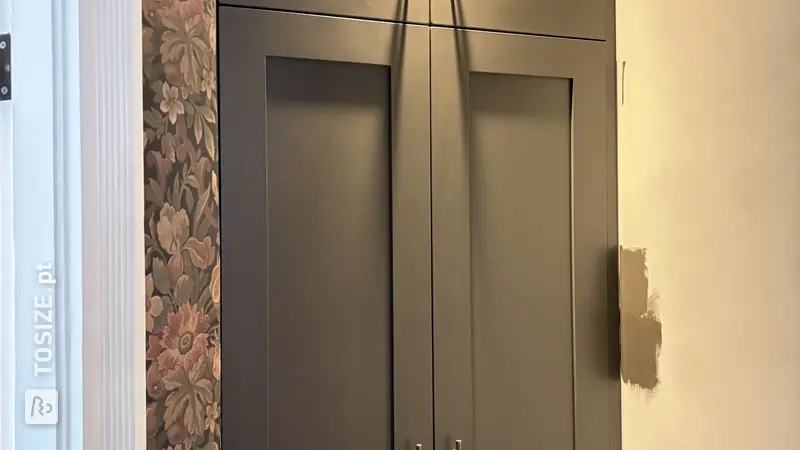
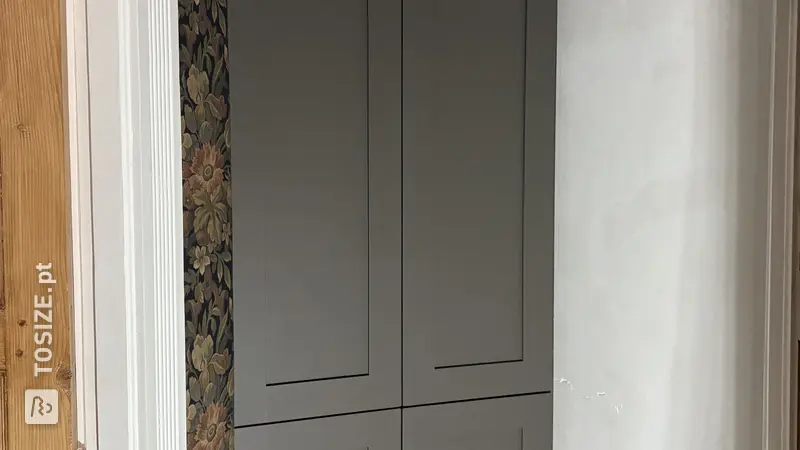
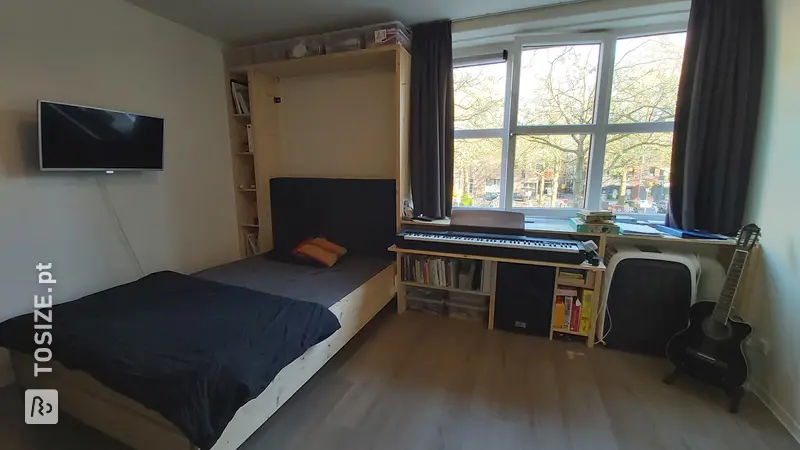
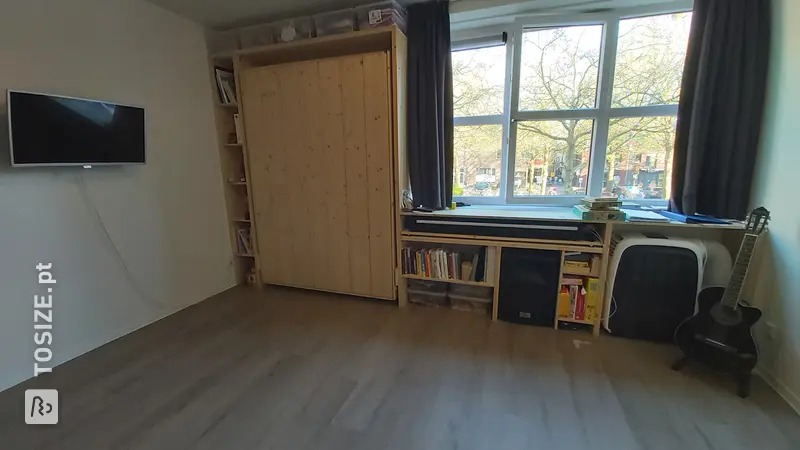
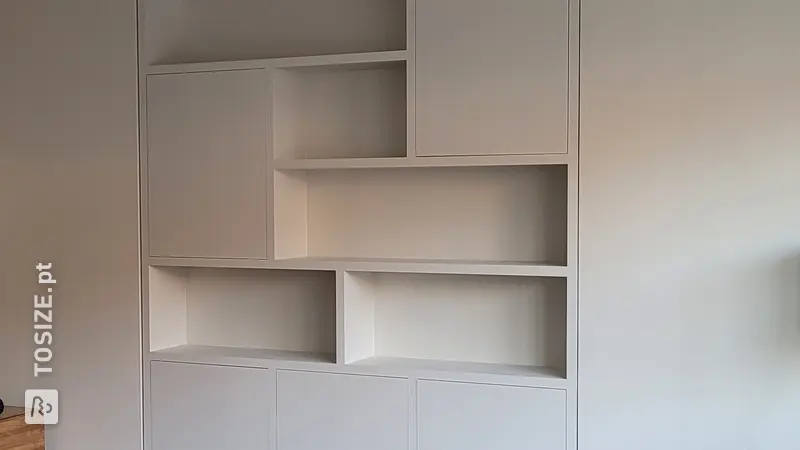
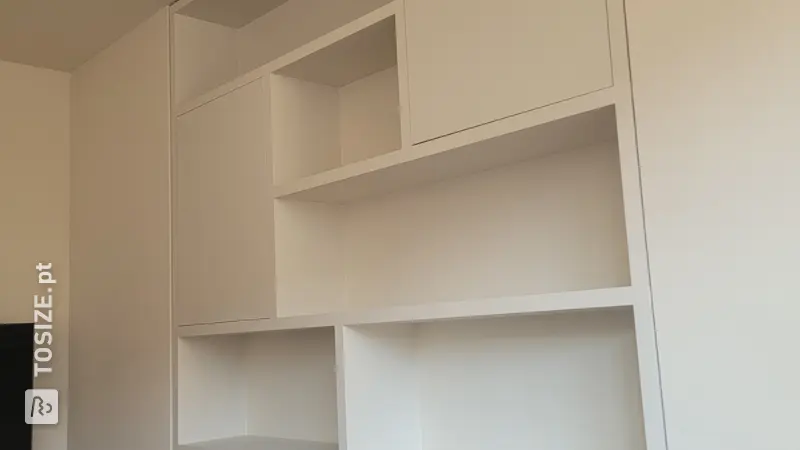
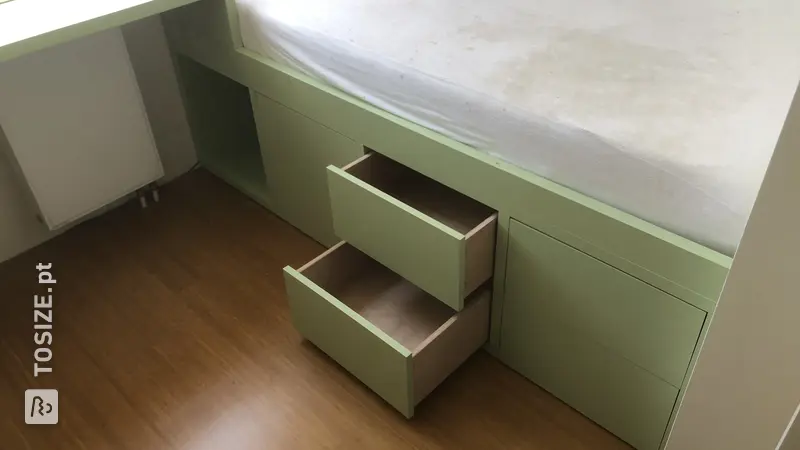
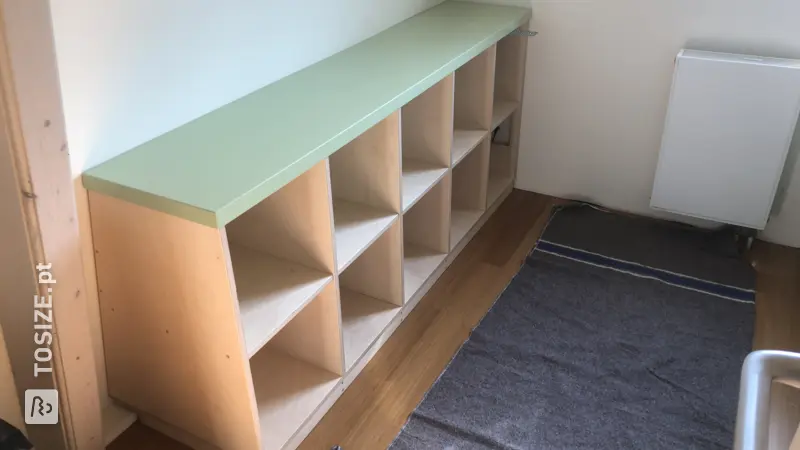
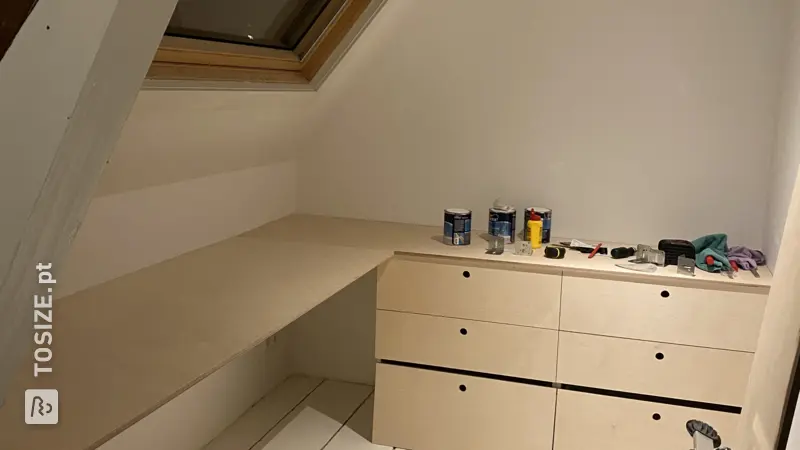
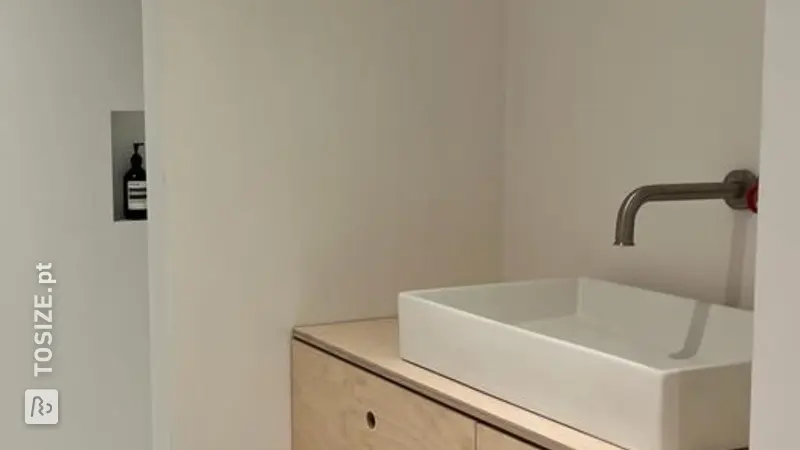
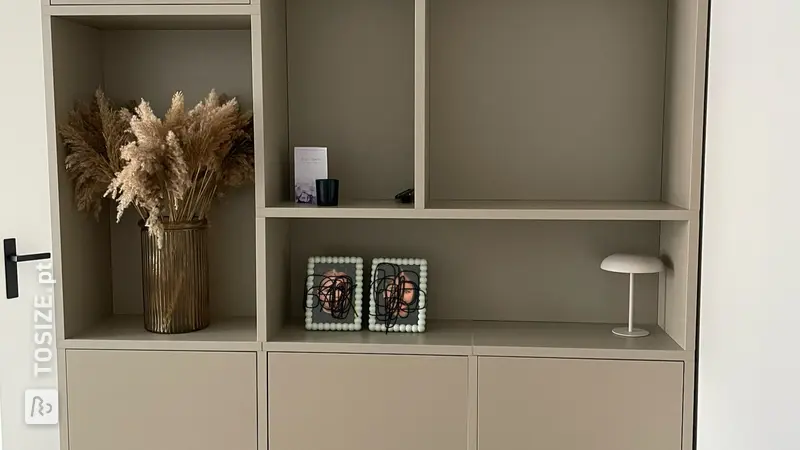
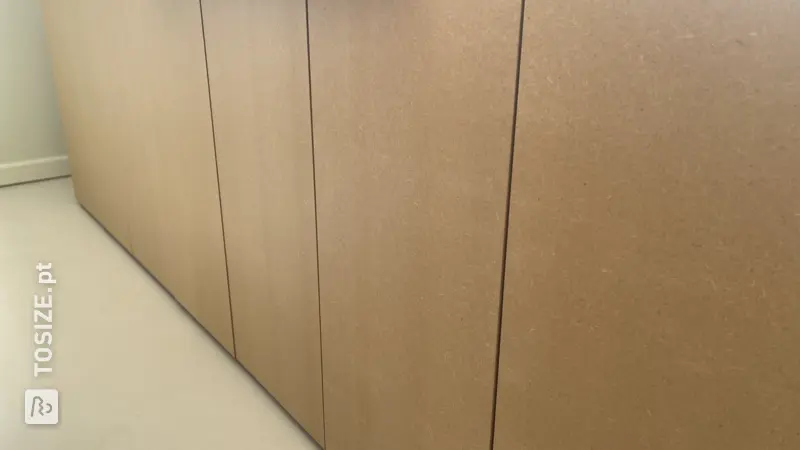
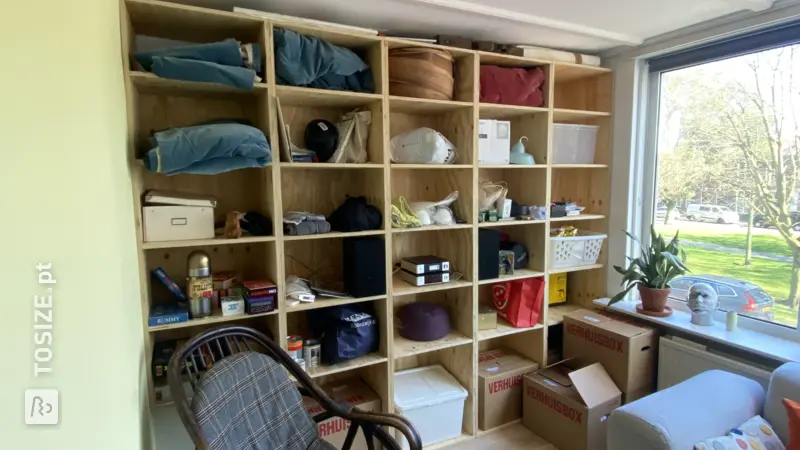
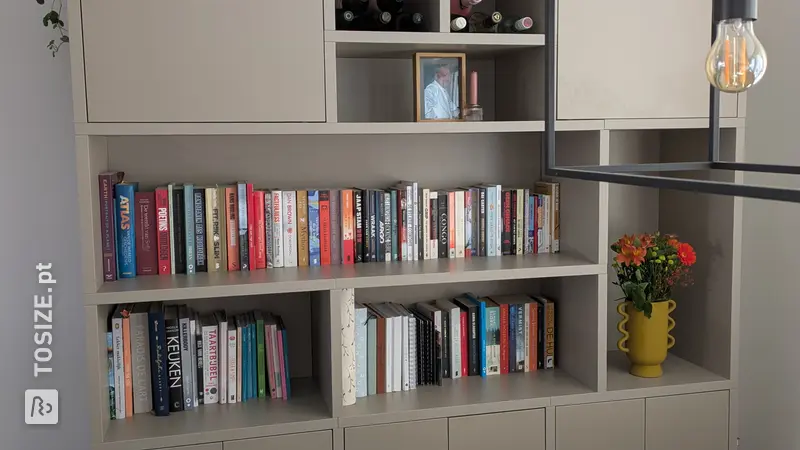
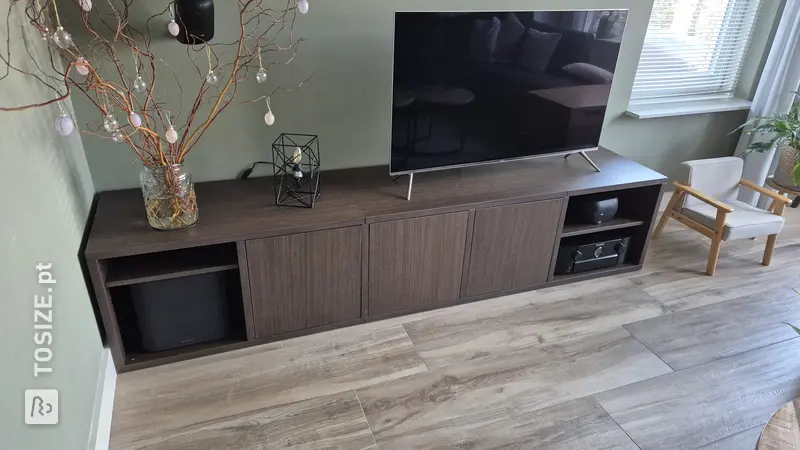
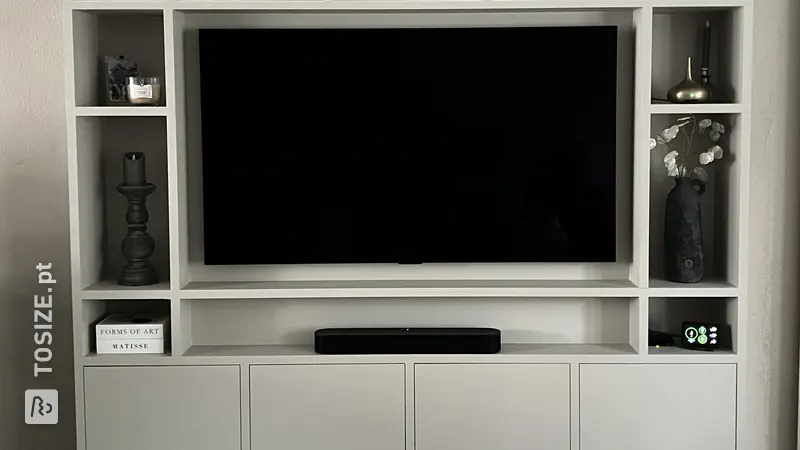
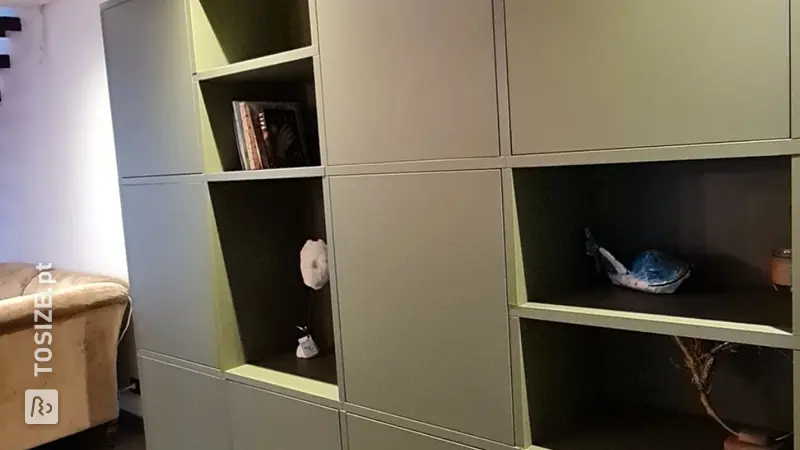
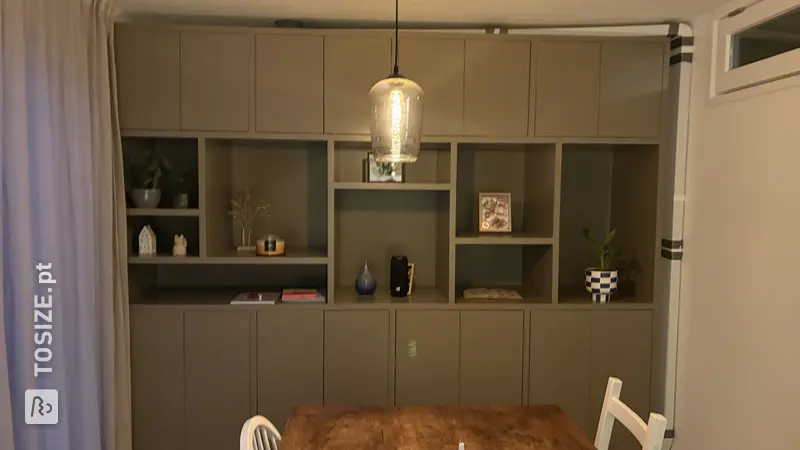
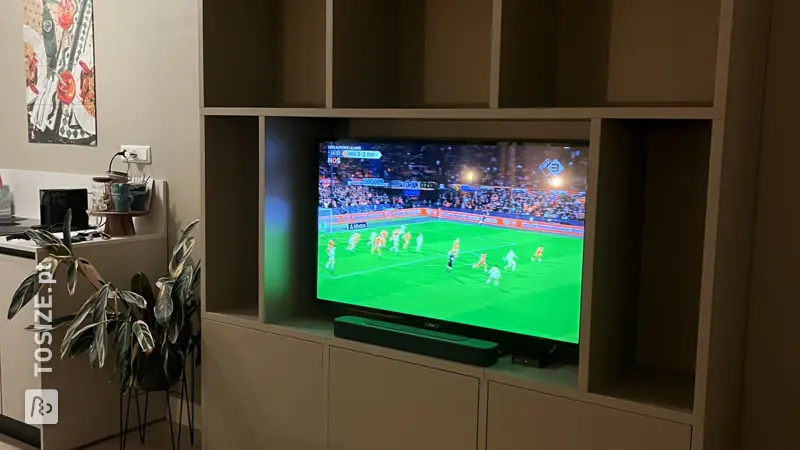
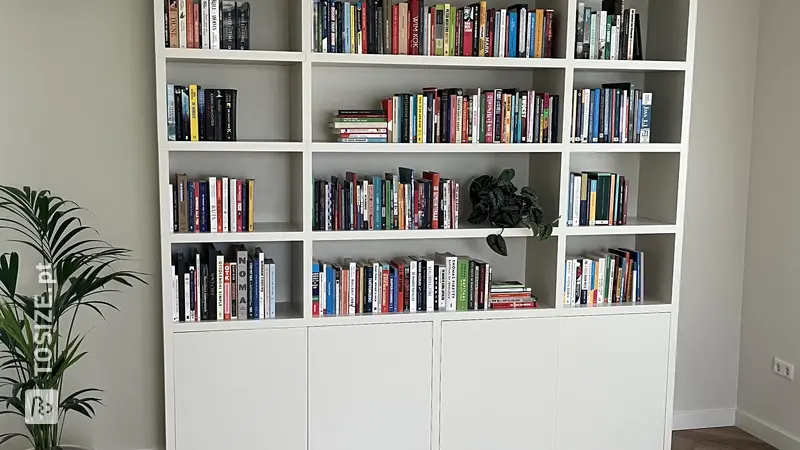
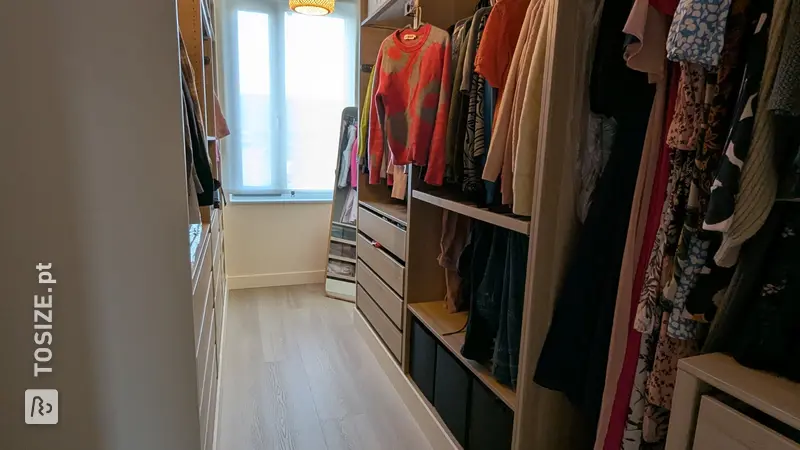
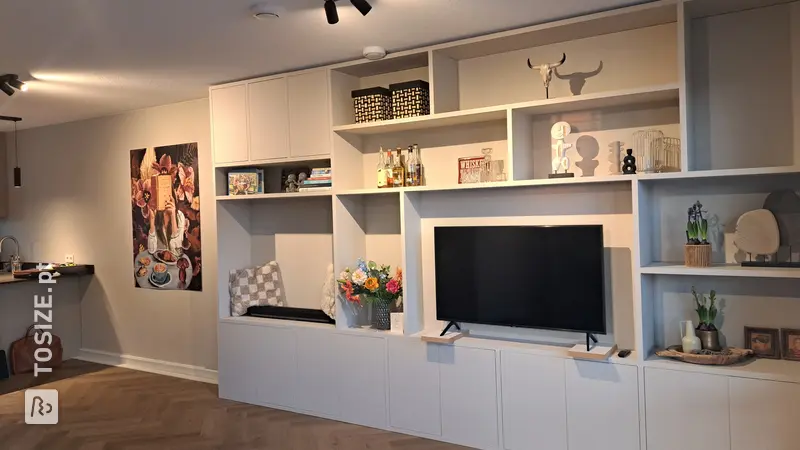
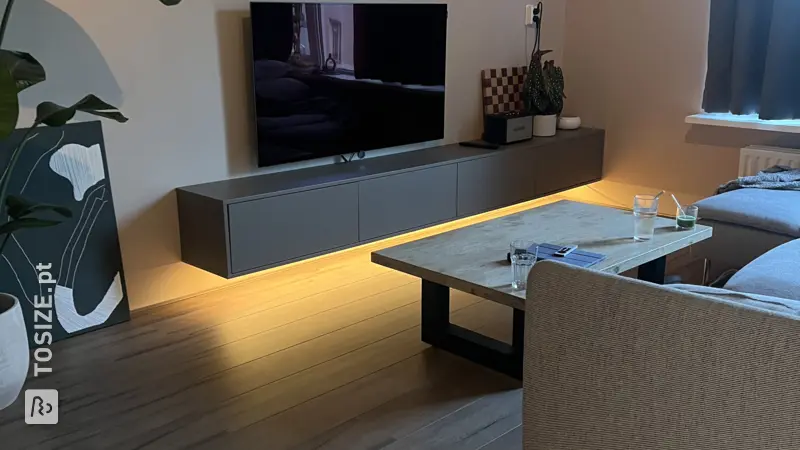
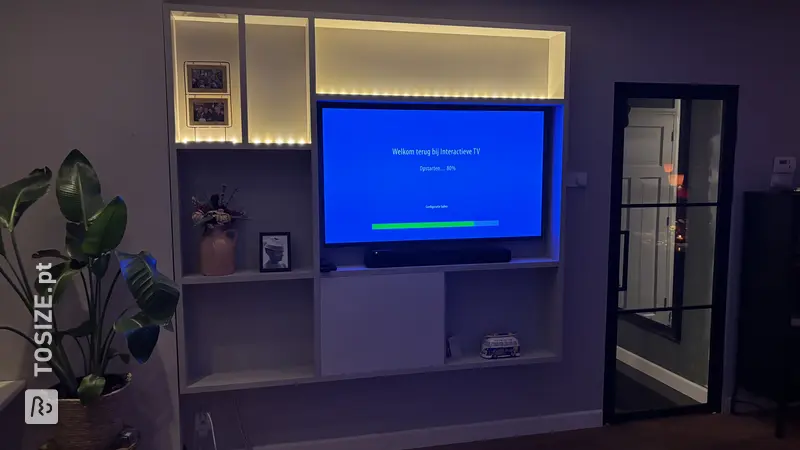
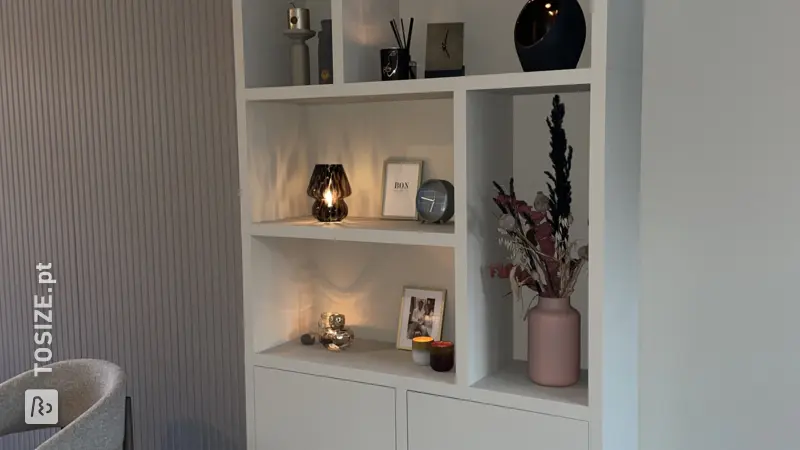
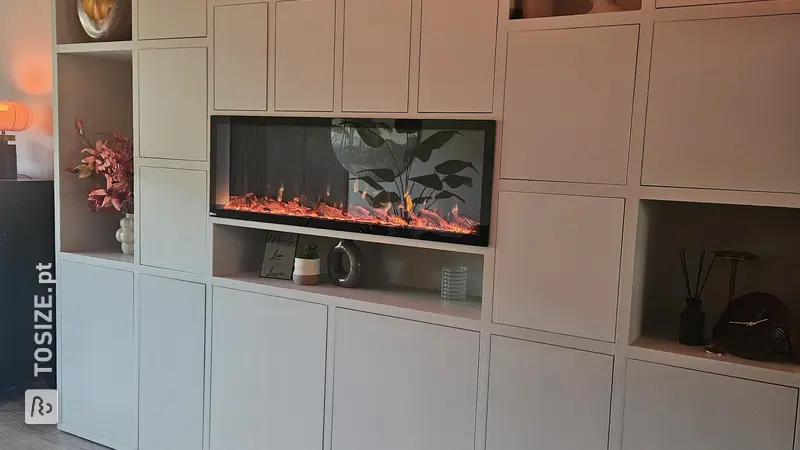
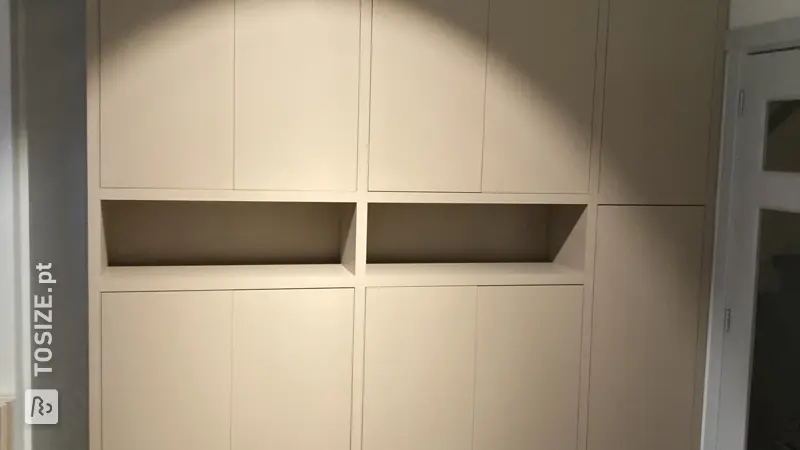
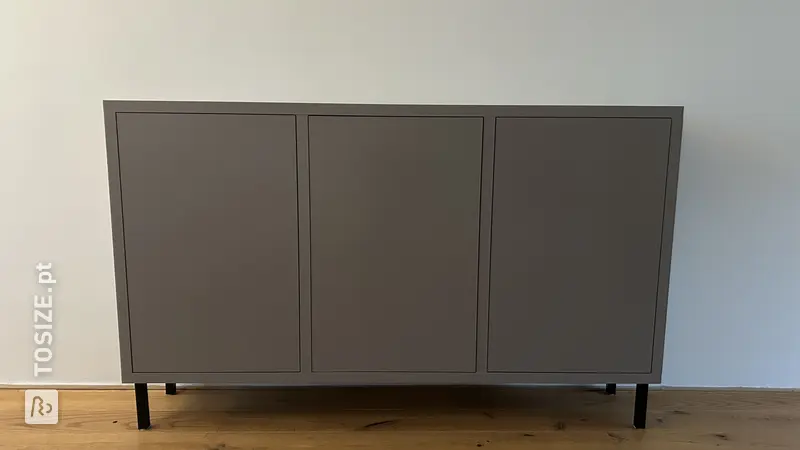
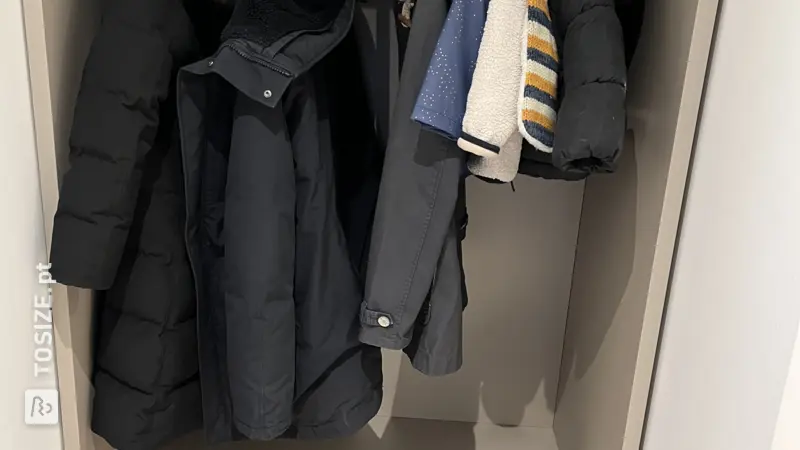
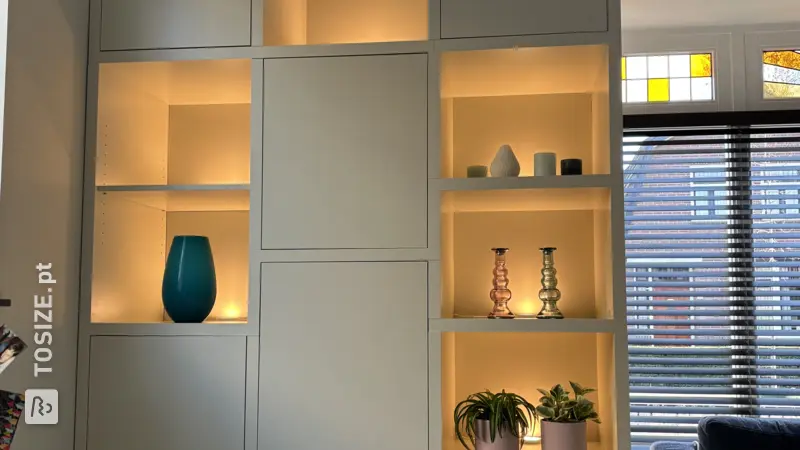
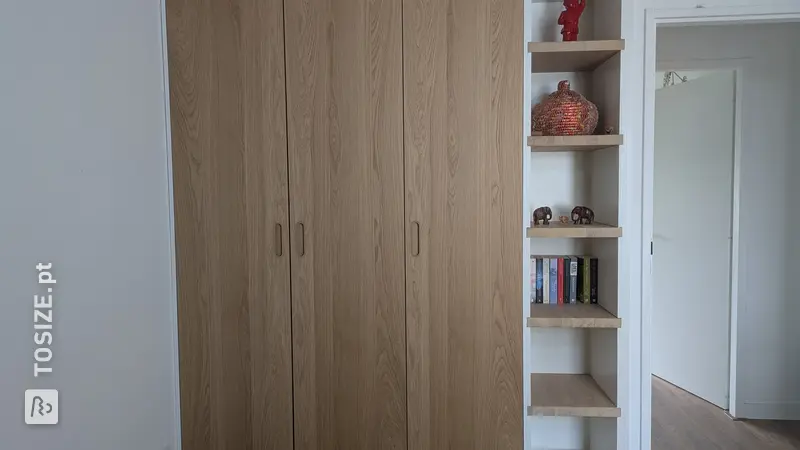
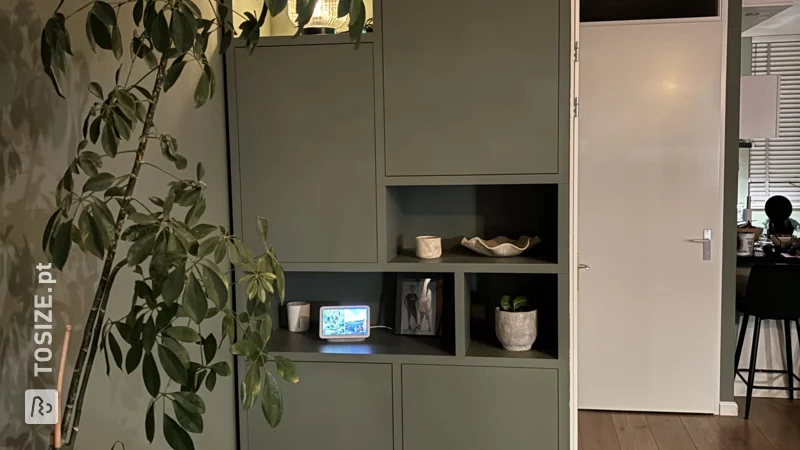
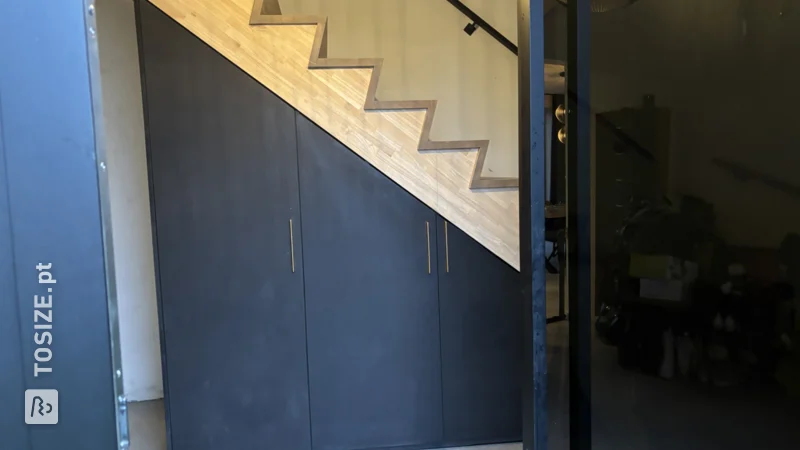
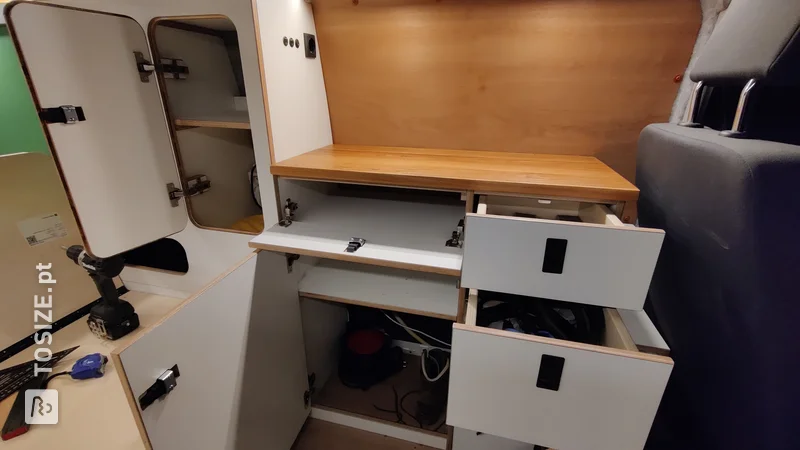
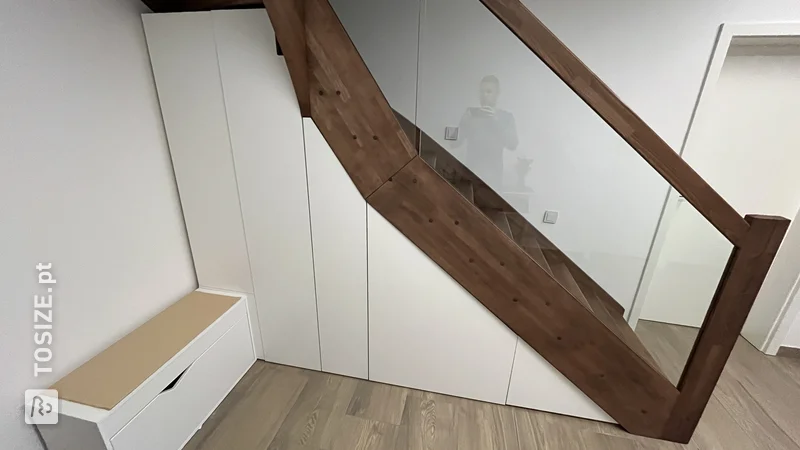
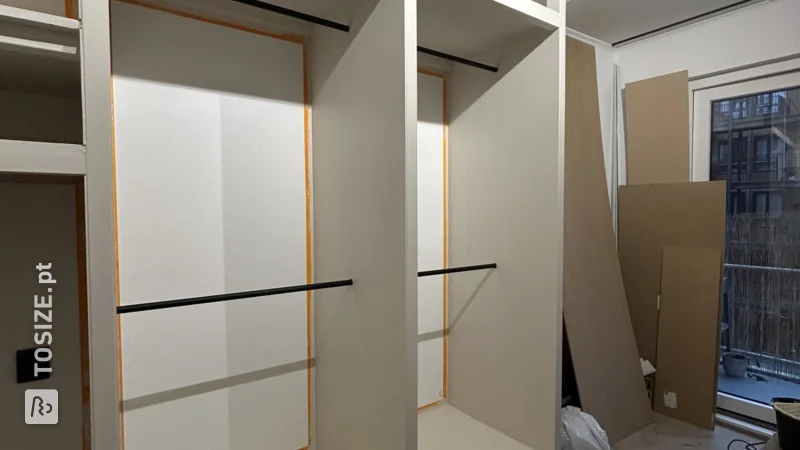
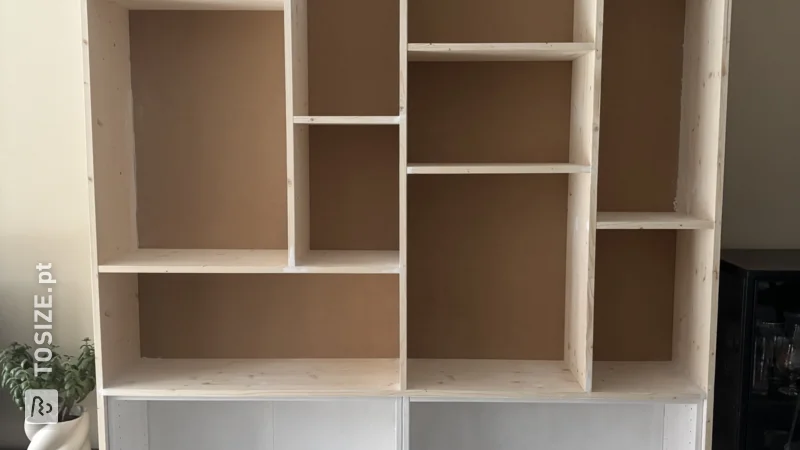
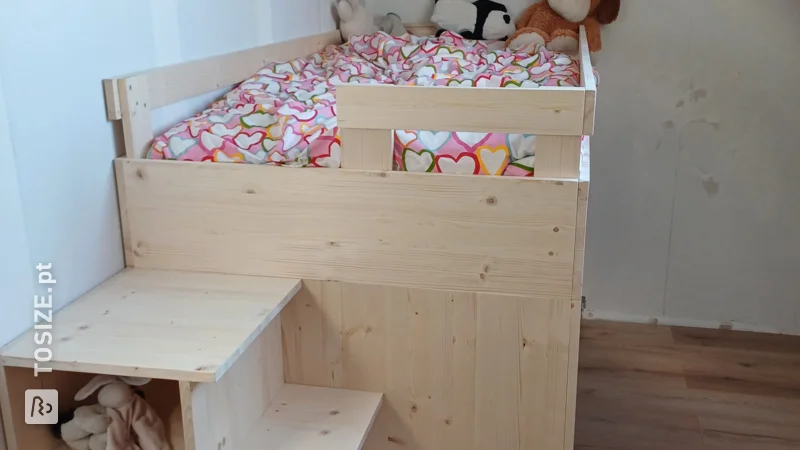
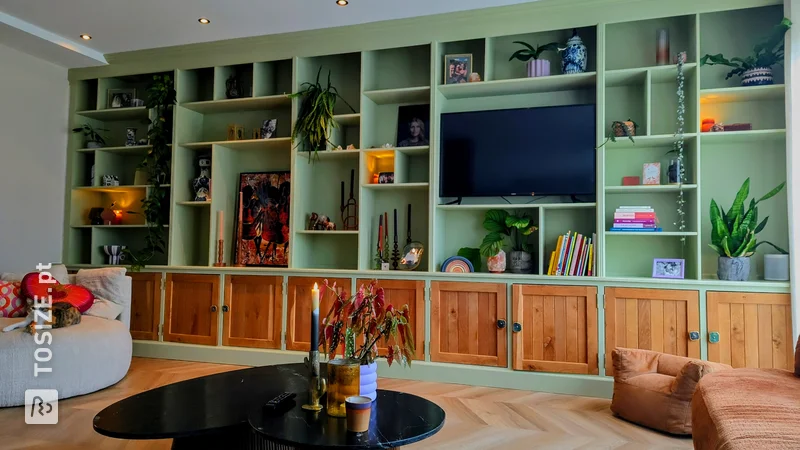
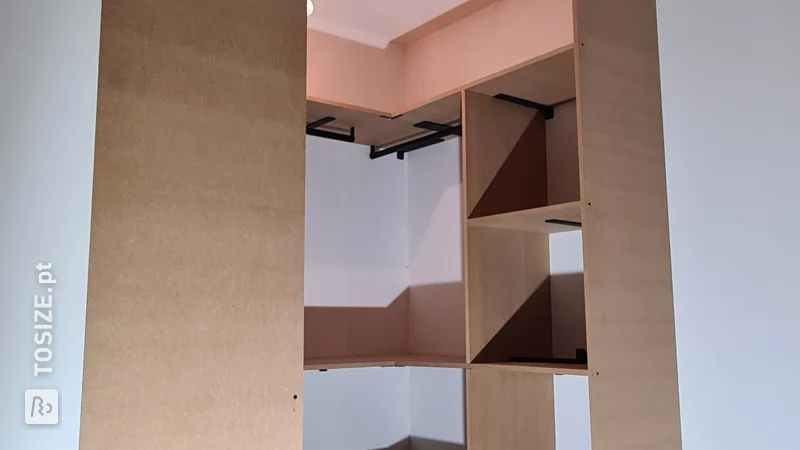
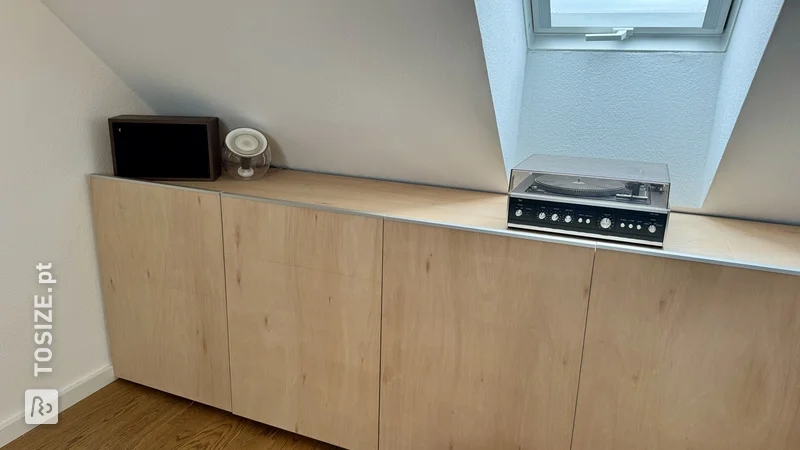
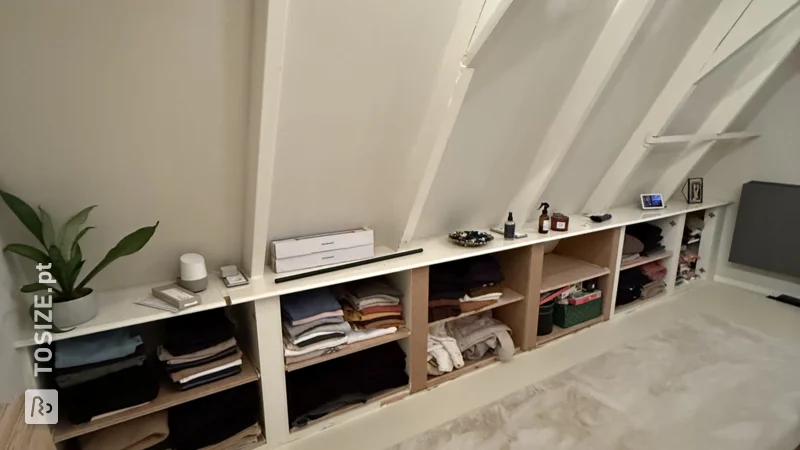
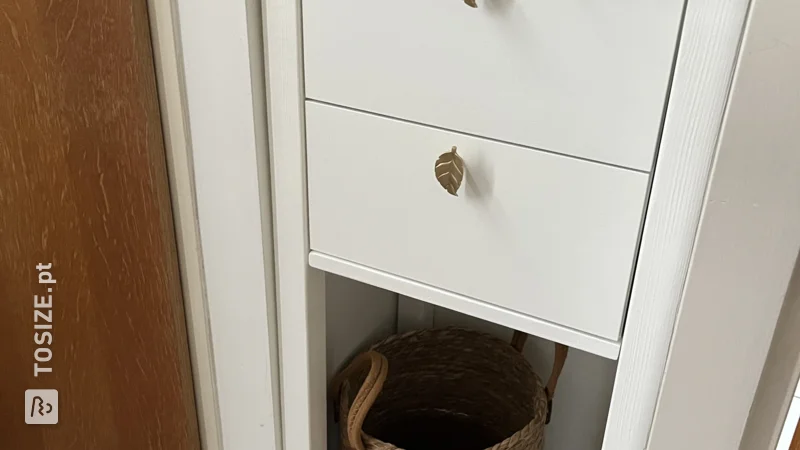
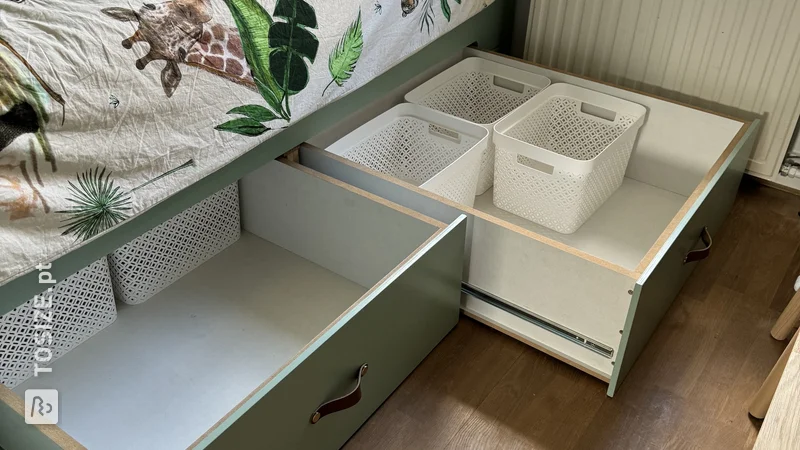
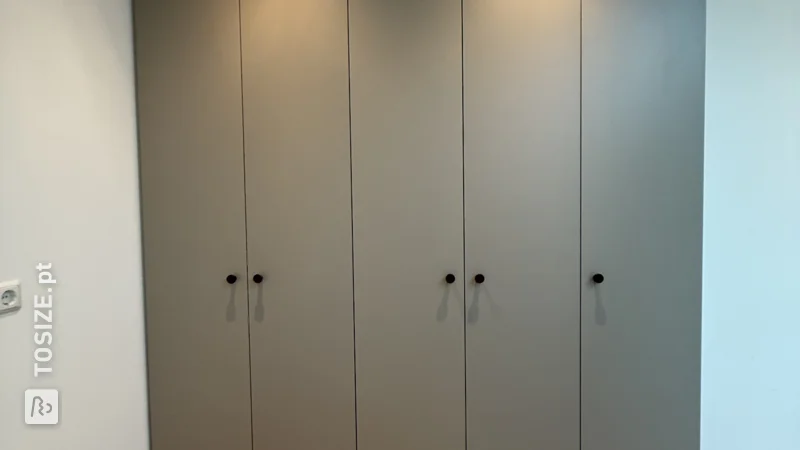
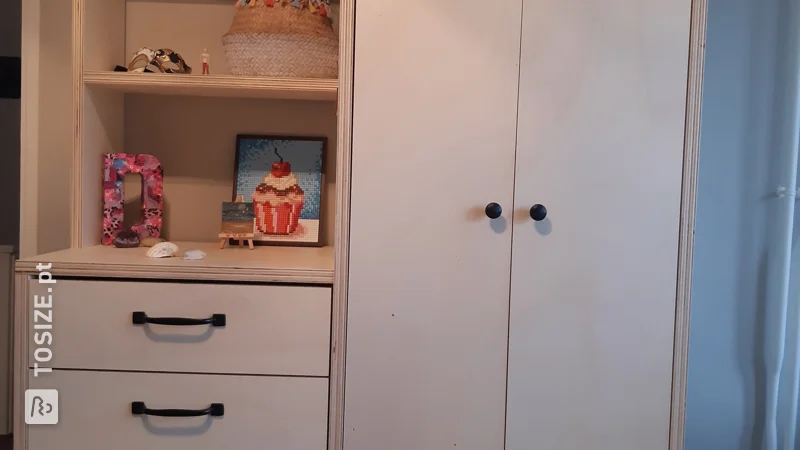
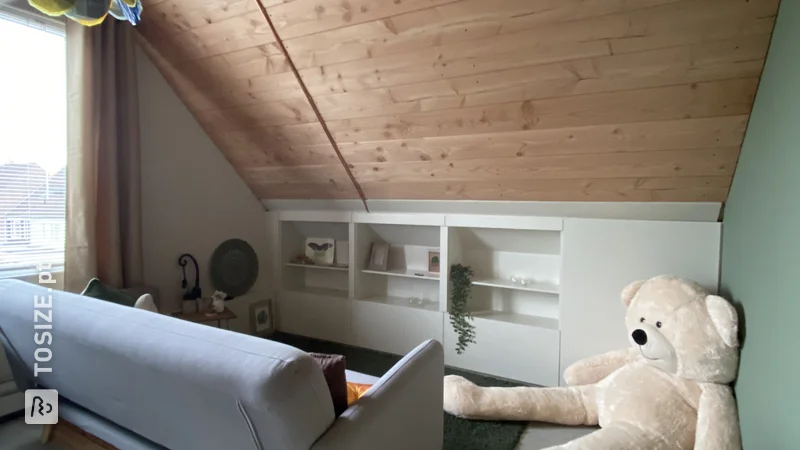
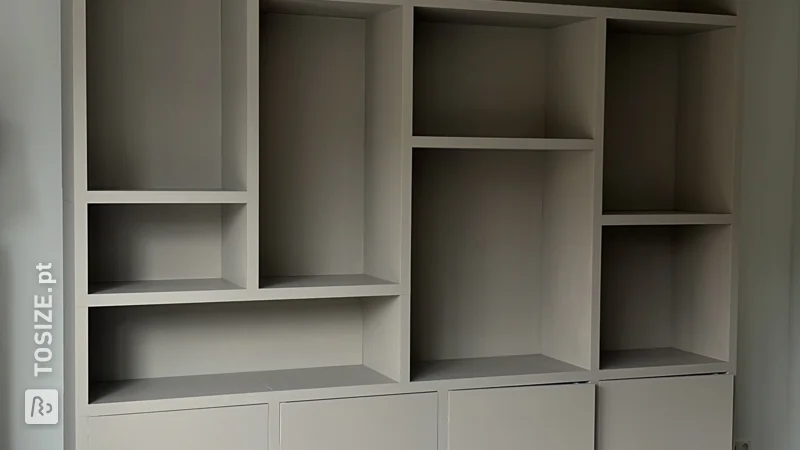
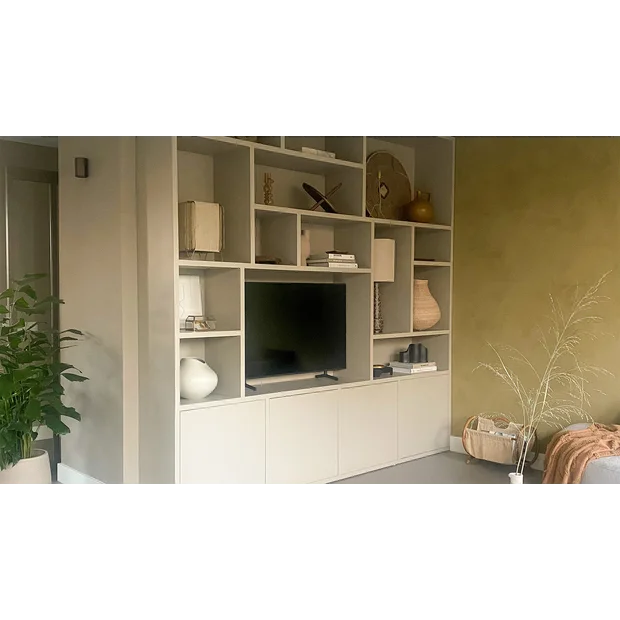
Preparation: To start, a detailed 3D model of the space and the cabinet design were created. With a clear picture of the final result, all necessary parts were custom ordered via TOSIZE.pt. Next, the existing, old IKEA wardrobe was dismantled and sawn off at an angle, so that it fits perfectly under the sloping wall. Furthermore, an old MDF cabinet was dismantled, the panels of which were reused for the back wall of the new cabinet. Cabinet Conversion: The first part of the conversion consists of assembling the middle part of the cabinet that forms the back wall of the bed. The necessary electrical system is also prepared. Then the conversion of the IKEA cabinets on the left and right sides is realized and pushed completely against the wall. Above the back wall, wall cabinets are placed for extra storage space. For a sleek finish, the frame is sawn to size and placed. The cabinet doors are mounted as the final step of the conversion. Finishing: The sawn parts are coated with wood glue to counteract the suction effect and to achieve a smoother finish. The entire cabinet is then sanded and painted in three layers with Histor mixed paint. The solid oak slats, originating from an old oak floor, are treated with OSMO oil and then glued to the back wall with mounting adhesive. The cabinet doors are hung and lights installed. The switch material is from Busch-Jaeger. Finally, custom-made bedside tables are placed to complete the whole. Reused Materials and Construction: The MDF panels from the old cabinet, solid oak slats from an old oak floor and the layout of the old IKEA PAX cabinet are all reused in this project. The beams supporting the construction have also been reused. The result is a beautiful, functional wardrobe that stands alone and is not attached to the wall, floor or ceiling.
How I made this project
Preparation: 1) 3D model made of the space + cabinet design 2) All parts cut to size by TOSIZE.pt 3) Existing (old) IKEA wardrobe dismantled and sawn diagonally so that it fits under the sloping wall Cabinet conversion: 1) Middle section (back wall of bed) assembled + prepared electrical system 2) IKEA cabinet conversion completed (left & right) and pushed completely against the wall 3) Upper cabinets completed and installed 4) Frame cut to size for a sleek finish 5) Install cabinet doors Finishing: - apply wood glue to sawn parts - sand + paint (3 layers of Histor mixed paint) - oil solid oak slats (OSMO) and then glue to the back wall (mounting kit) - hang doors + install handles - install lamps - finish electrical system (Busch-Jaeger) - install custom-made bedside tables
Dimensions of my DIY project
W x H x D: 4m x 2.5m x 0.7m
Tip! Also check out our handy DIY tips!
What now?
Want to make this DIY project? Check out Harrie's saw list and complete your order easily.
€ 434,33
All materials used
View all sheet materials