- TOSIZE.pt
- Do it yourself
- DIY Projects
Drawers in knee bulkhead dormer window made of OSB, by Daan
Drawers in knee bulkhead dormer window made of OSB, by Daan
Create this project yourself with sheet material cut to size by TOSIZE.pt!
Daan
Average
3 minutes
Discover the handy adjustment by Daan, who has created drawers in the knee wall of his dormer window using OSB. His detailed steps show how to create smart storage in previously unused spaces. Follow his manual to make your own drawers in a dormer window knee bulkhead and maximize the functionality of your space.
Description by Daan
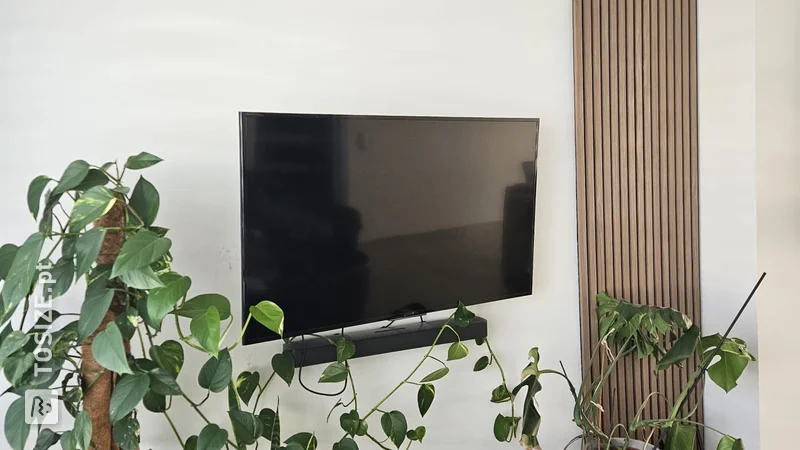
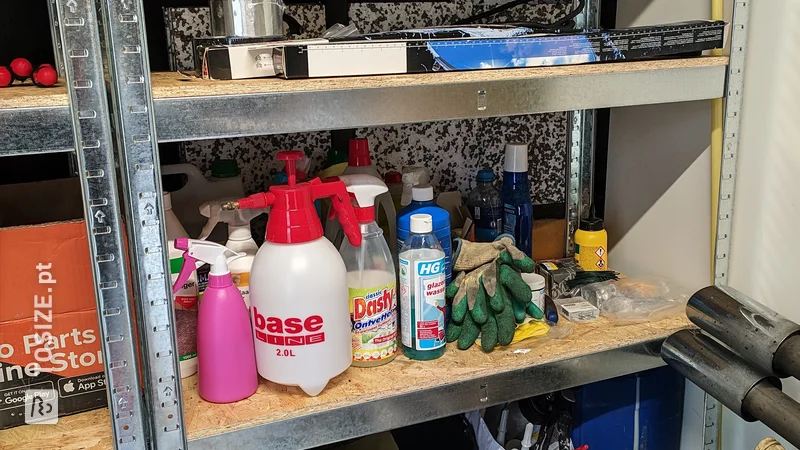
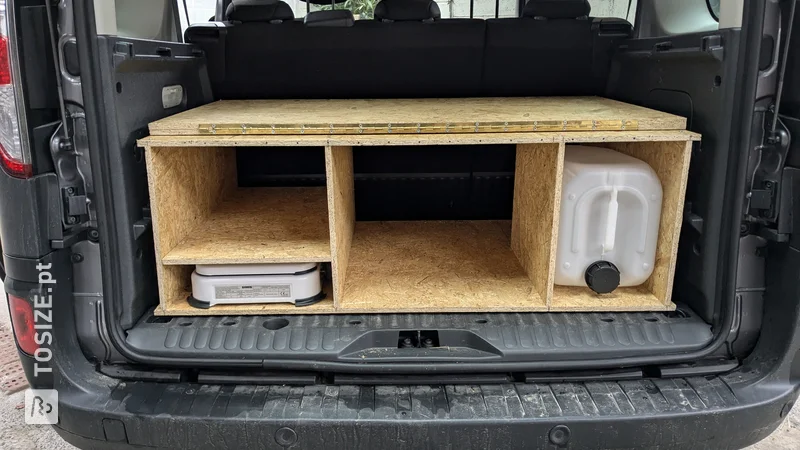
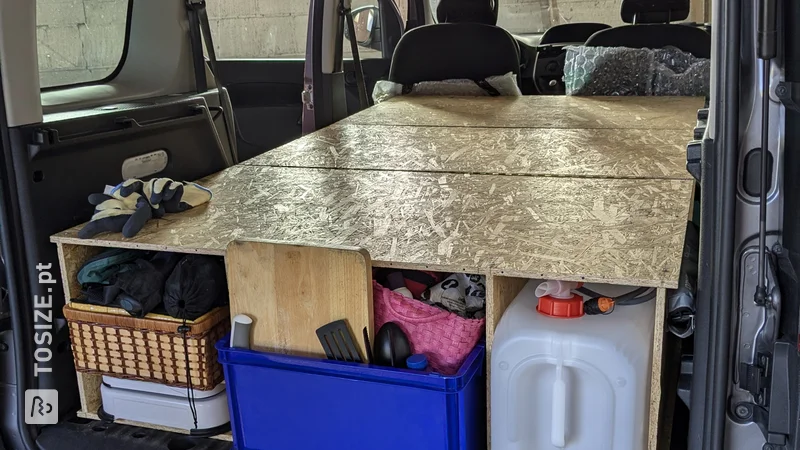
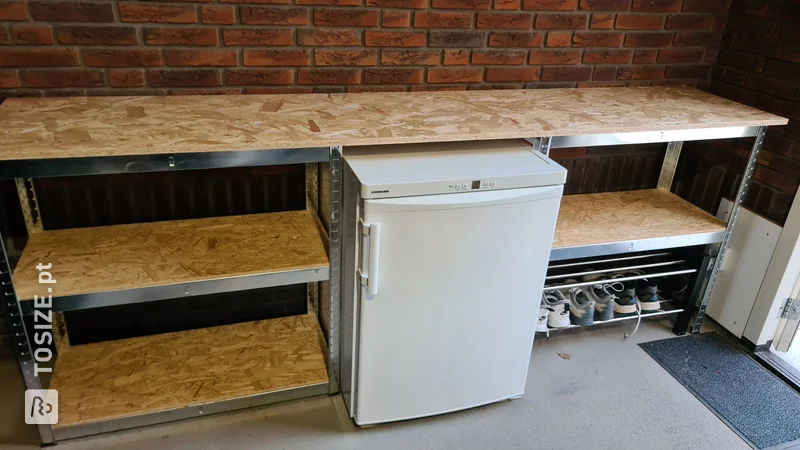
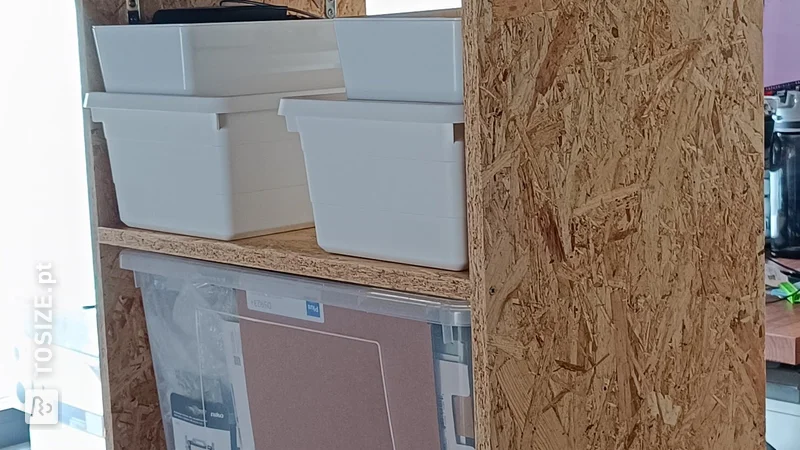
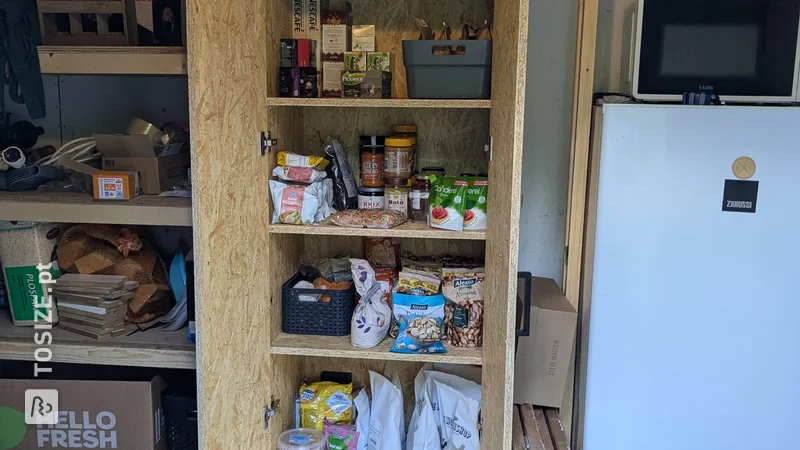
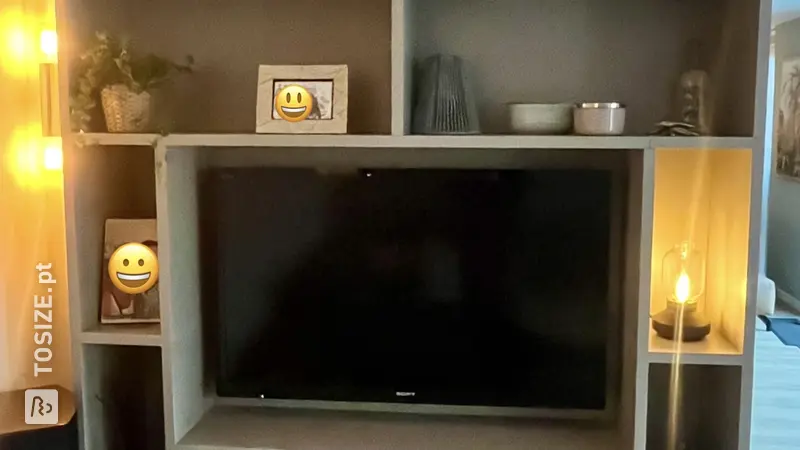
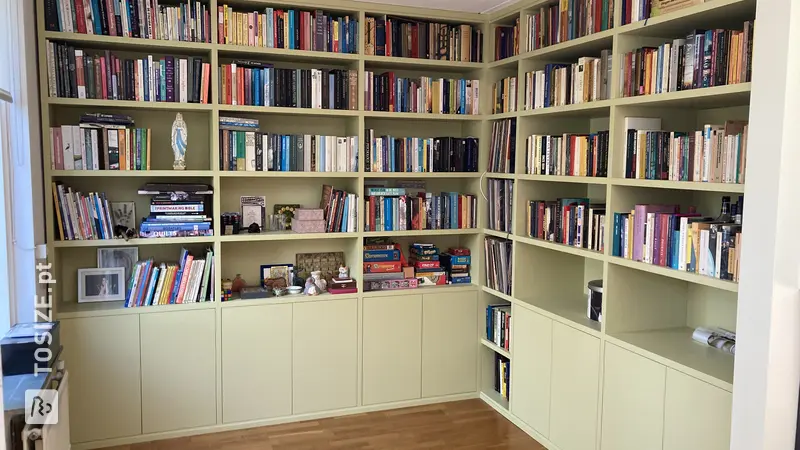
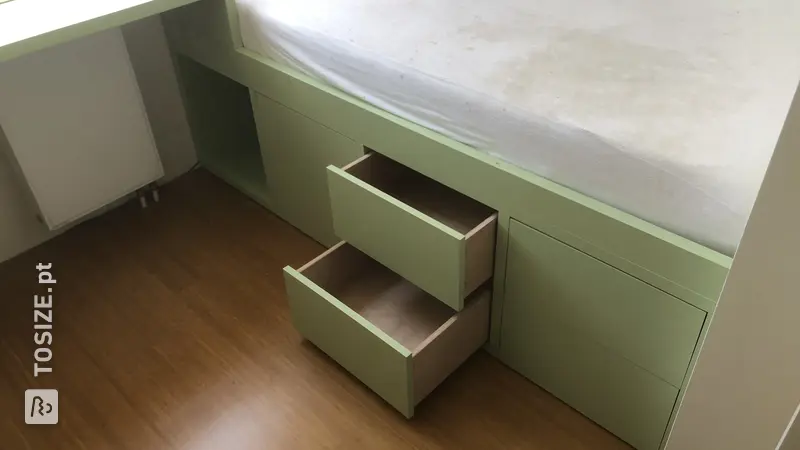
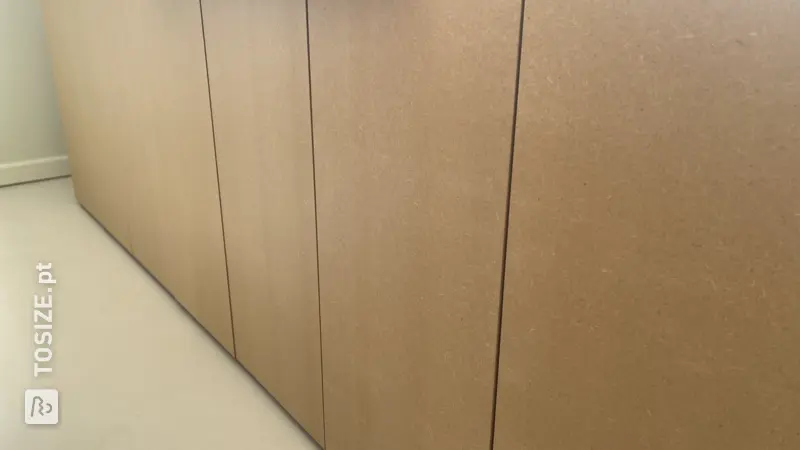
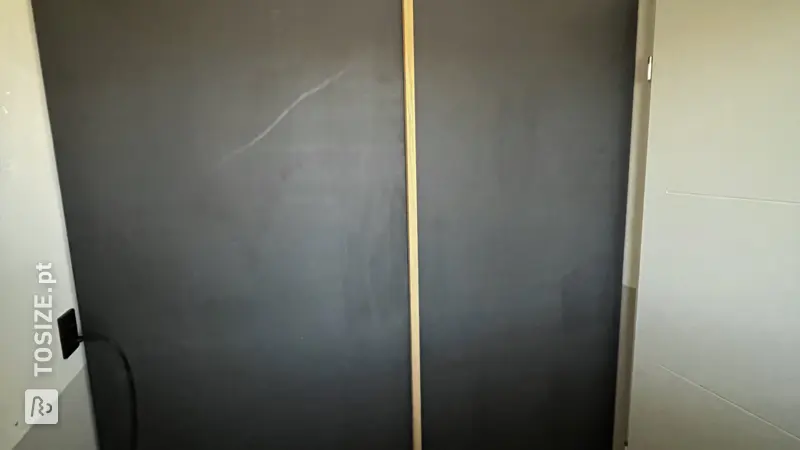
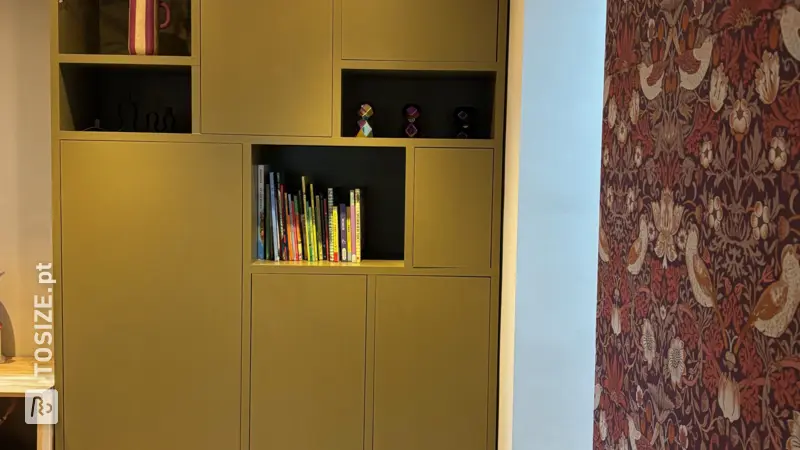
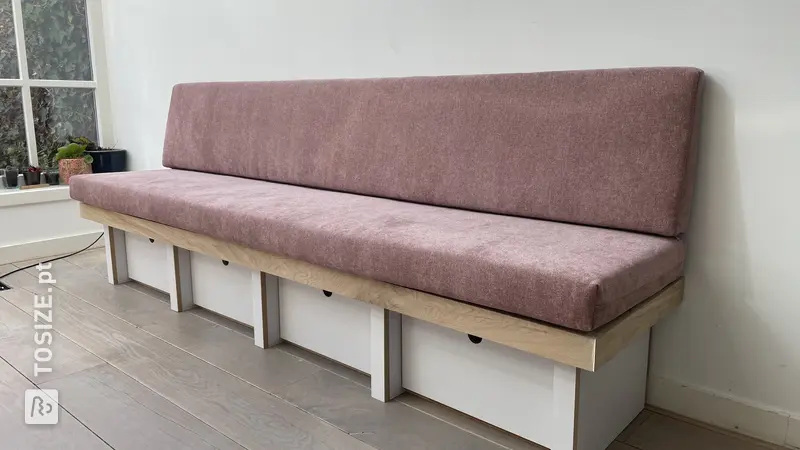
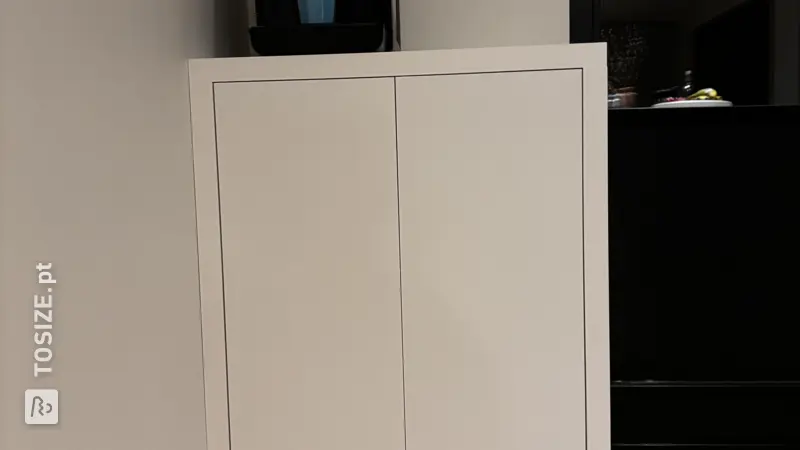
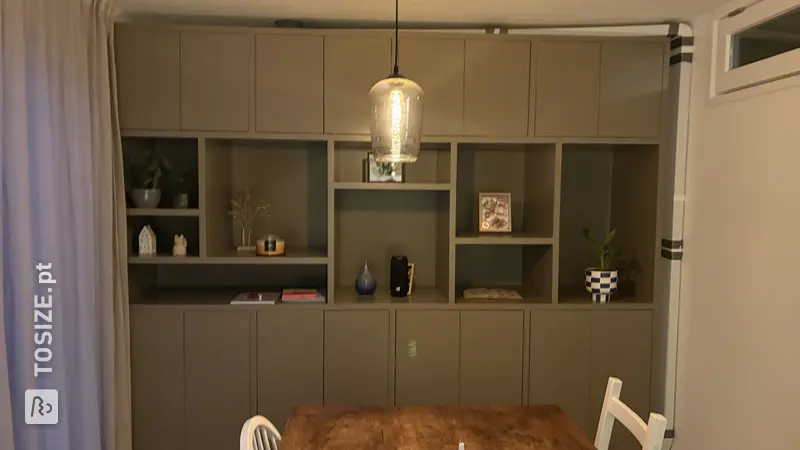
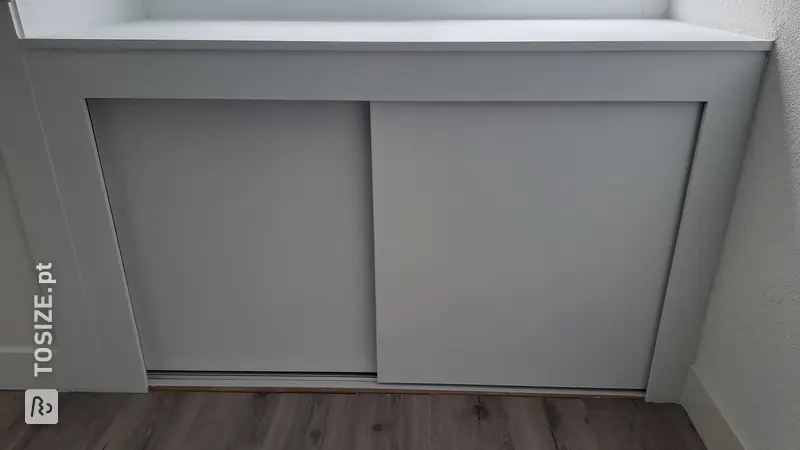
Our roof has a fairly gentle slope angle, so in the knee bulkhead of There is still a lot of space hidden in the dormer window. This space is difficult to access, requiring a lot of bending and crawling. For that reason I added two drawers with a long shelf above them. If you look closely at the photos you will see that the back of the drawers has a sloping edge. Otherwise it wouldn't fit under the roof. To make it less dusty, I finished the drawers with an OSB plate on the front. That plate can be removed with magnets.
How I made this project
Step 1: Make a straight frame under the dormer window. I did this with beams of planed pine.
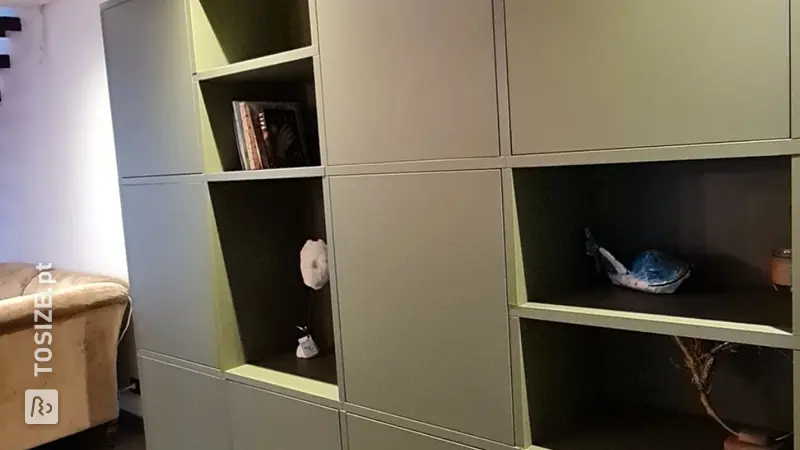
Step 2: Divide the frame into sections. I have four compartments (three large and 1 small). In my case, two of the four received a drawer.
Step 3: Making the supporting structure for the drawer. I placed beams perpendicular to the frame at the height of the bottom of the drawer. I attached the drawer slides to this. Buy a drawer slide that can handle a lot of weight and that you can attach to the bottom of the drawer.
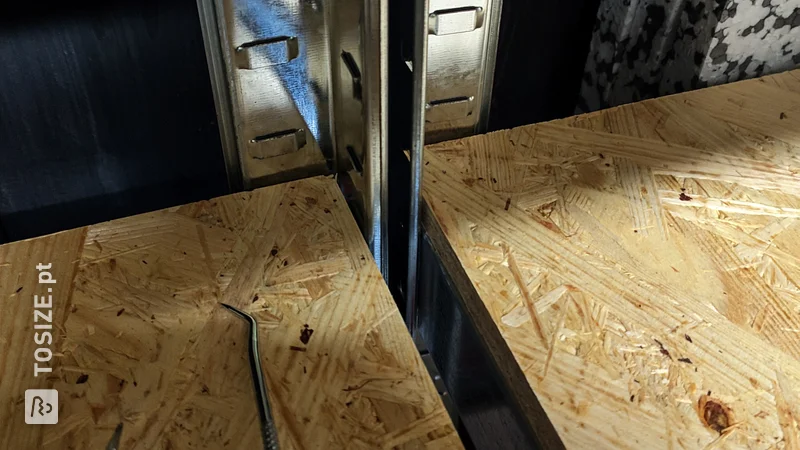
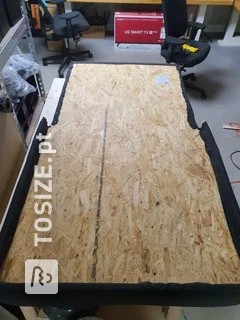
Step 4: Making the drawers. I received the planks cut to size, I only saw off the slanted back myself. I made the drawers from OSB. Bottom is OSB 18 mm, sides are OSB 9 mm. This is very thin, so I pre-drilled each hole and then screwed the planks together. For strength, I placed a thicker slat at the front, so you can always open the drawer with it. If you find it difficult to drill into this thin material, you can always place a slat in the four corners or work with metal corners.
Step 5: Attach the drawers to the sliding rail. Make sure it is not too tight.
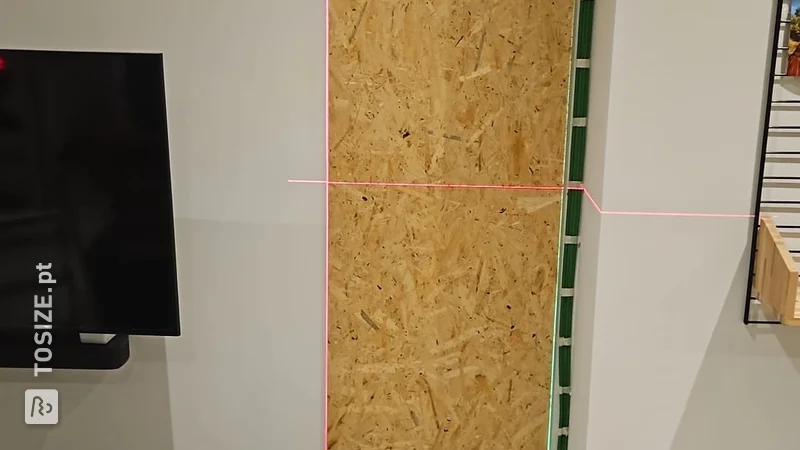
Step 6: Now remove the drawers to create the support structure for the shelf that will be above the drawers. Create the supporting structure for the shelf perpendicular to the frame from step 1. See also step 3. Make sure that you support it not only on the sides, but also in the middle.
Step 7: Place the long plank, in parts or otherwise, on the constructed construction and screw it in place.
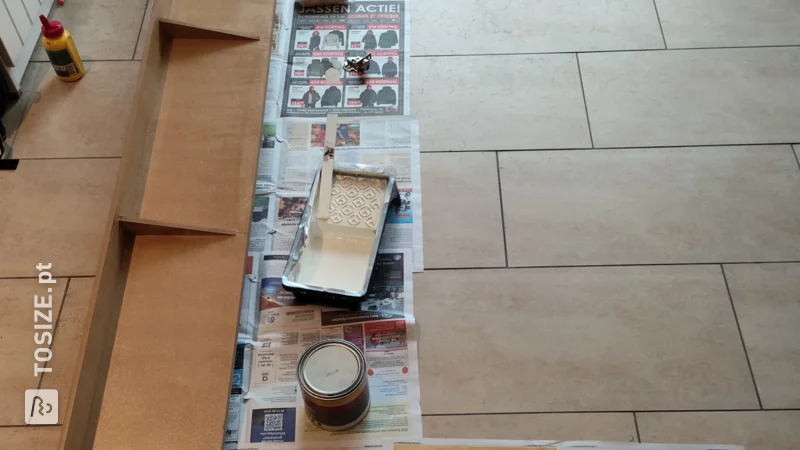
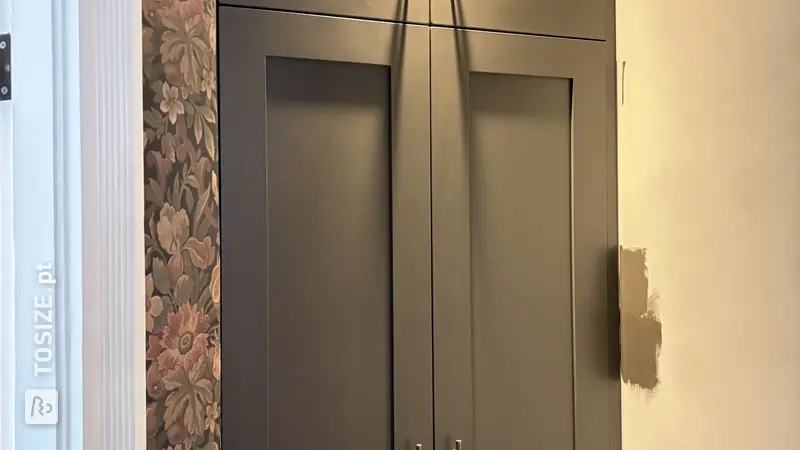
Step 8: The front is also made of OSB 9 mm. Attach the magnets here. One on both sides, two on the bottom. Then keep it level/exactly as tilted as the rest of the attic and mark where the magnetic snaps should be placed. Then screw this on as well.
Step 9: Make a hole with a speed drill in the front so that you can easily remove the front. Don't forget to sand after drilling.
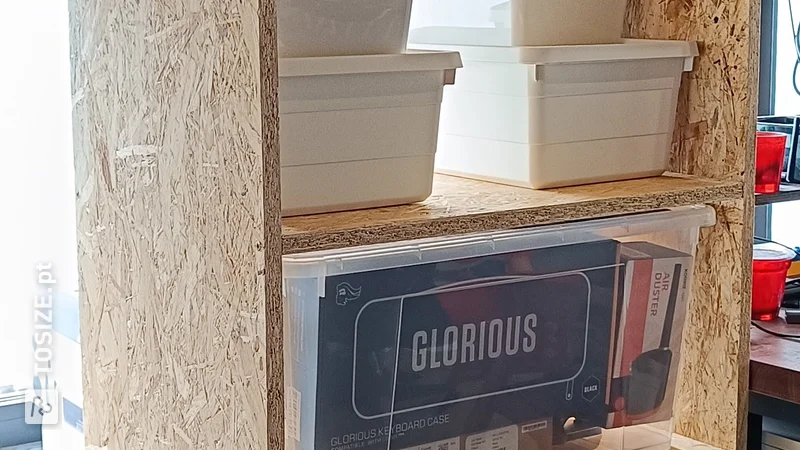
Step 10: Put your stuff in! Tip: First insulate your attic before you start.
Dimensions of my DIY project
Each drawer has a base area of 96.0 by 96.0 cm and a height of 38. 2 cm. The long white plank above is 214m long and 68.0 cm deep.
Tip! Also check out our handy DIY tips!
What now?
Want to make this DIY project? Check out Daan's saw list and complete your order easily.
€ 241,92
View all sheet materials