- TOSIZE.pt
- Do it yourself
- DIY Projects
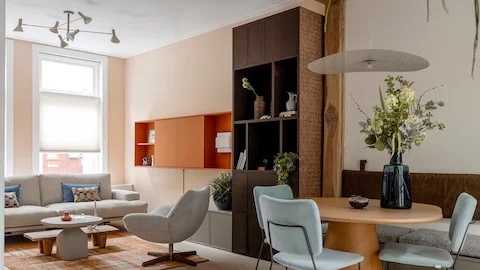
Floating desk with plywood HPL F6466 Shell Silk Gray, by Stijn
Floating desk with plywood HPL F6466 Shell Silk Gray, by Stijn
Create this project yourself with sheet material cut to size by TOSIZE.pt!
Stijn
Above average
3 minutes
Stijn shares his project of making a floating desk with Multiplex HPL F6466 Shell Silk Gray. His manual will guide you through the process of creating a unique and functional desk that fits your space perfectly. Follow his steps to build a contemporary floating desk yourself using high-quality materials and a smart design.
Description by Stijn
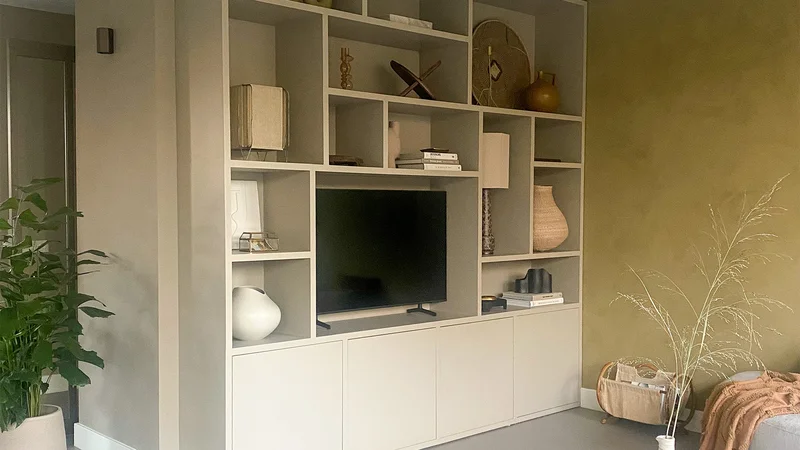
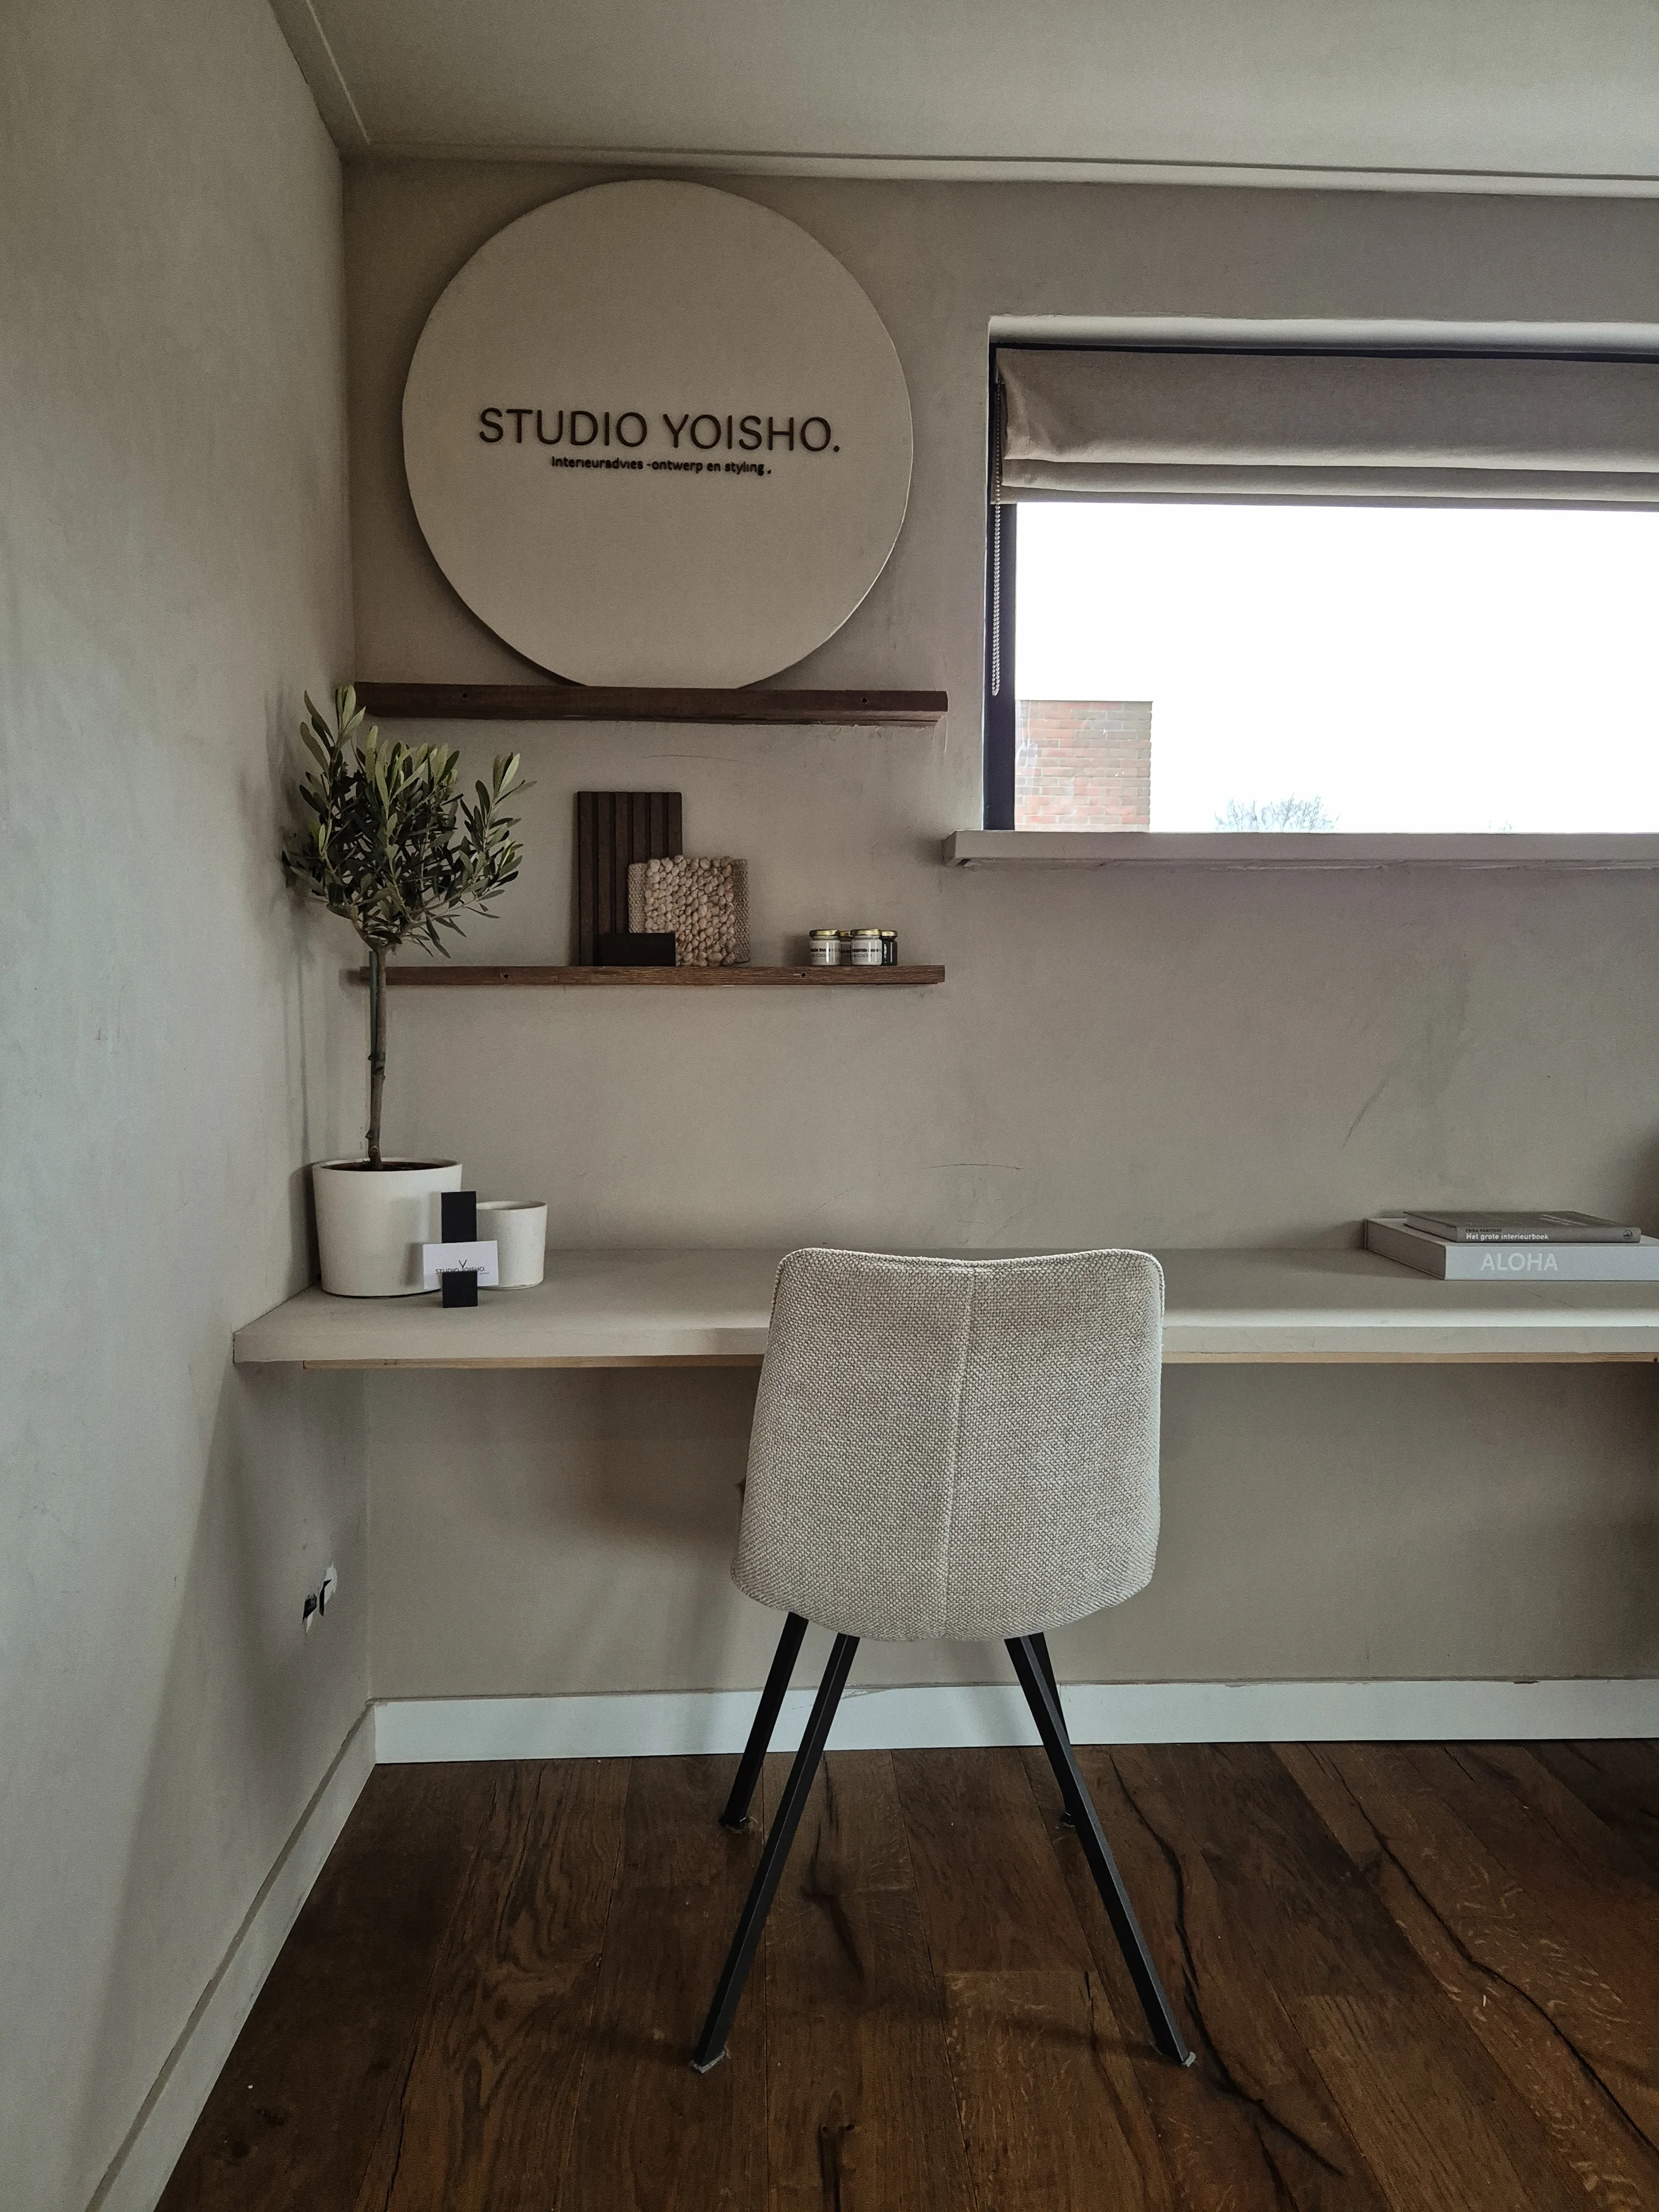
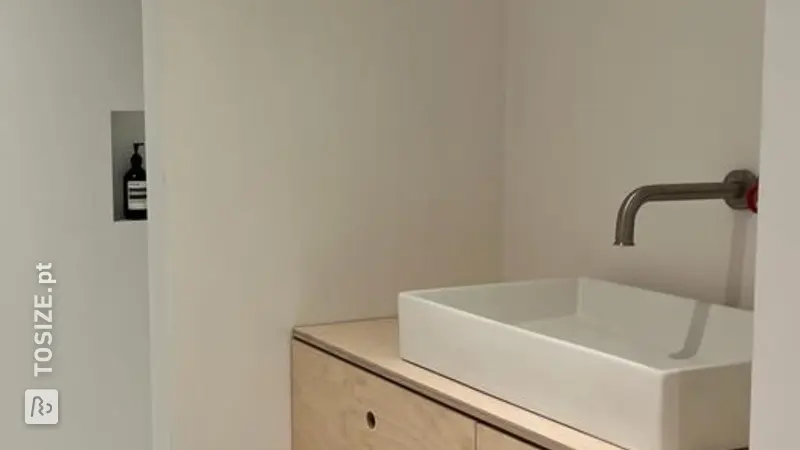
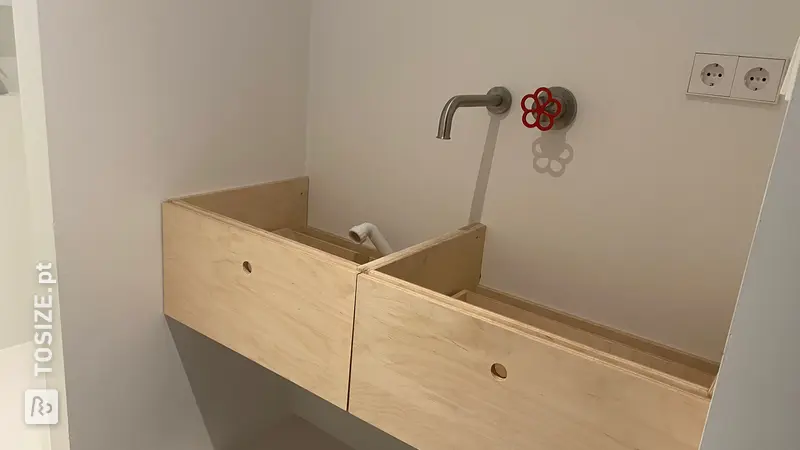
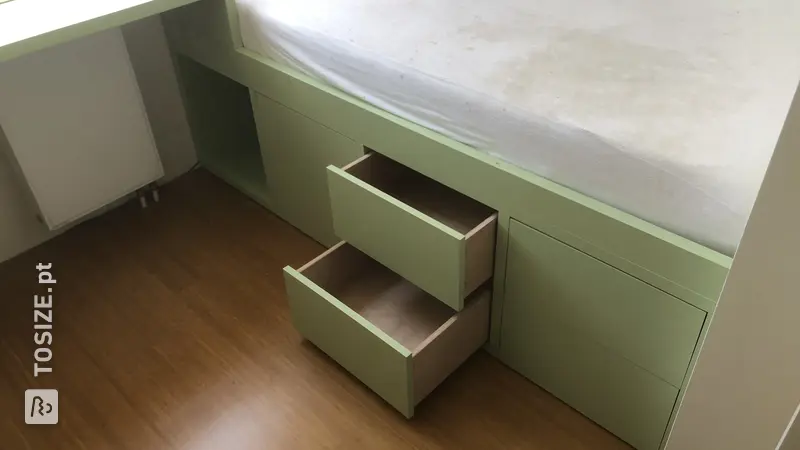
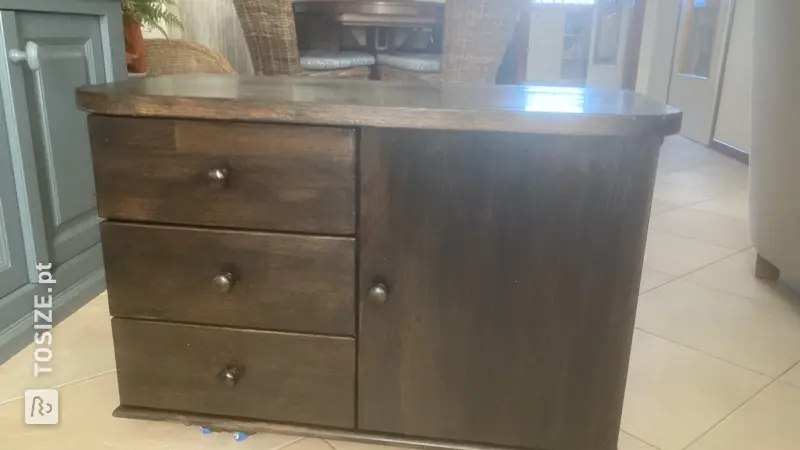
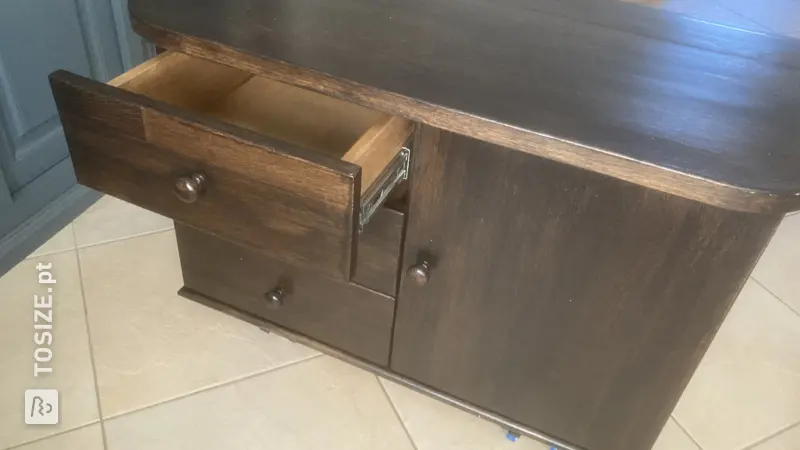
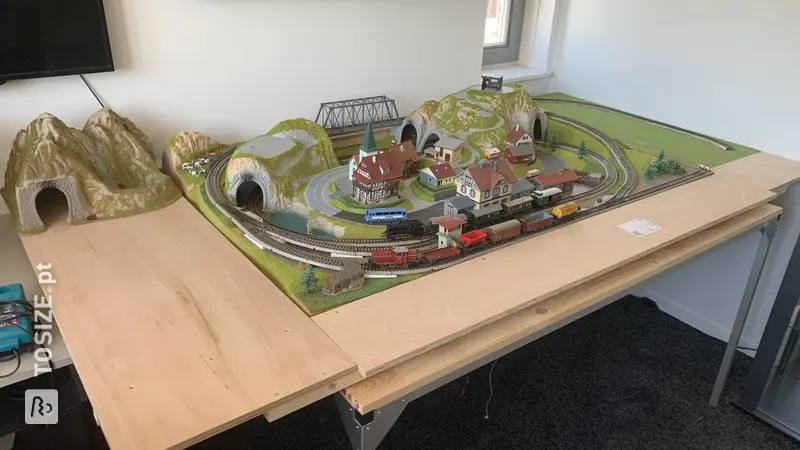
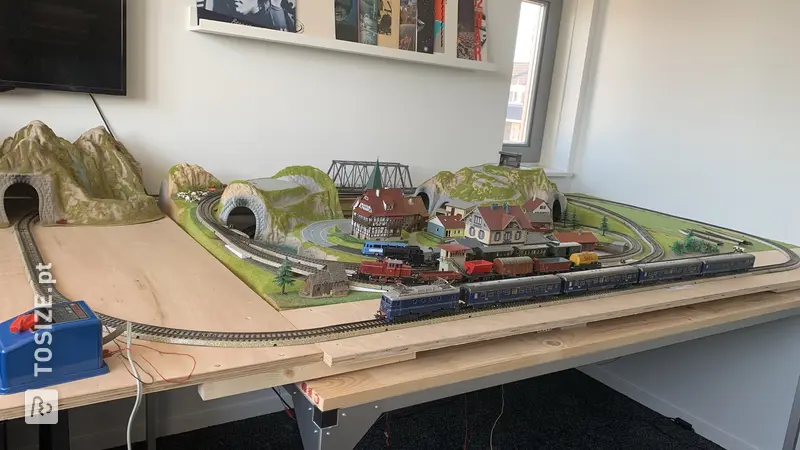
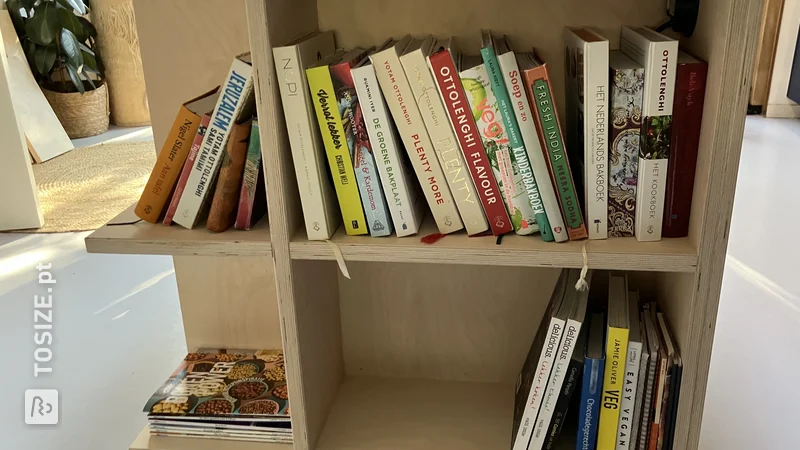
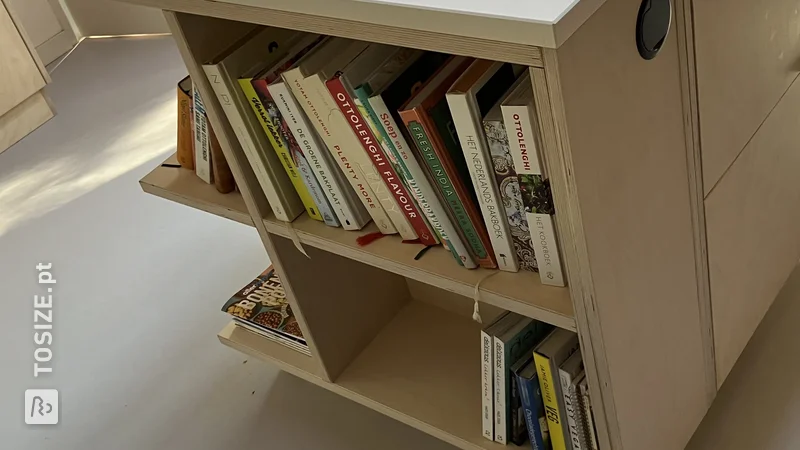
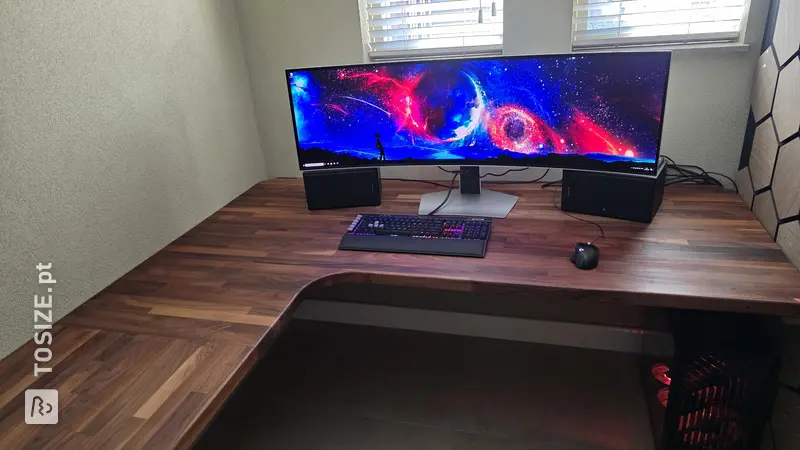
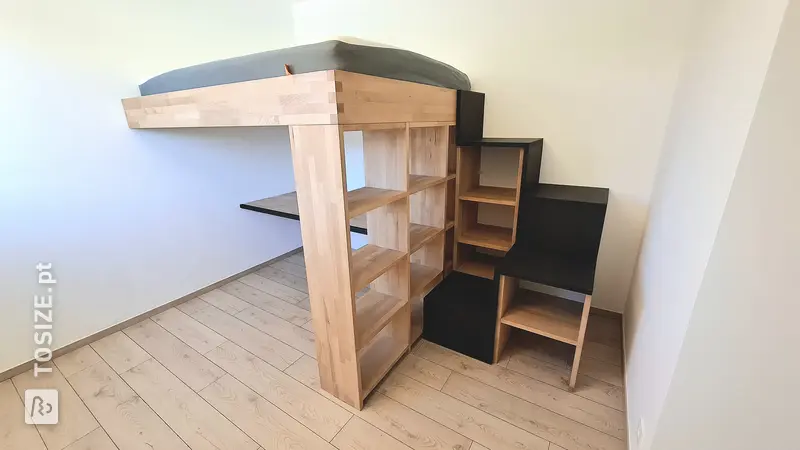
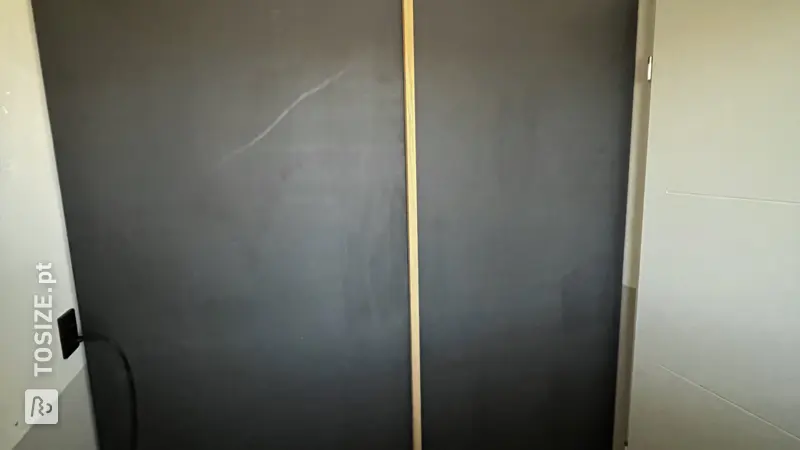
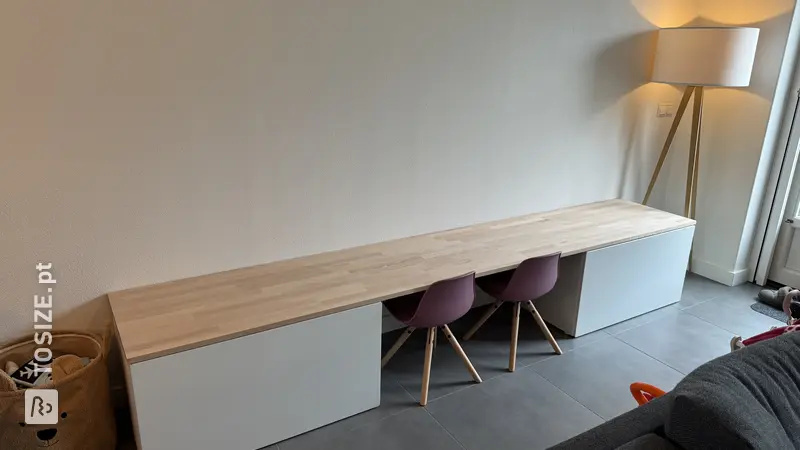
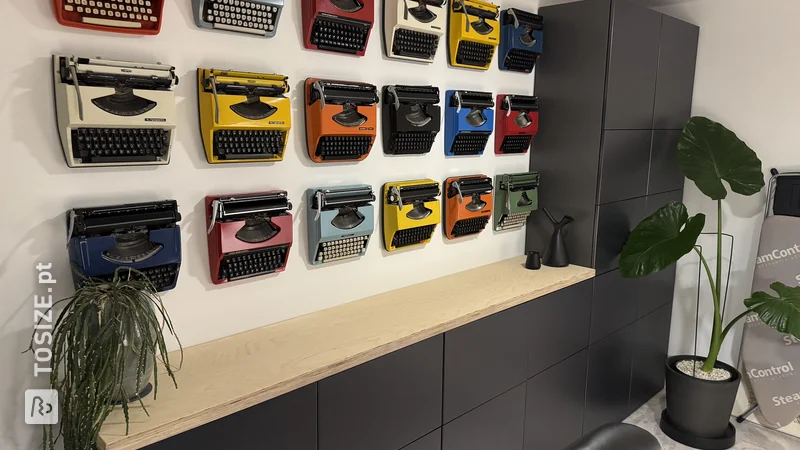
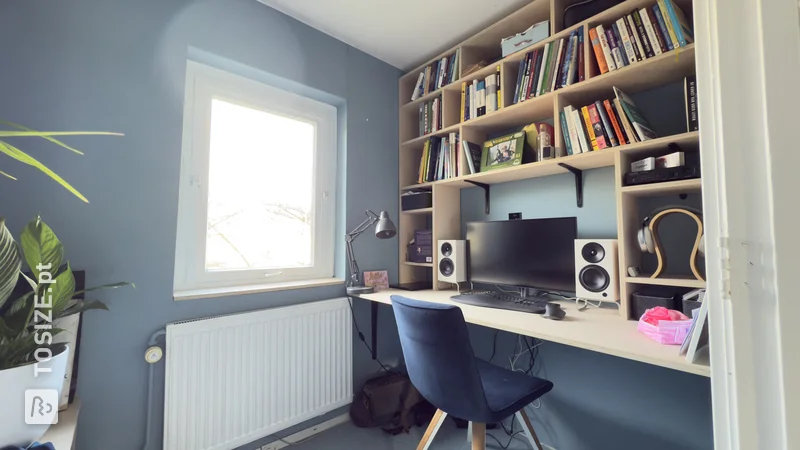
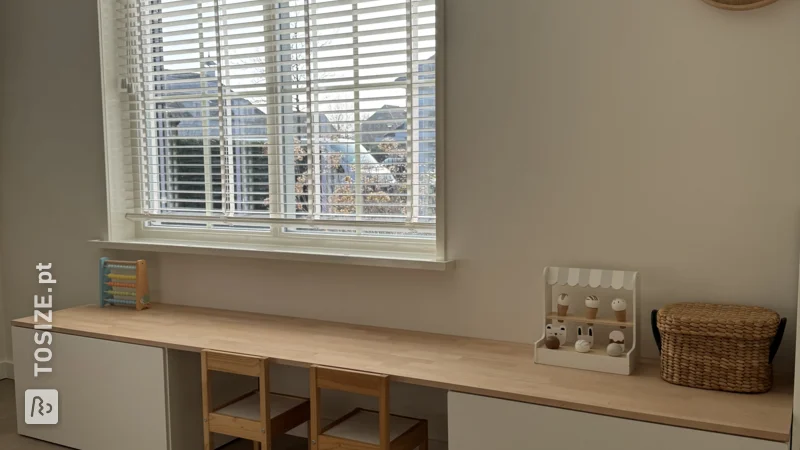
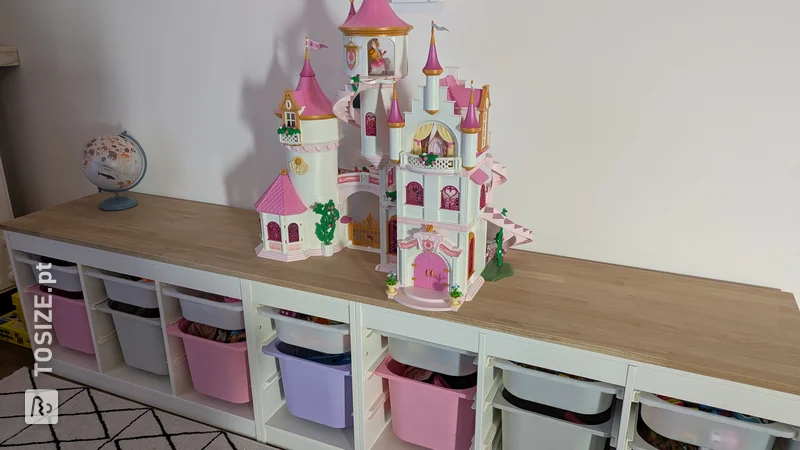
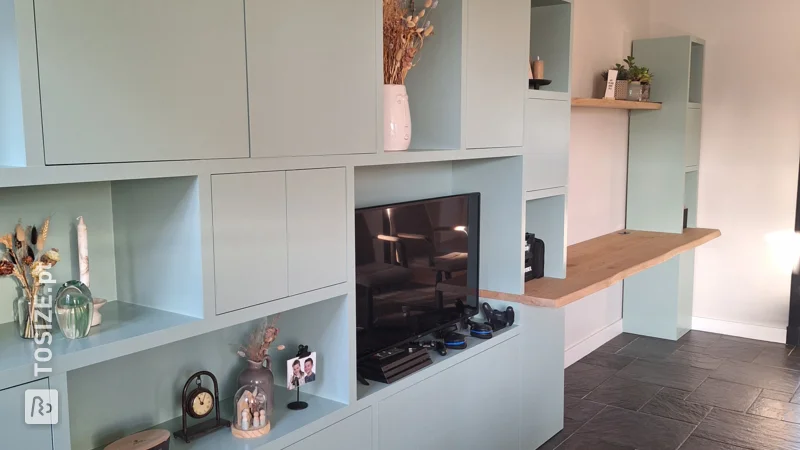
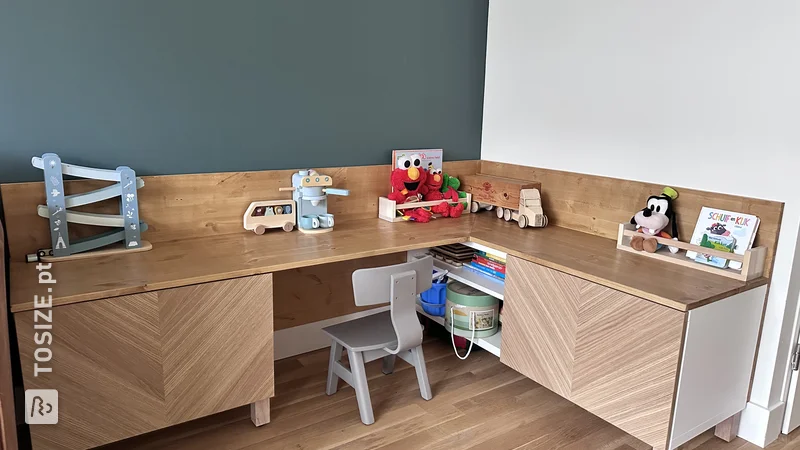
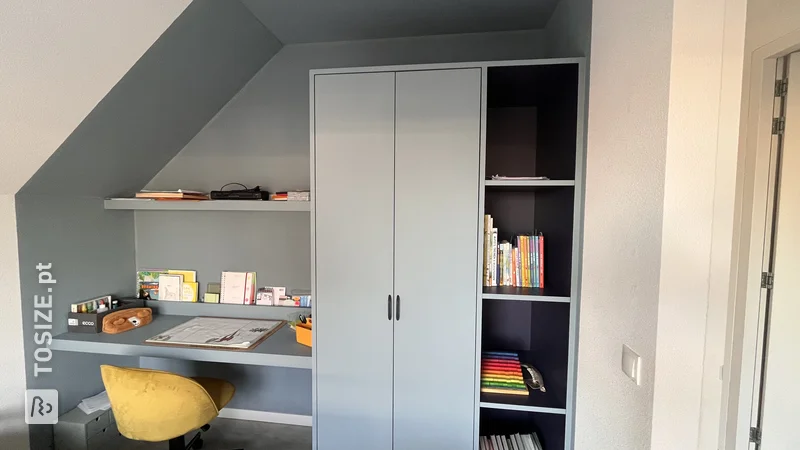
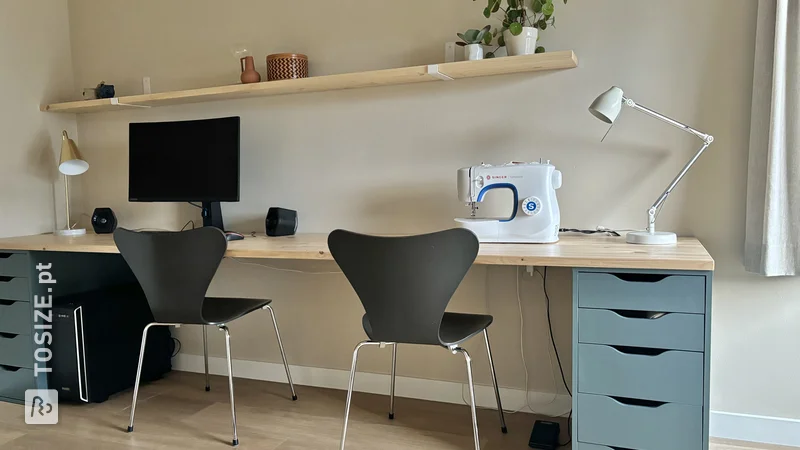
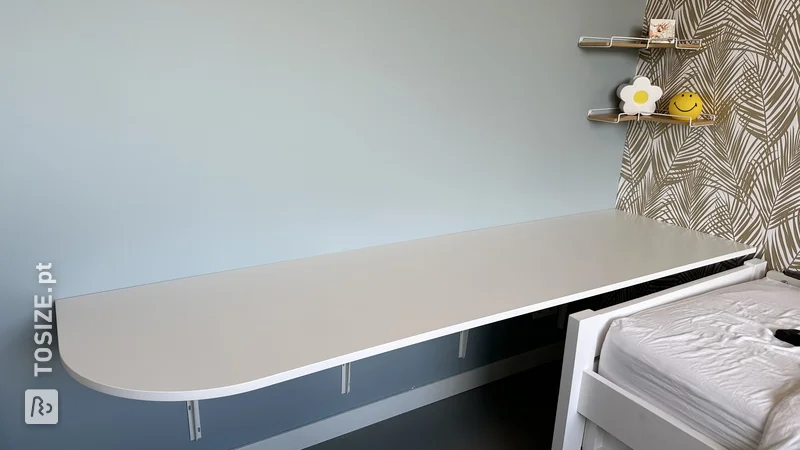
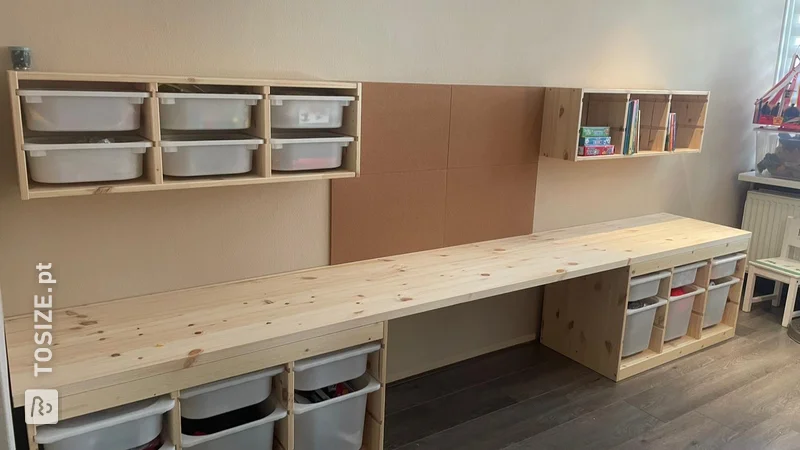
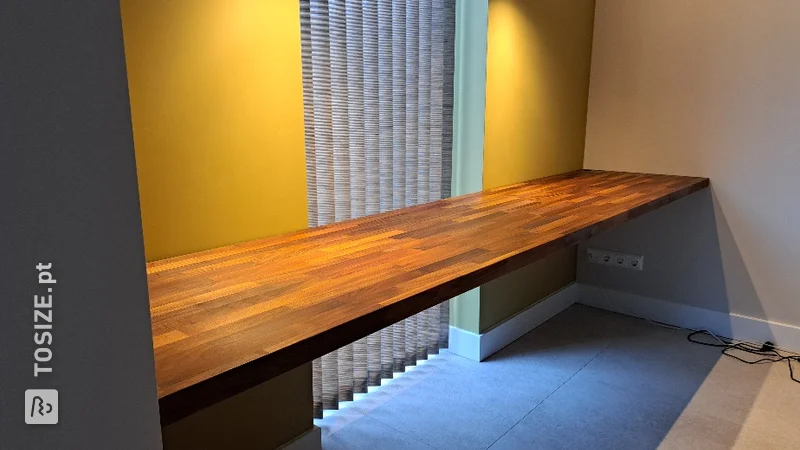
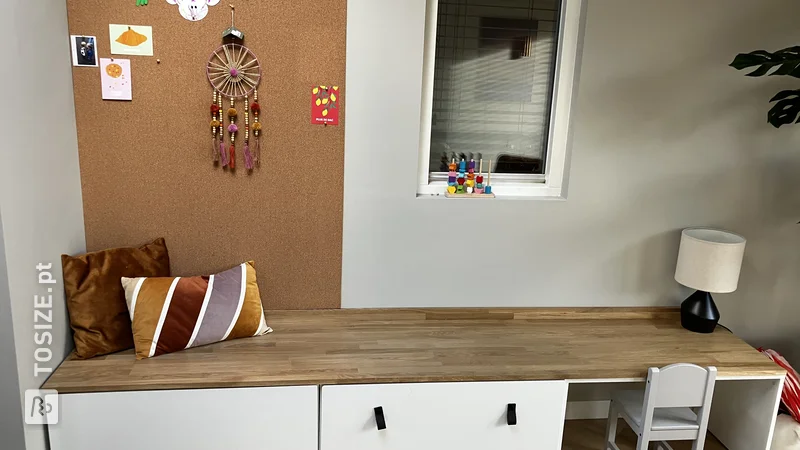
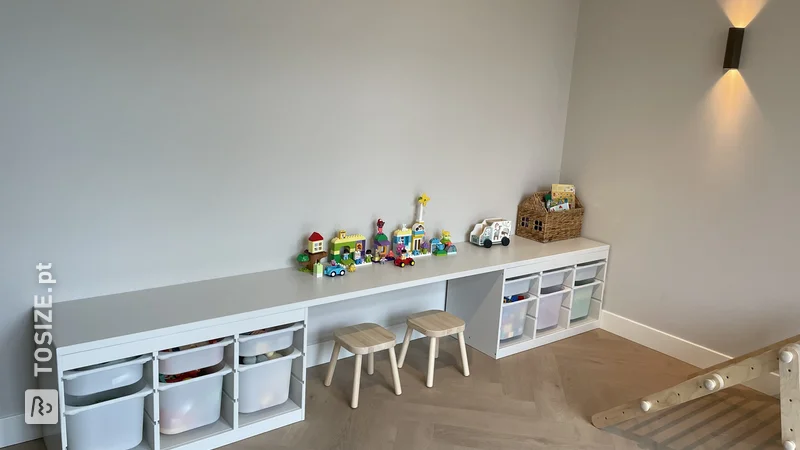
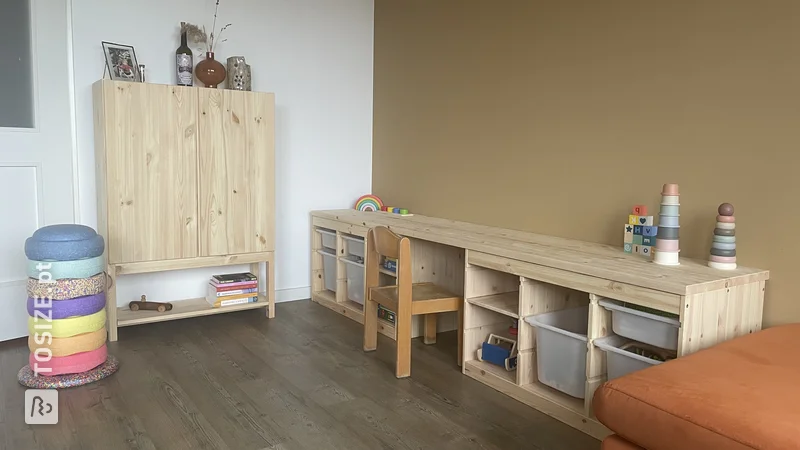
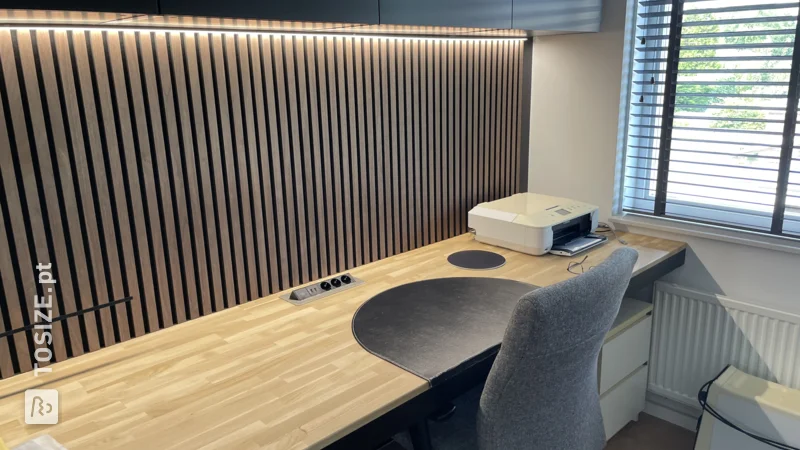
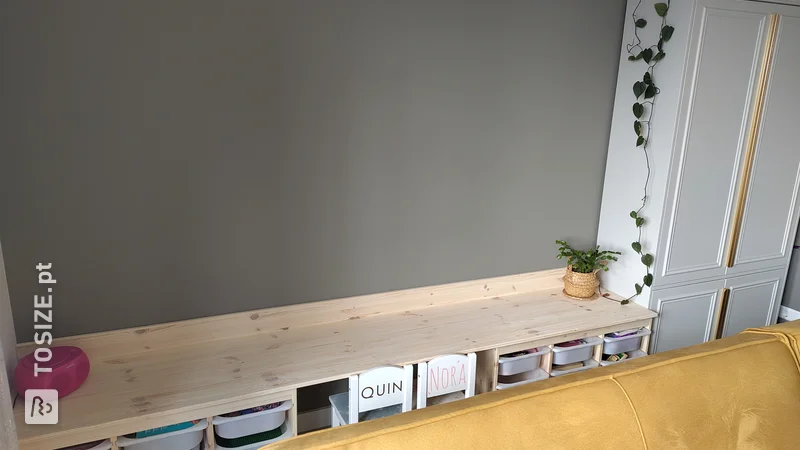
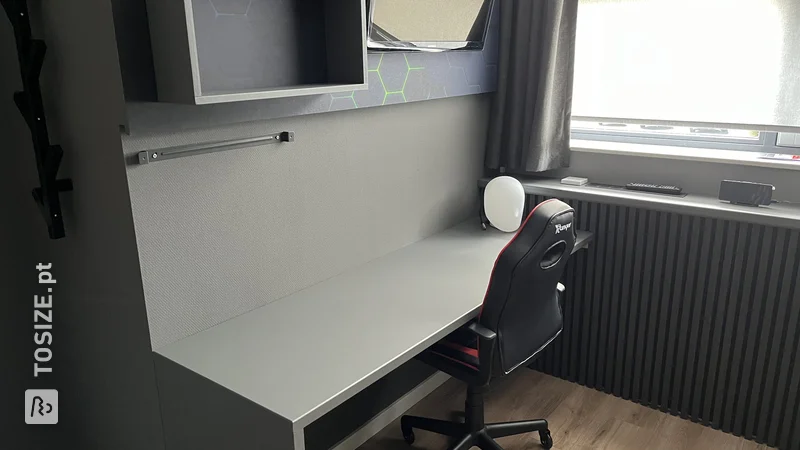
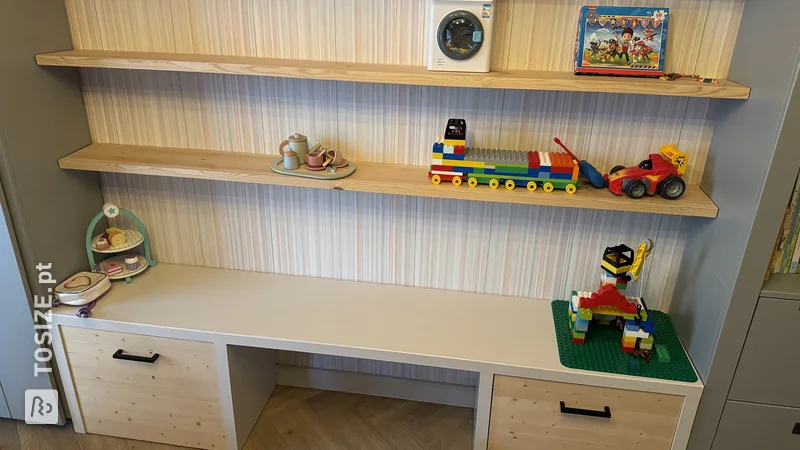
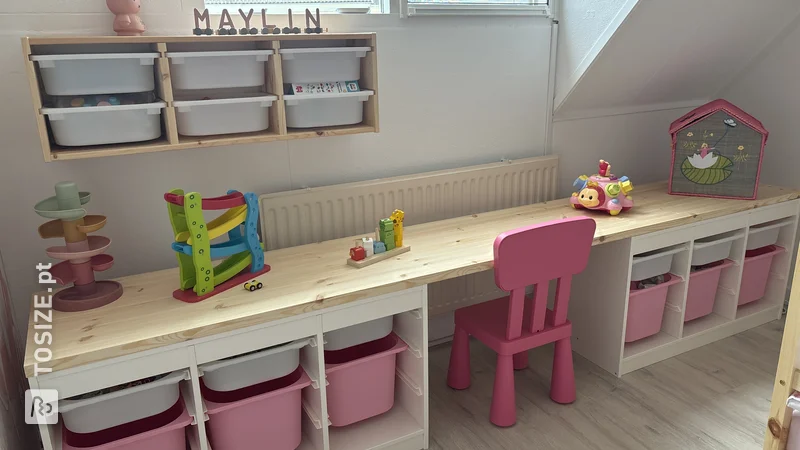
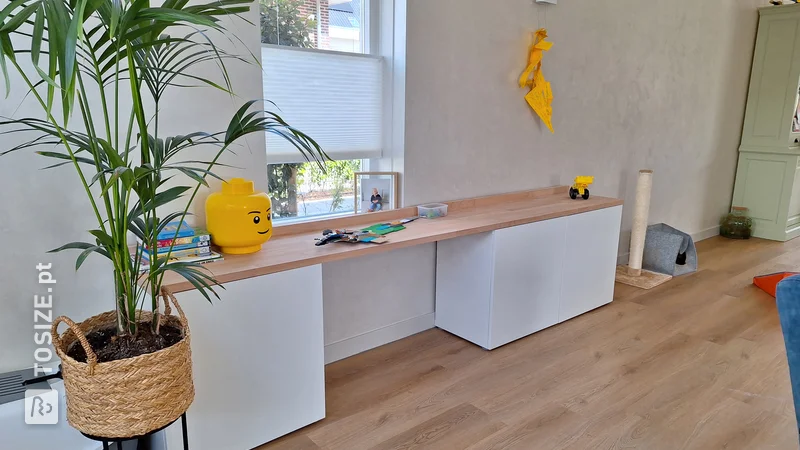
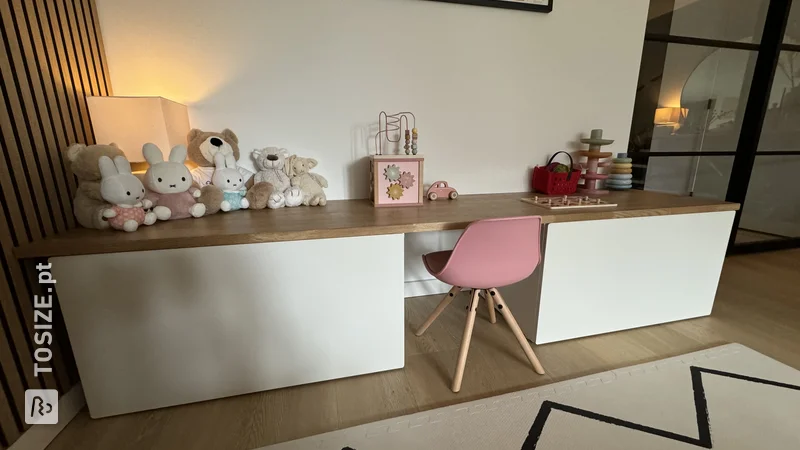
Modern floating desk from Multiplex HPL F6466 Shell Silk Gray, between two walls. Equipped with three equal compartments, with integrated cable grommets for the screen and lighting.
How I made this project
The first step was to make the cable grommets, with a 60mm hole saw. These holes were then milled to obtain a nice edge finish.
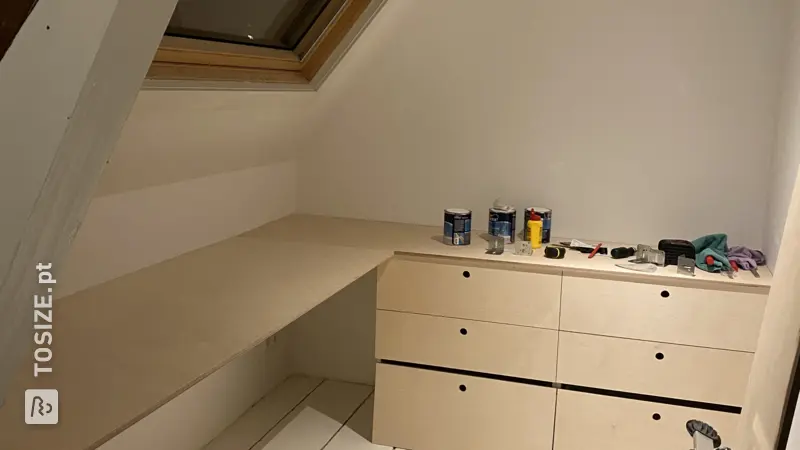
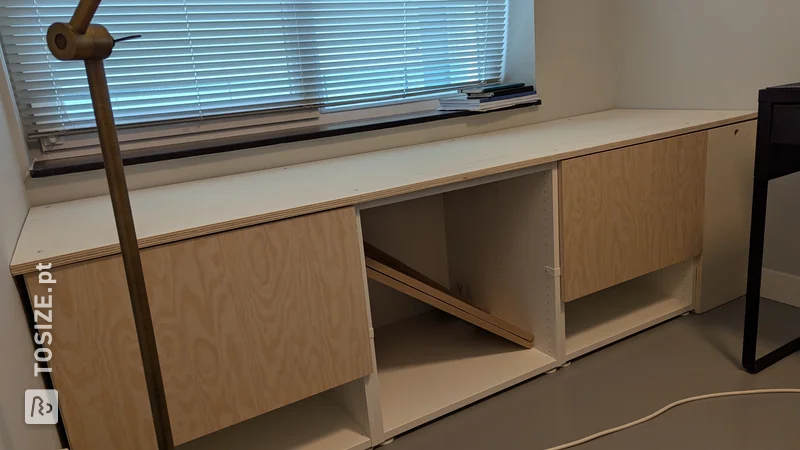
The second step was mounting the vertical beams, which will later form the compartments and support the bottom plate. The outer beams were attached with 2 6mm dowels and wood glue. The two middle planks were attached with dowels, wood glue and screws (4x32mm). These were mounted flush in the 18mm planks, so that they remained invisible. This is done by first drilling from top to bottom with a 4mm drill and then with a drill that had the same thickness as the screw head. I then lightly milled the edge of the top plate at a 45 degree angle, so that it is certainly not sharp when you are sitting at the desk.
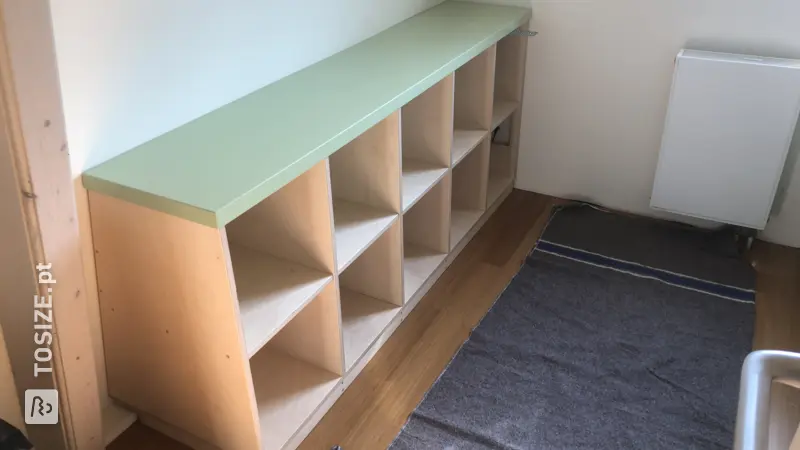
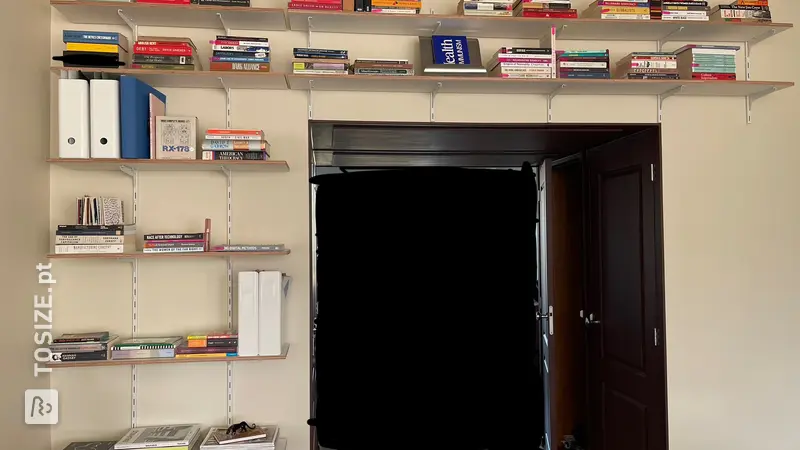
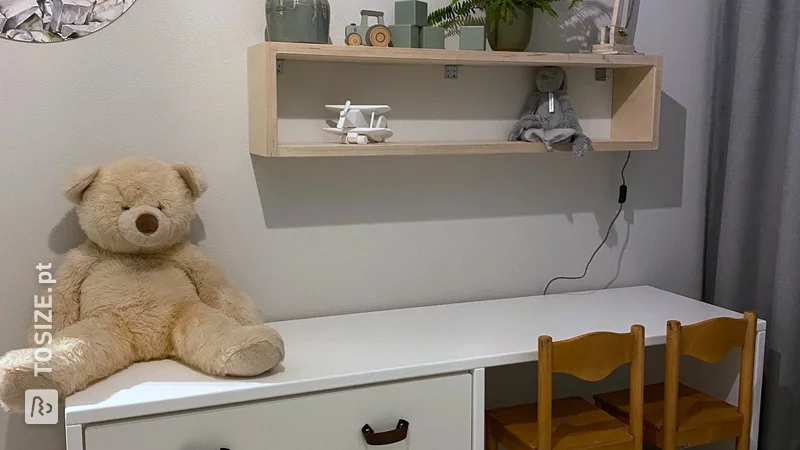
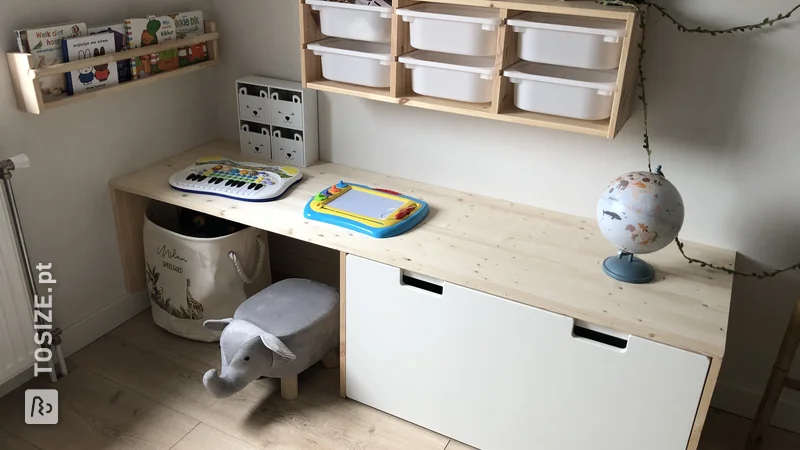
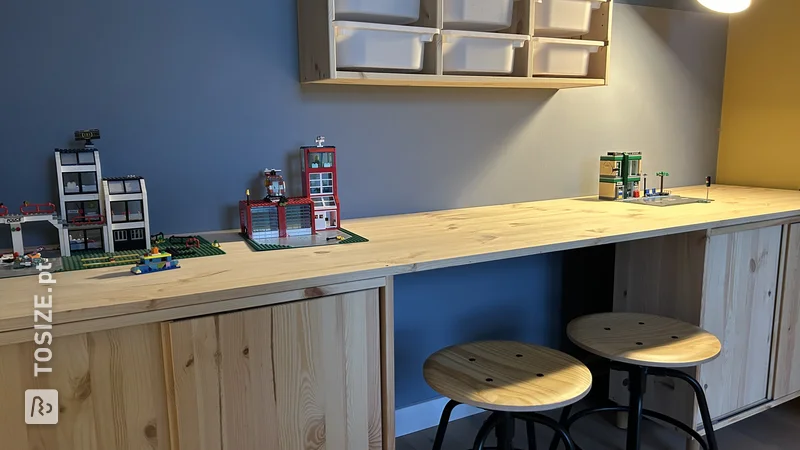
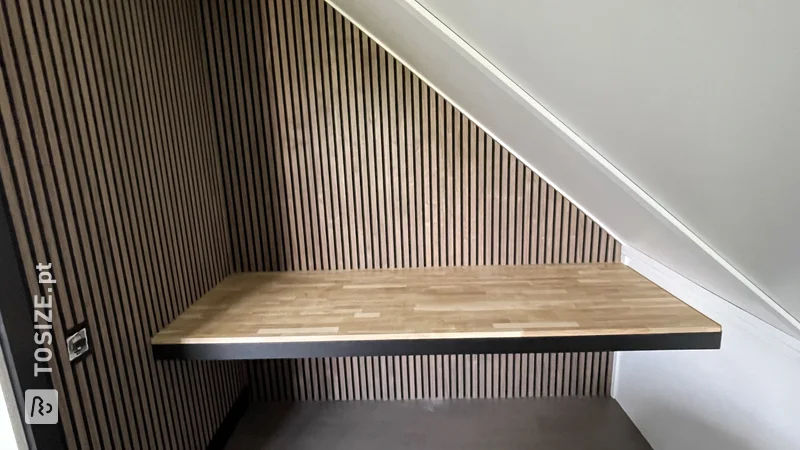
Now that the top plate with the vertical planks was ready, it was time to mount the back wall shelves and shelf supports at the desired height. With the laser I marked a line on the wall and attached it with 6x100mm screws and Fischer duopower 8x65mm plugs. The top plate could be put on to see if everything was correct. Totally okay? Yes!
I then marked and pre-drilled the drill holes on the left and right in the wall. Remove the top plate, plug it in and assemble. ;)
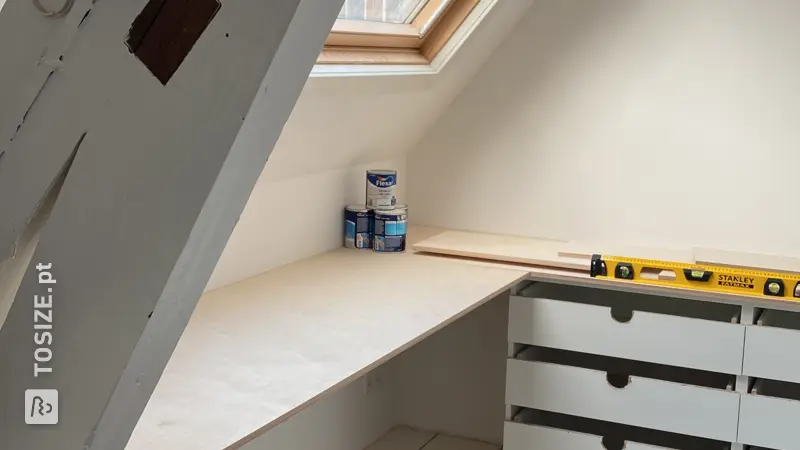
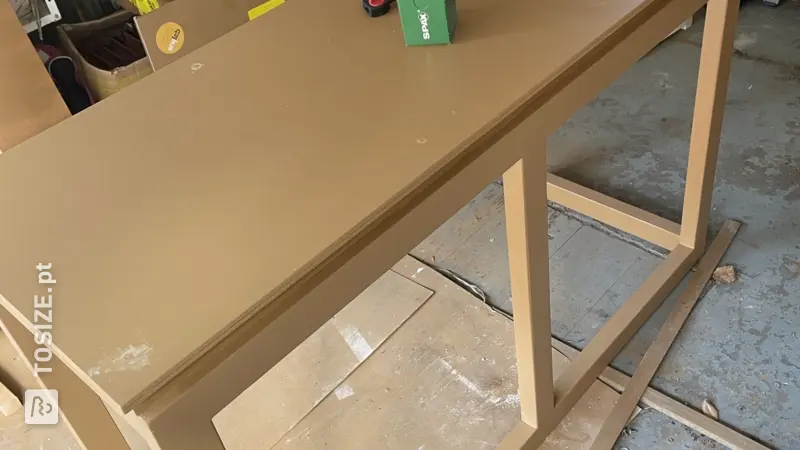
The 'next step' was to design the base plate and install it. The support anchors would extend slightly below the desk. I milled out this recess with a cutter. The cutter could not be removed yet, because I had also provided two holes for the cable entry, in the same location as the top plate. This so that the cable could go directly to the power supply under the desk. This was already foreseen during the construction of the house.
I then pre-drilled around the edge with a 4mm drill and mounted the bottom shelf. The bottom shelf has of course also been given a milled bottom, so that you can never bump into a sharp edge. ;)
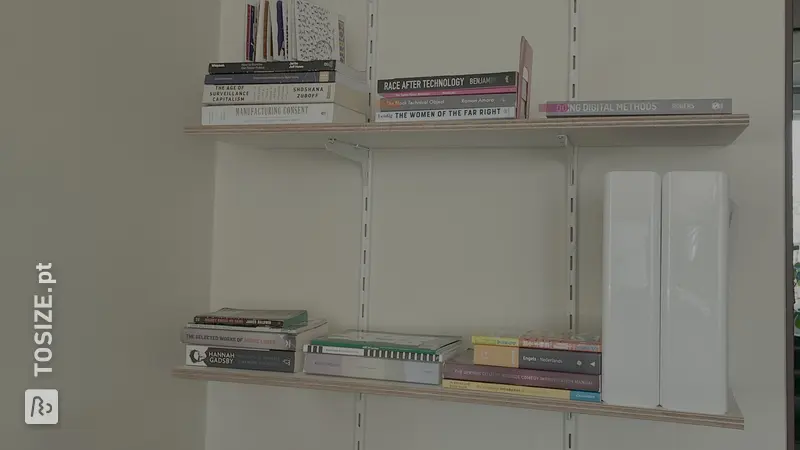
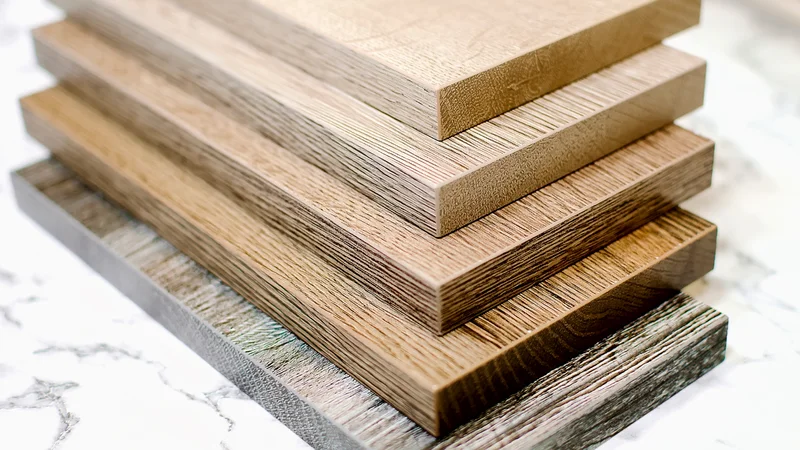
The last step was to lightly sand the visible plywood edge, so that the beautiful structure was clearly visible!
Dimensions of my DIY project
231 .2 cm wide 58.0 cm deep 8.6 cm high
Tip! Also check out our handy DIY tips!
What now?
Want to make this DIY project? Check out Stijn's saw list and complete your order easily.
€ 676,70
All materials used
View all sheet materials