- TOSIZE.pt
- Do it yourself
- DIY Projects
Heated 3D printer housing for the garage (cold environment), by Stefan
Heated 3D printer housing for the garage (cold environment), by Stefan
Create this project yourself with sheet material cut to size by TOSIZE.pt!
Stefan
Average
2 minutes
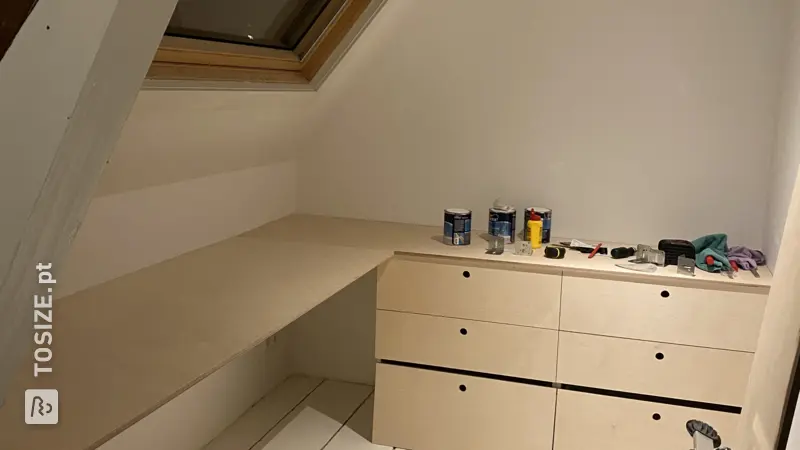
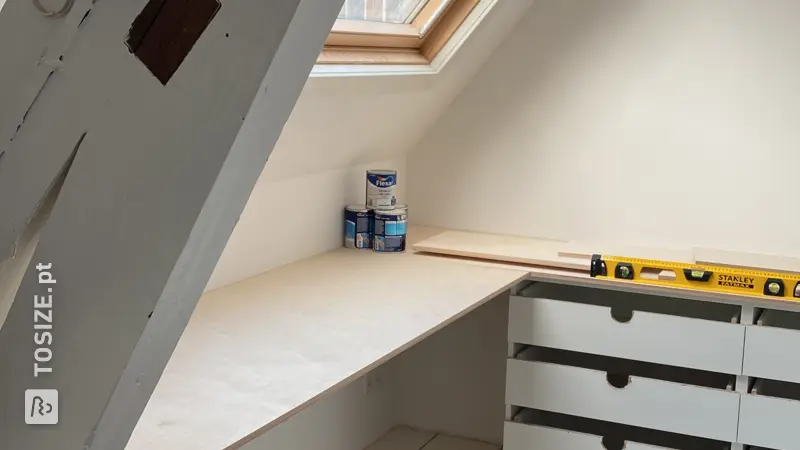
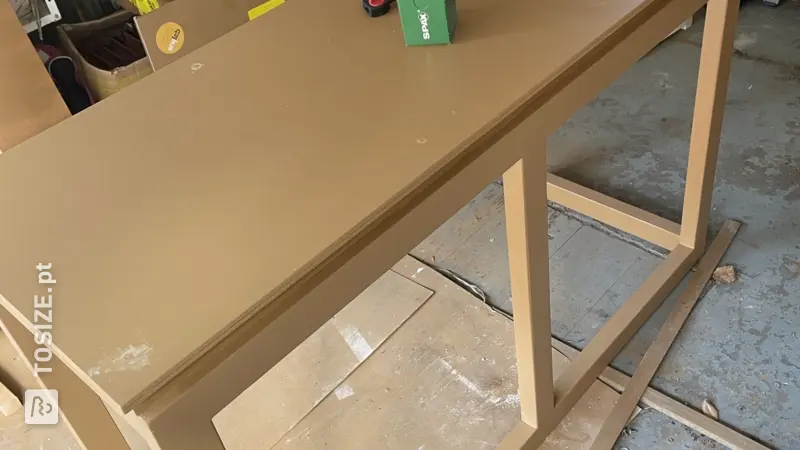
Stefan has made a very stylish and customized housing for his 3D printer. He used cut-to-size sheets of birch plywood.
Description by Stefan
I don't have space in my apartment. There is space in the garage, but the garage is dusty and usually too cold. So I designed a housing that: - can be heated - is dust-proof - is illuminated - can be mounted on the wall - can be provided with cooling if required Initial tests have confirmed functionality.
How I made this project
1. Selecting a suitable heating panel >50 watts An alternative with heating mats did not provide enough heating power and was discarded.
2. Selection of the control (temperature range for heating and cooling must be separately adjustable (hysteresis)
3. Determine housing dimensions and create construction plan/parts list
4. Order components (wood, heating, control (heating/cooling), wood screws, plexiglass panes, hinges)
5. Assembly The wooden boards are connected using wood screws (4.5 x 60). 6. Wall mounting This is done using 2 screws and 2 8mm dowels 7. Plexiglass panes The pane is divided into 2. Access to the printing chamber, access to the control element.
Dimensions of my DIY project
W 53.6 H 73.6 D 62.8 cm including 0.8 plexiglass pane and seal
Tip! Also check out our handy DIY tips!
What now?
This is a project for inspiration. Because our assortment has changed, (some of) the products are no longer available.
View all sheet materials