- TOSIZE.pt
- Do it yourself
- DIY Projects
IKEA BESTA TV cabinet conversion made of plywood
IKEA BESTA TV cabinet conversion made of plywood
Featured!
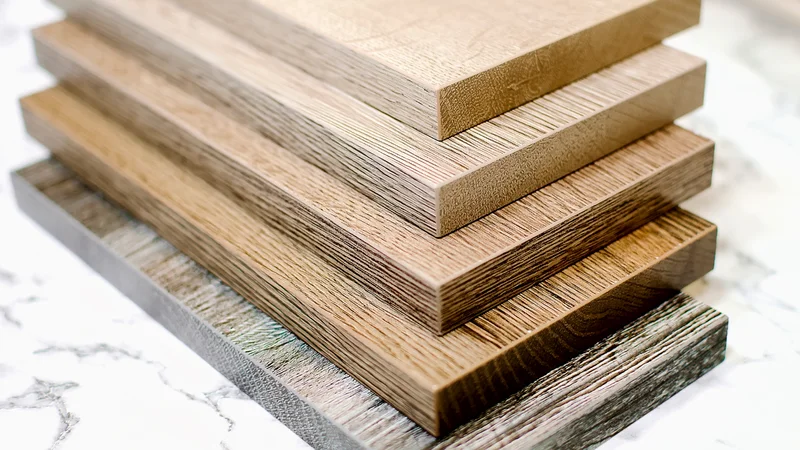
Extensive range of edgebanding
View the product range
Create this project yourself with sheet material cut to size by TOSIZE.pt!
Per
Average
2 minutes
Description
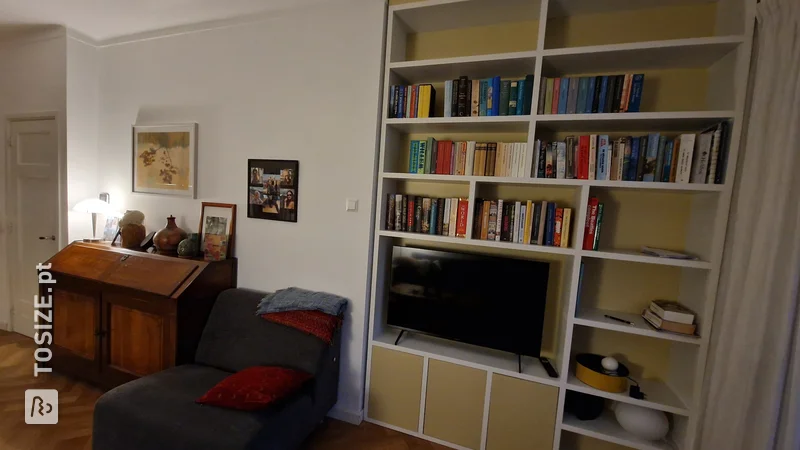
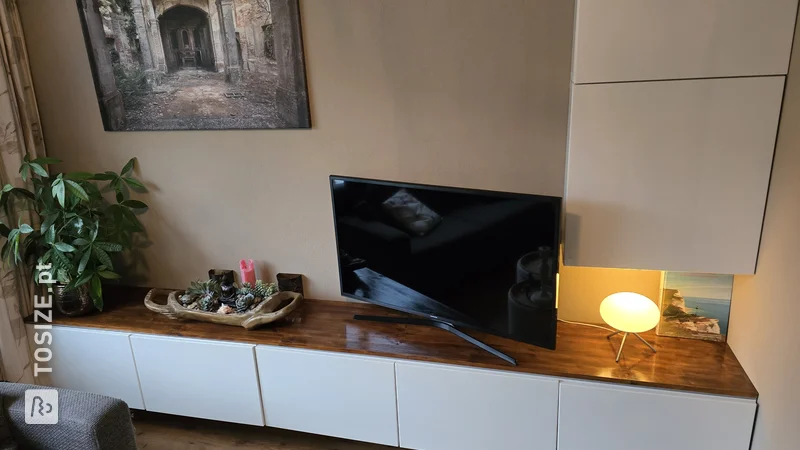
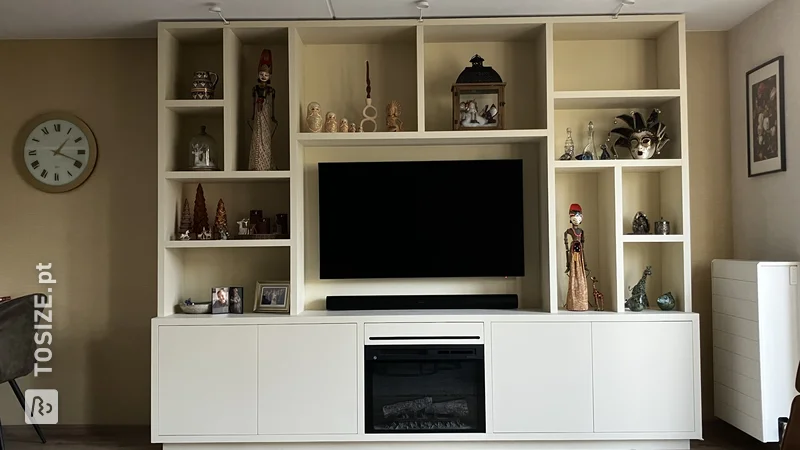
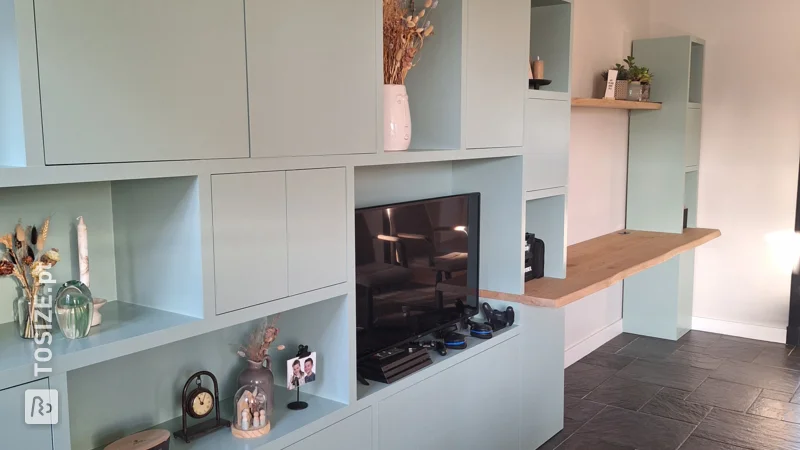
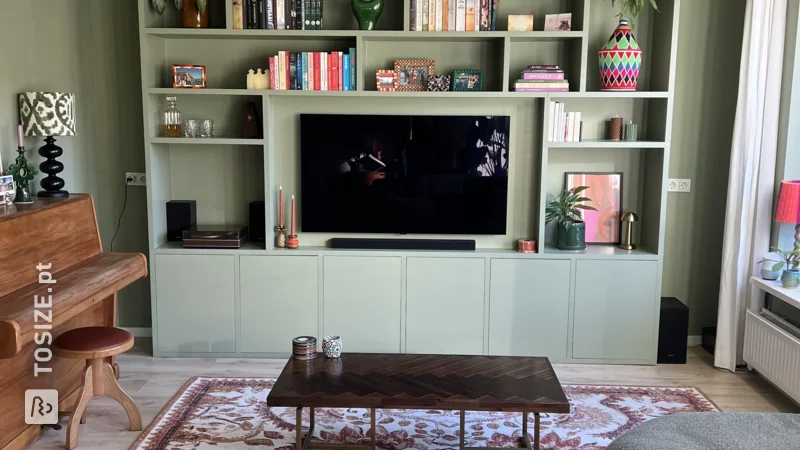
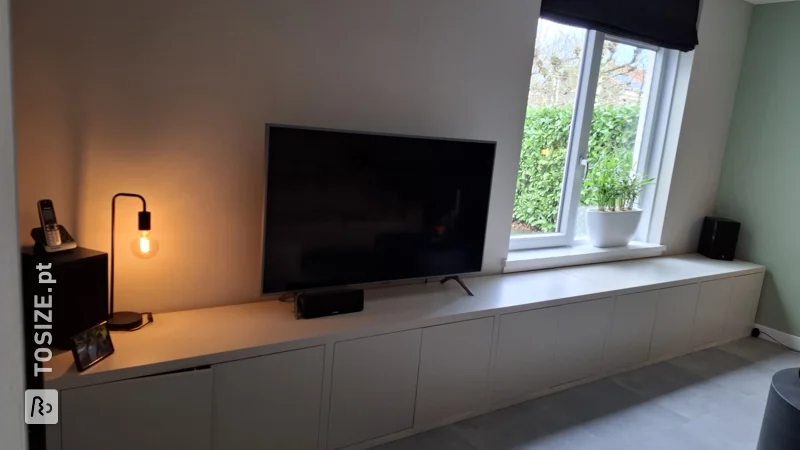
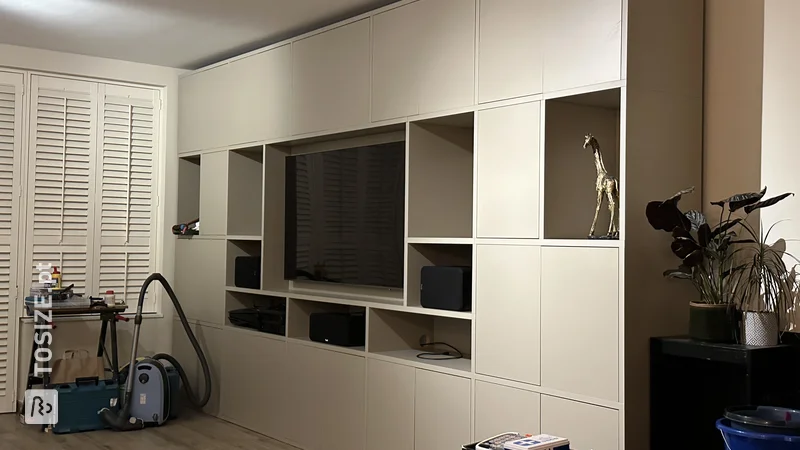
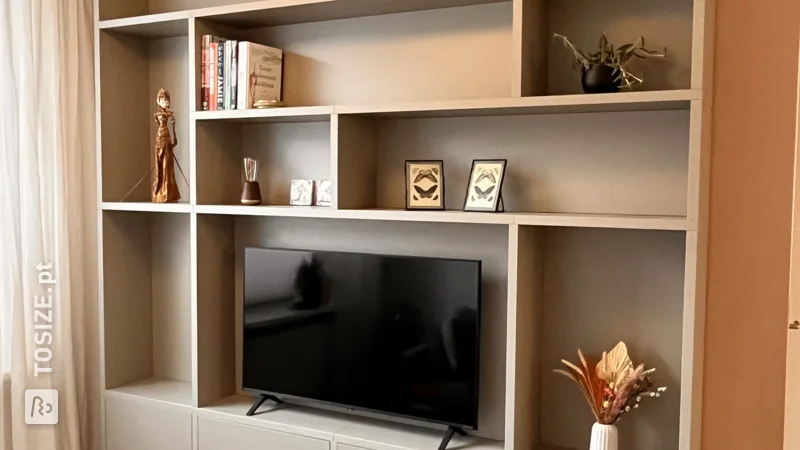
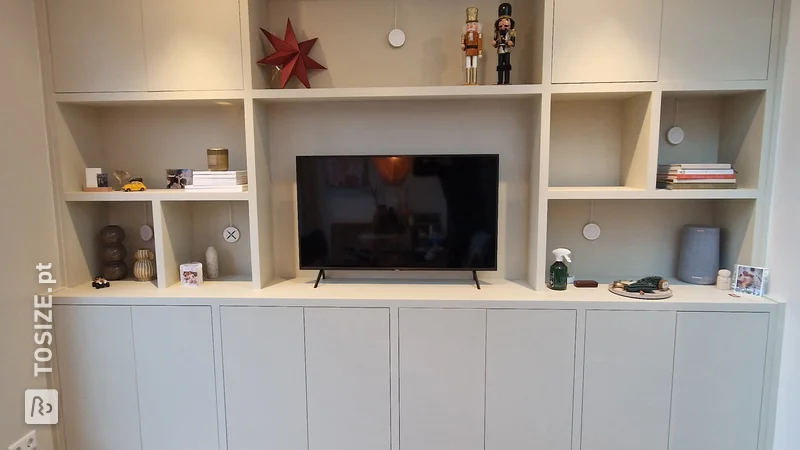
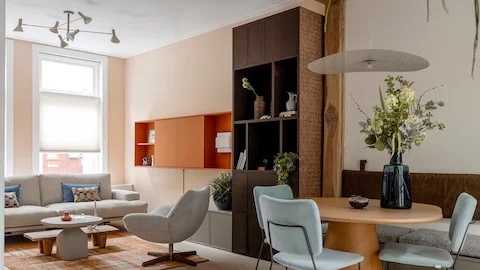
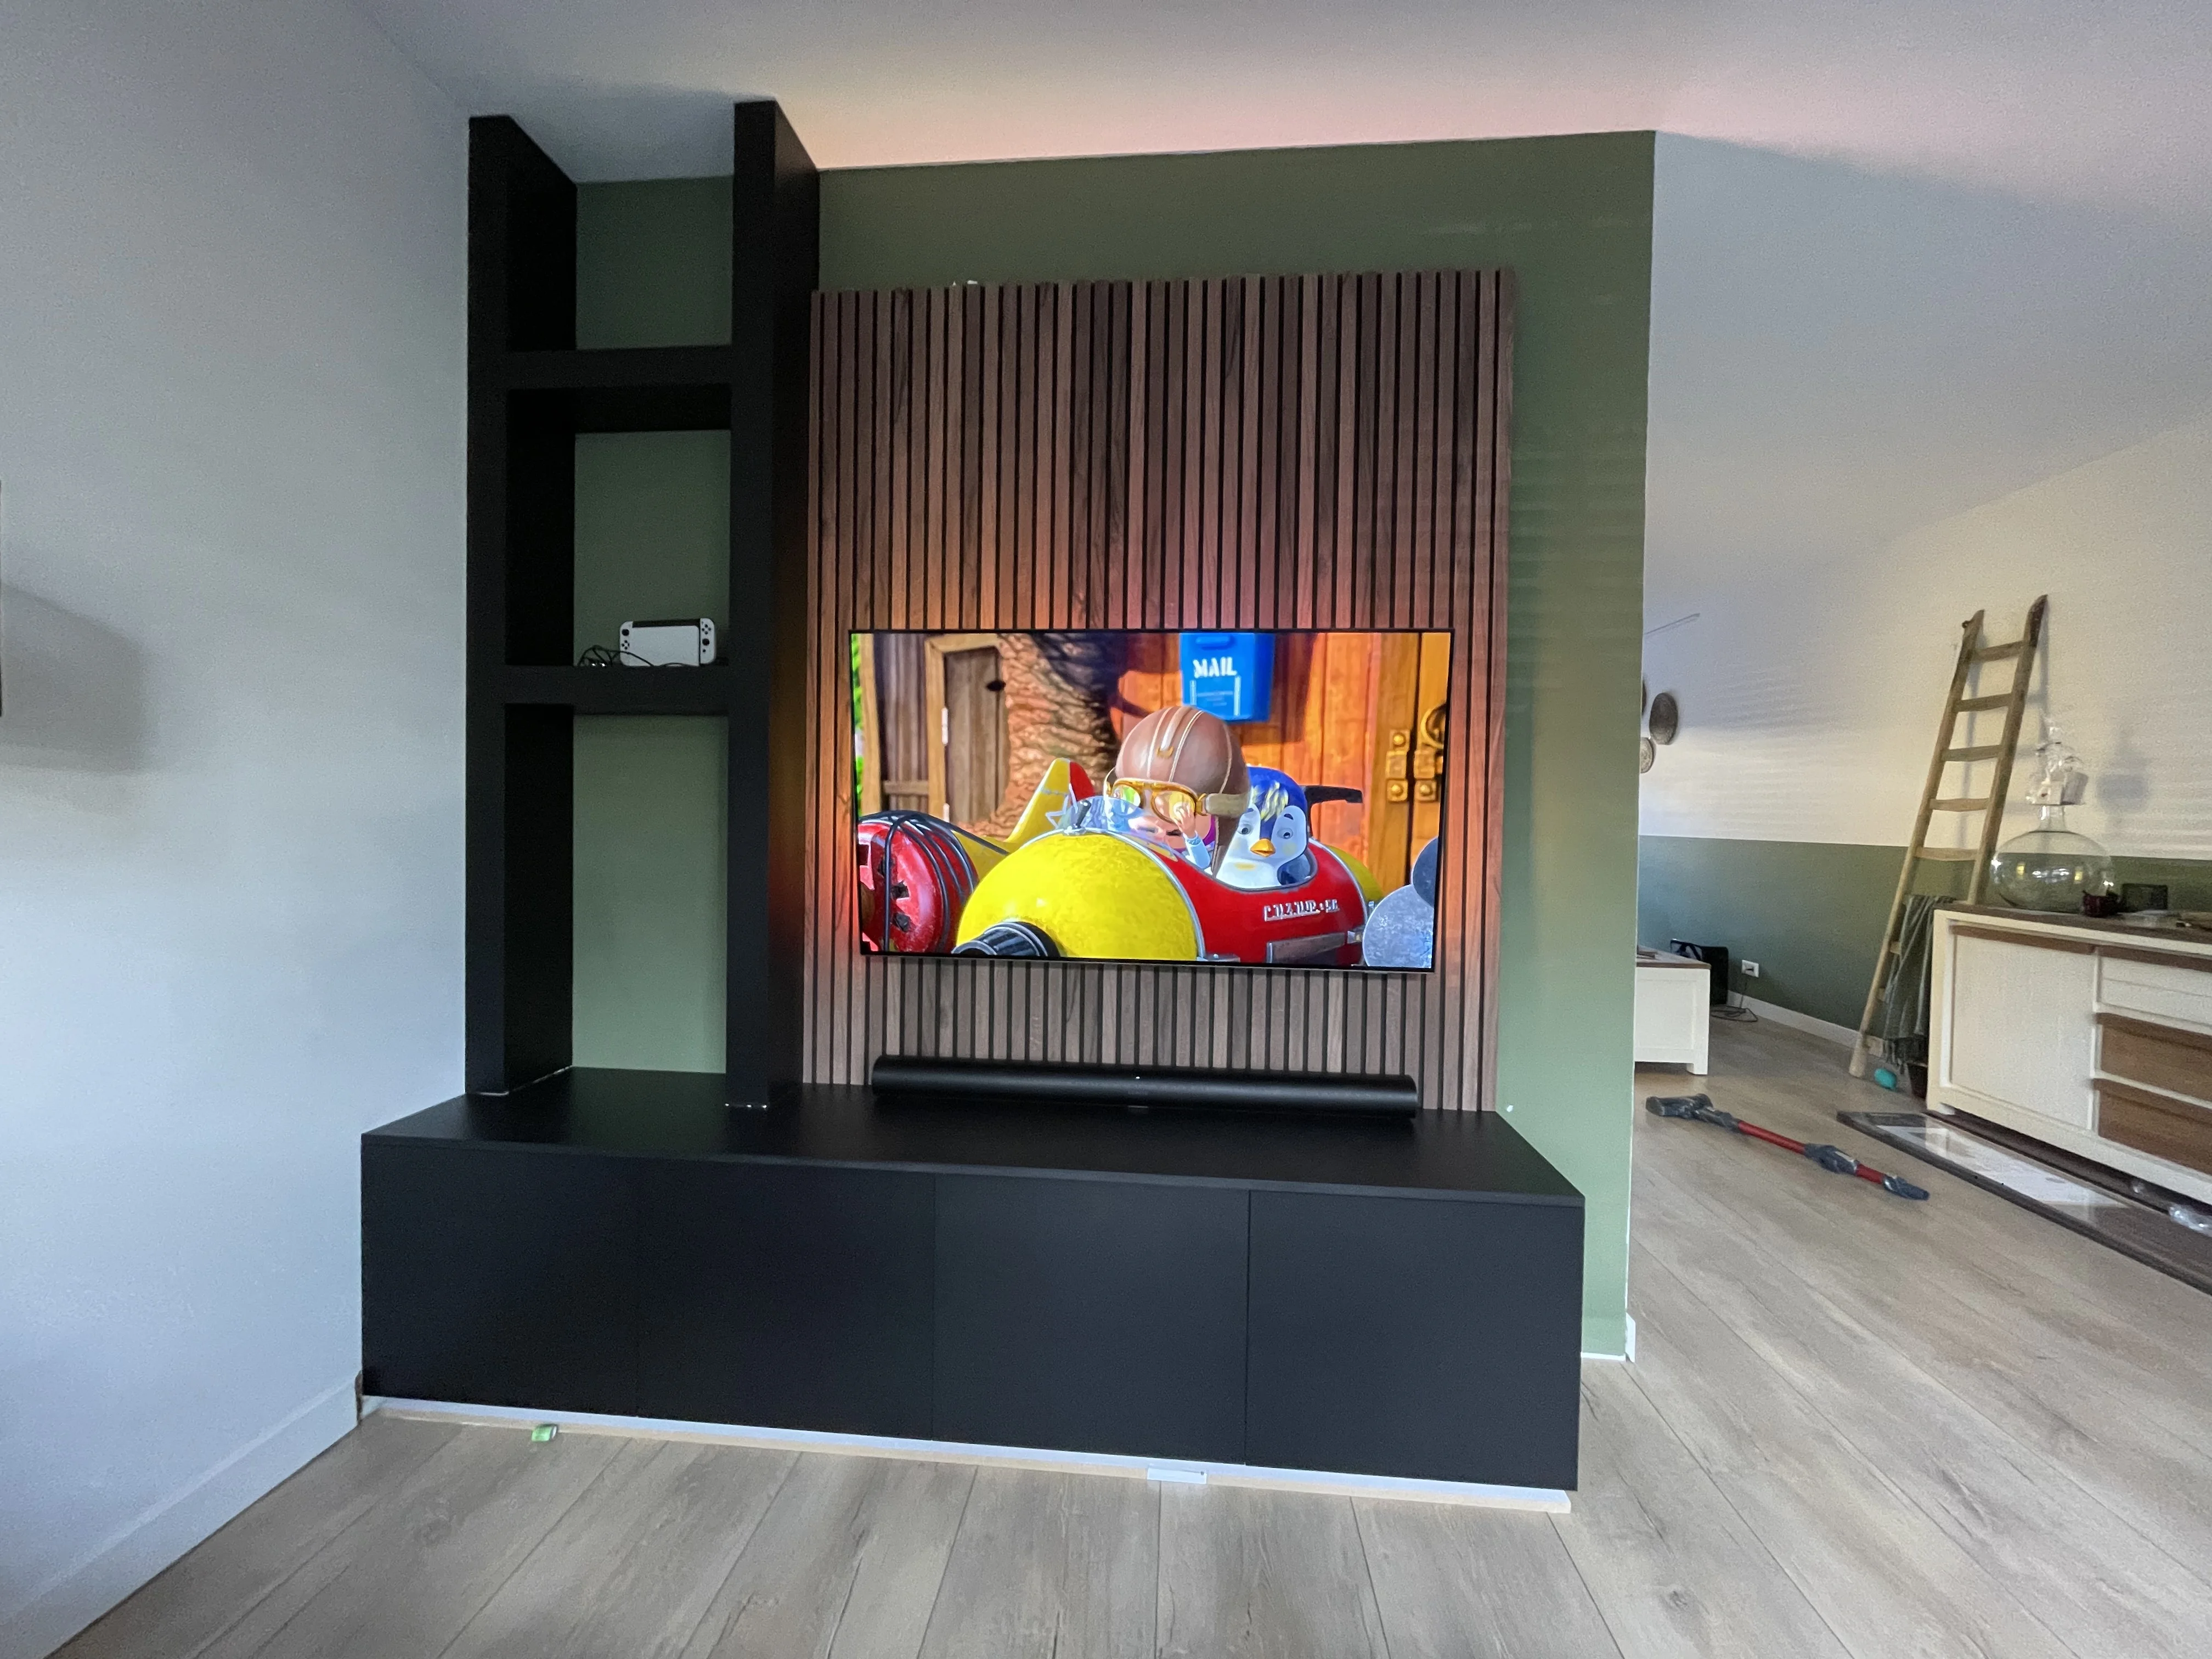
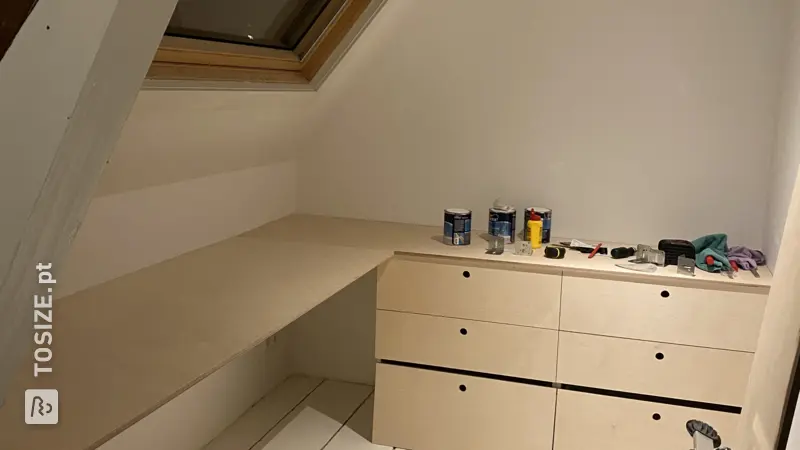
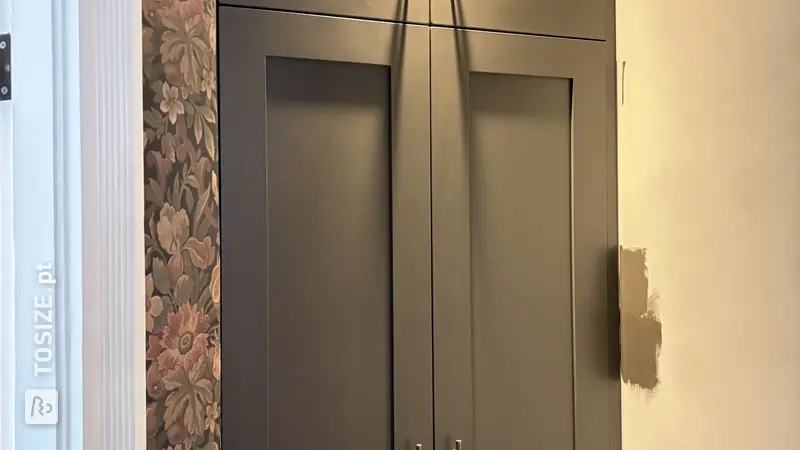
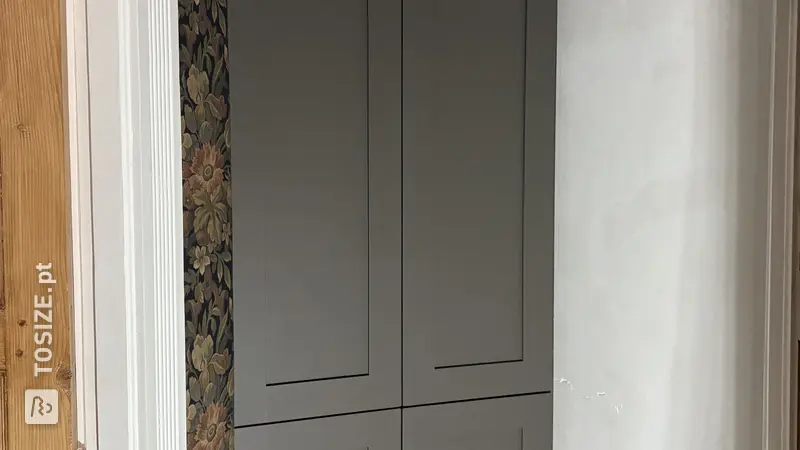
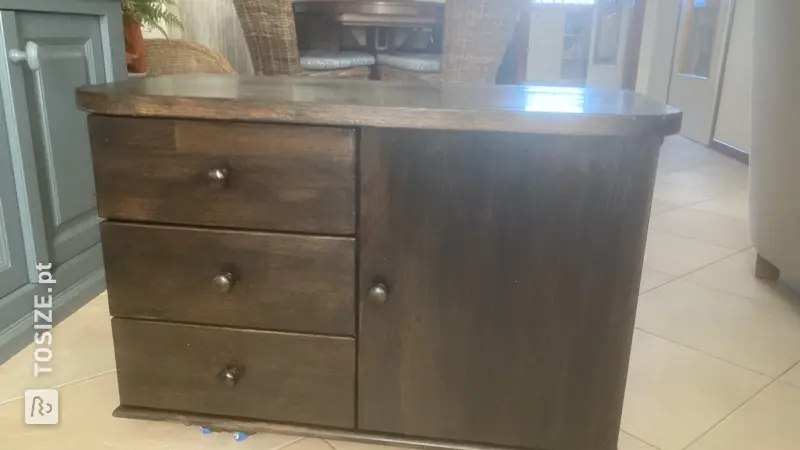
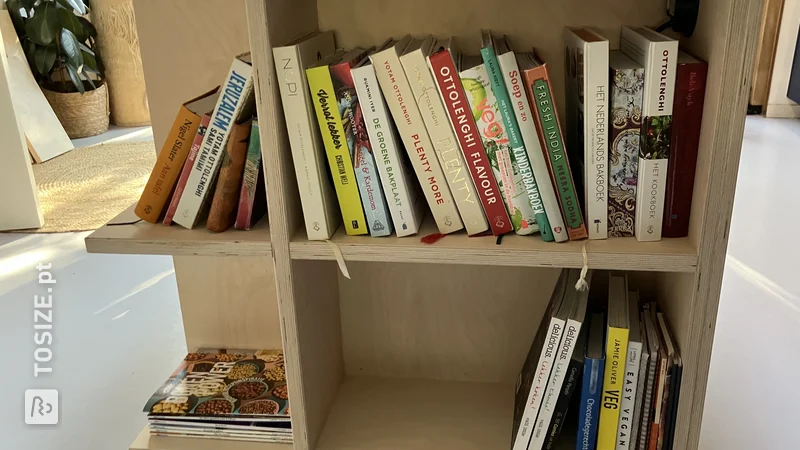
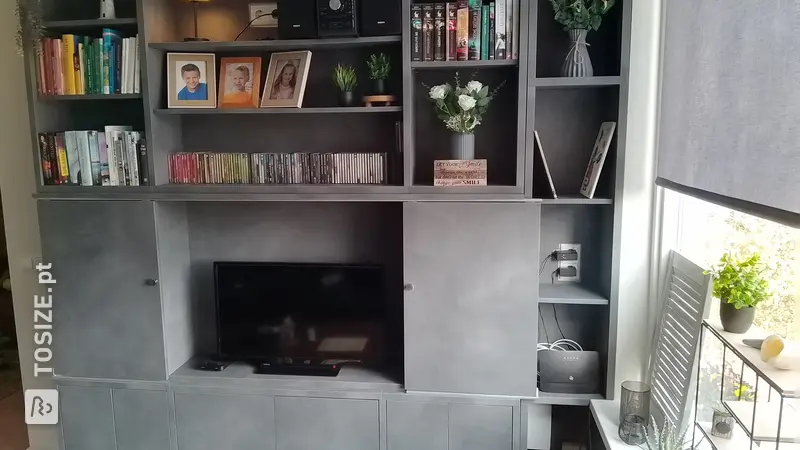
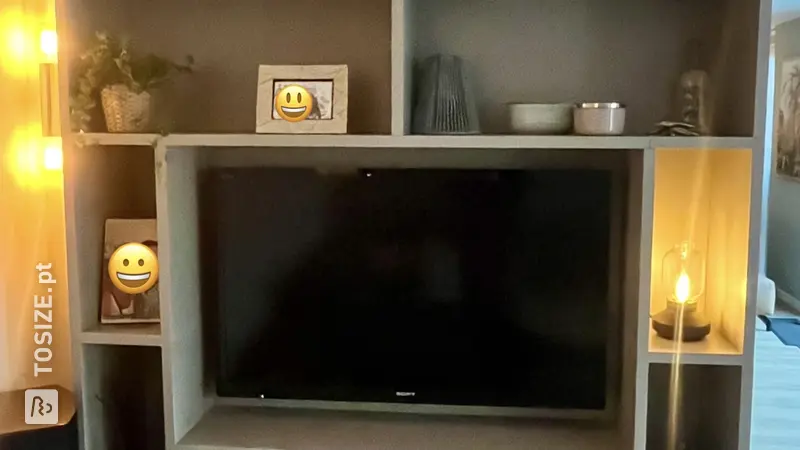
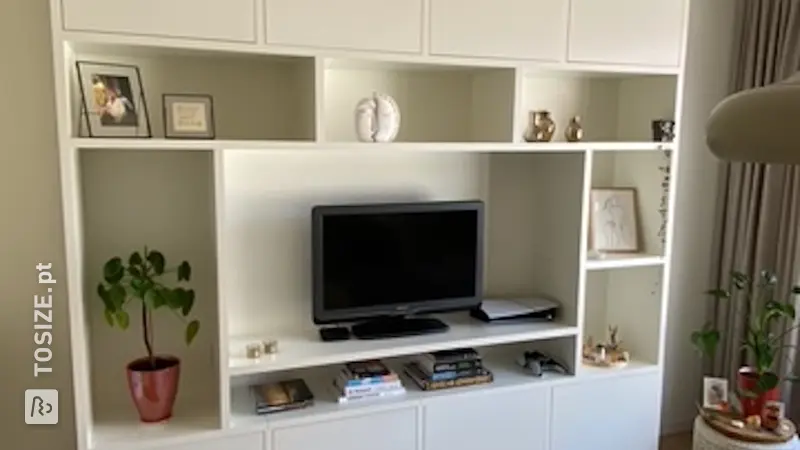
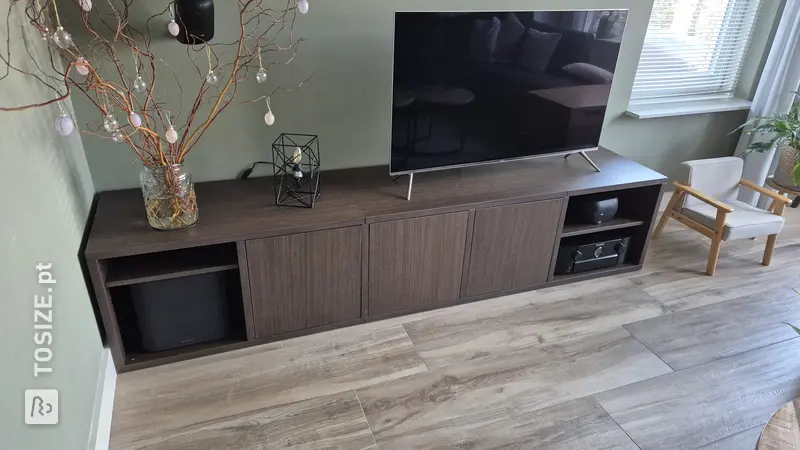
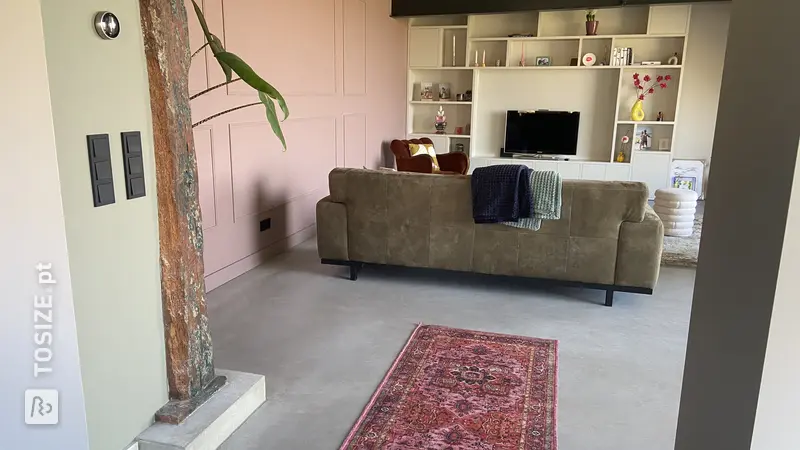
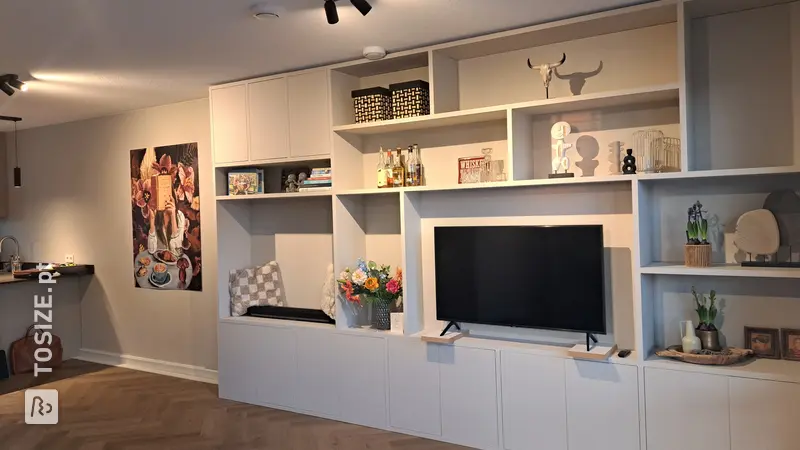
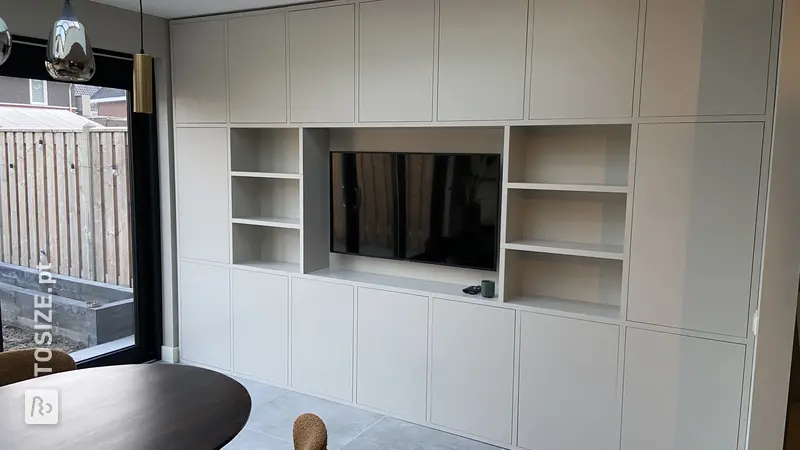
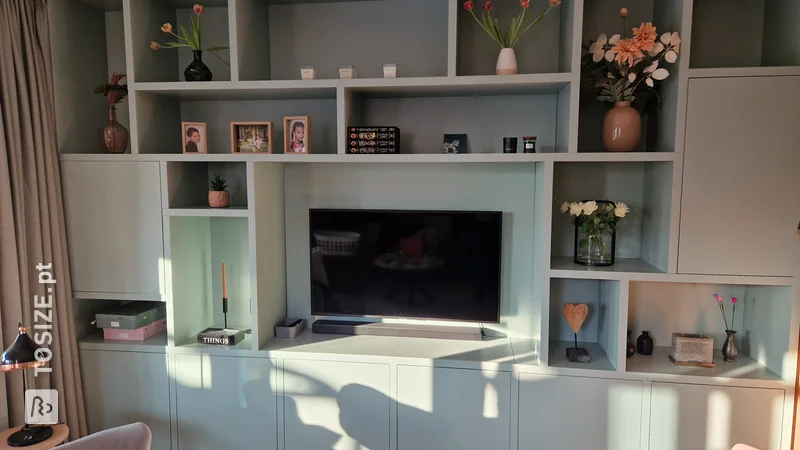
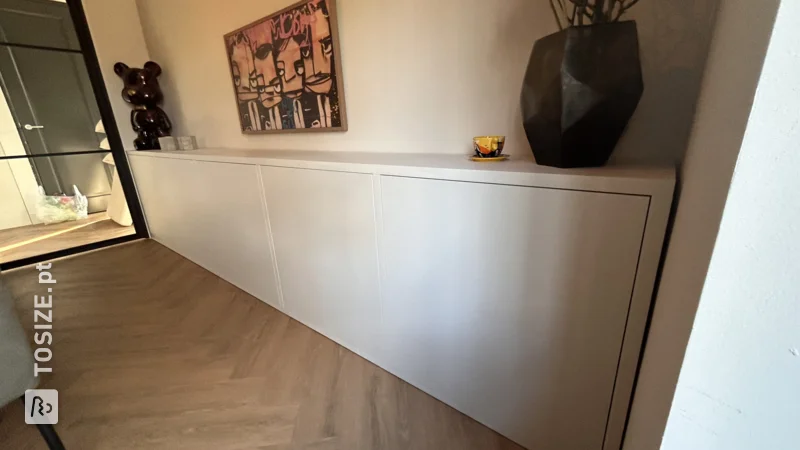
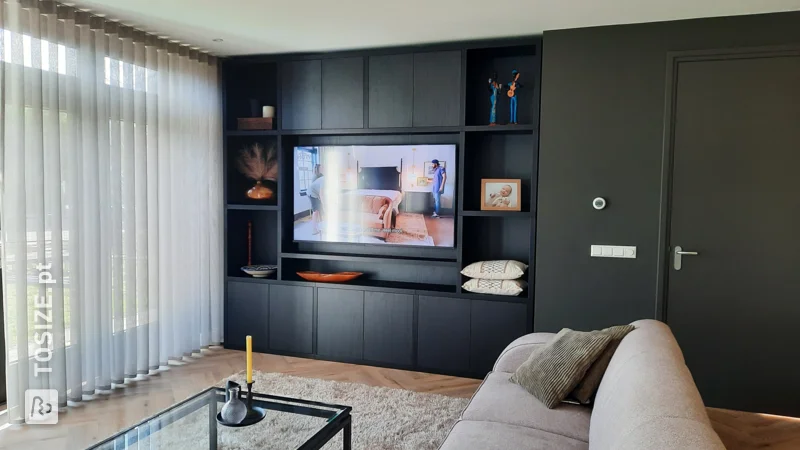
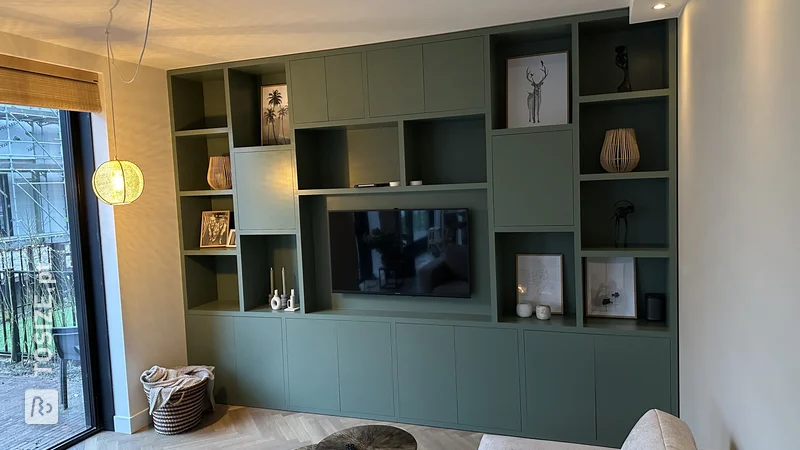
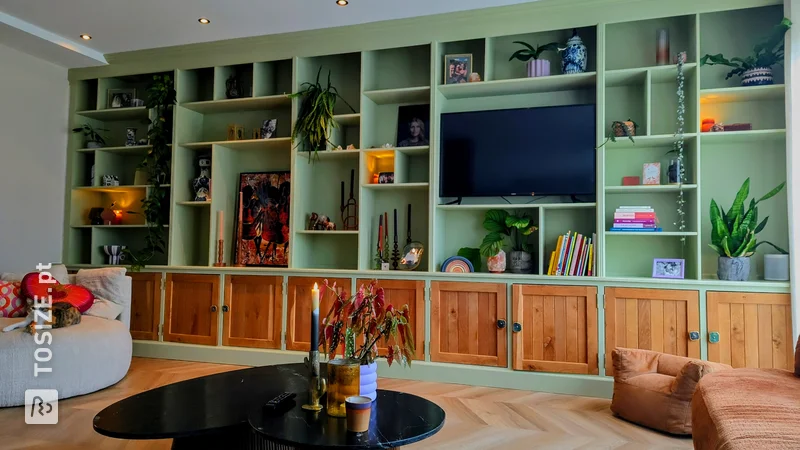
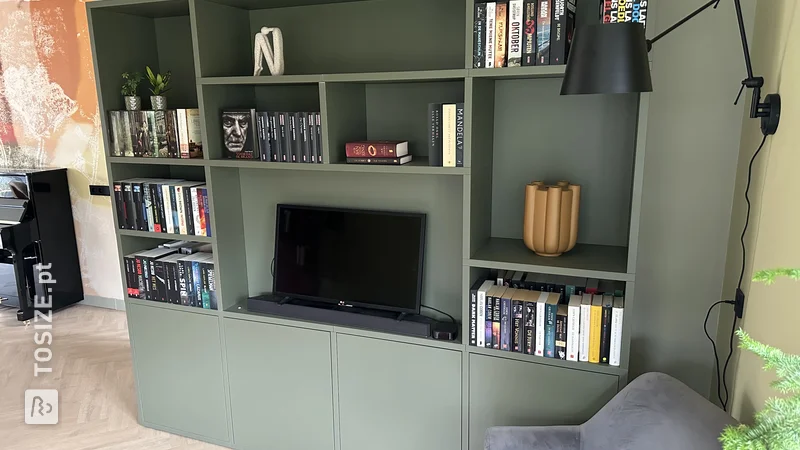
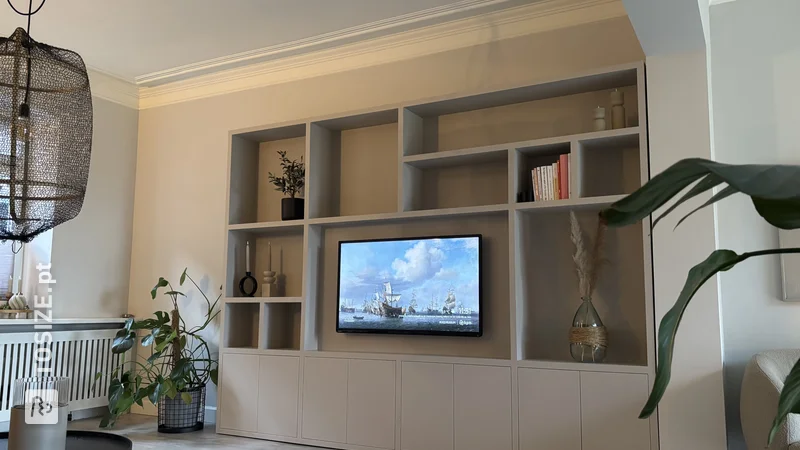
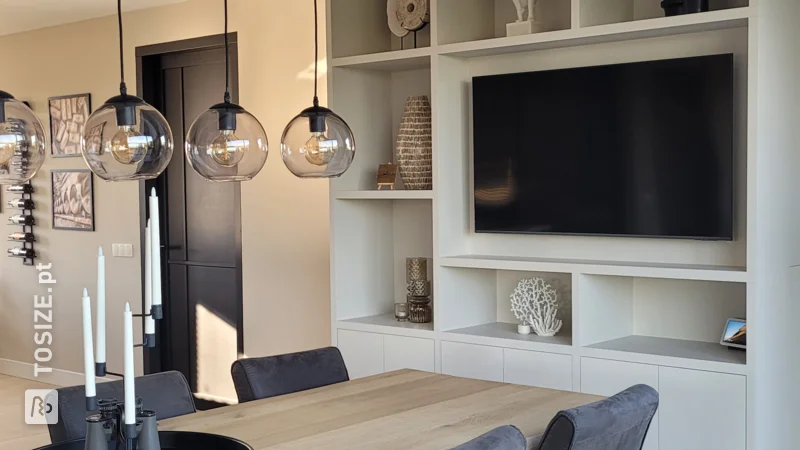
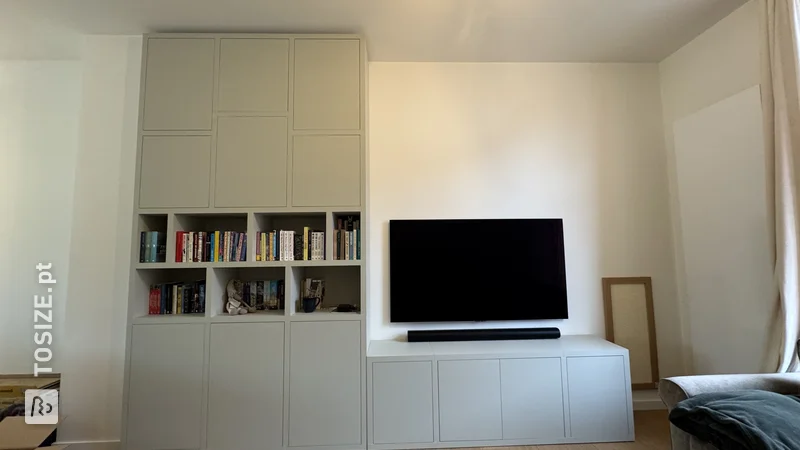
Extra long conversion made of poplar plywood for the IKEA BESTA cabinet (TV cabinet) with a length of 360.0 centimeters and a depth of 65.0 cm.
How did you make your furniture?
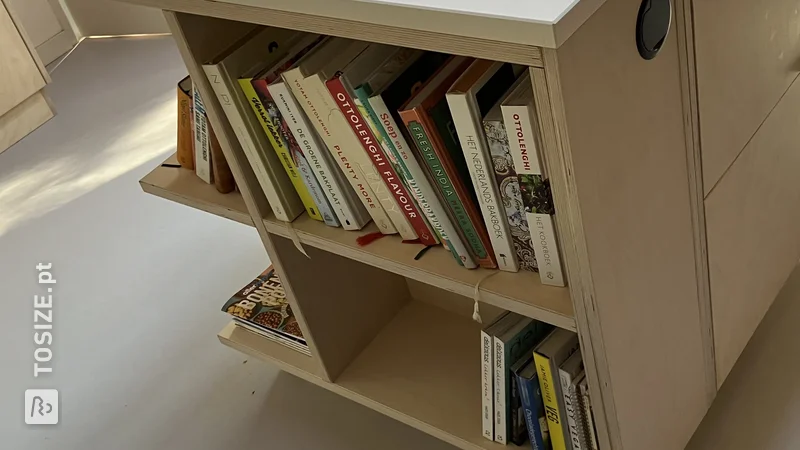
As a basis we used 2 BESTA TV furniture, each with a length of 180.0 cm. We made the cupboard deeper (65.0 cm, BESTA is 40.0 cm) so that we immediately created a conversion for a radiator.
It is an easy job in itself, but the implementation was expensive. quite some time. How did we approach it:
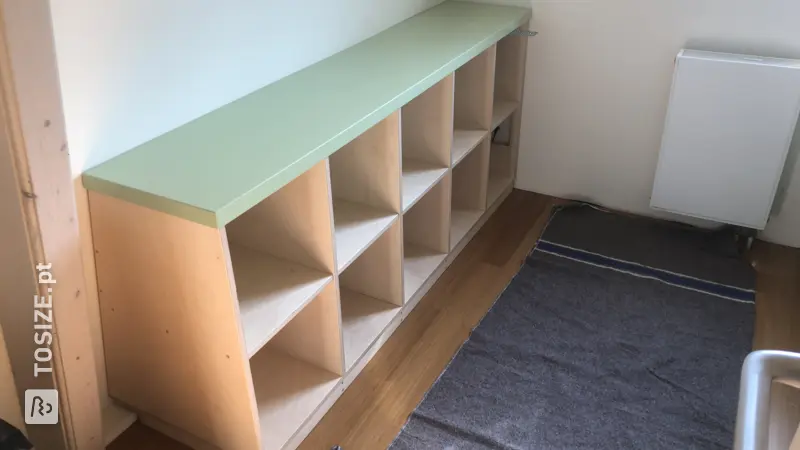
- Put the bottom plywood panels on the floor.
- Put BESTA cabinets on top and BESTA cabinets then connect them together.
- In BESTA cabinets, mark where the screws should go to screw them to the plywood.
- Drill countersunk holes (so that you do not you have disturbingly protruding screws in your cupboard).
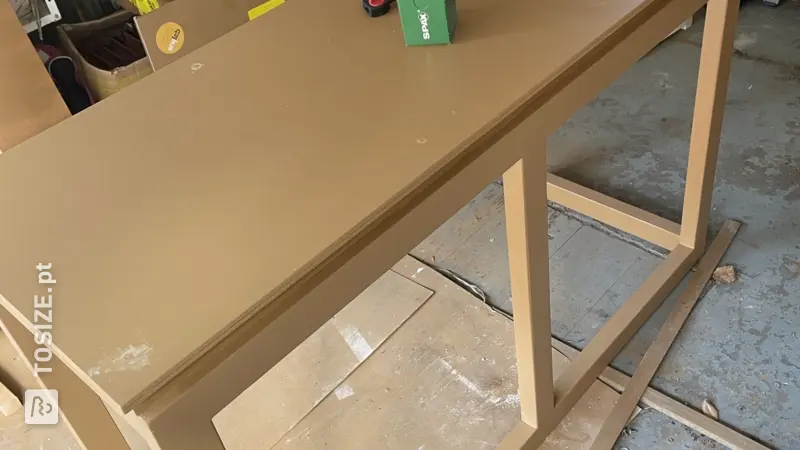
- Align a plywood side with the top/bottom sheet of plywood.
- From the side, and from above, screw the plywood plates in place.
- Turn the cabinet over to attach the bottom and the legs (given the large size of the cabinet, you have to think carefully about how to do this, it is not only heavy, but the cabinet also bends easily due to its length).
- screw the bottom to the frame and screw the legs to the bottom.
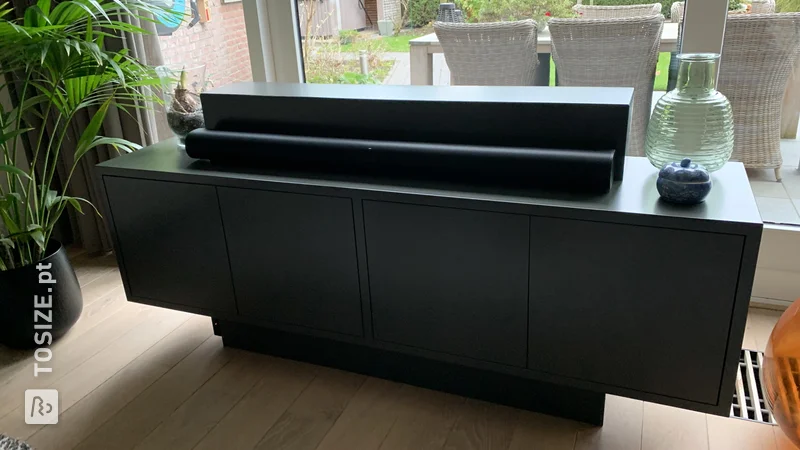
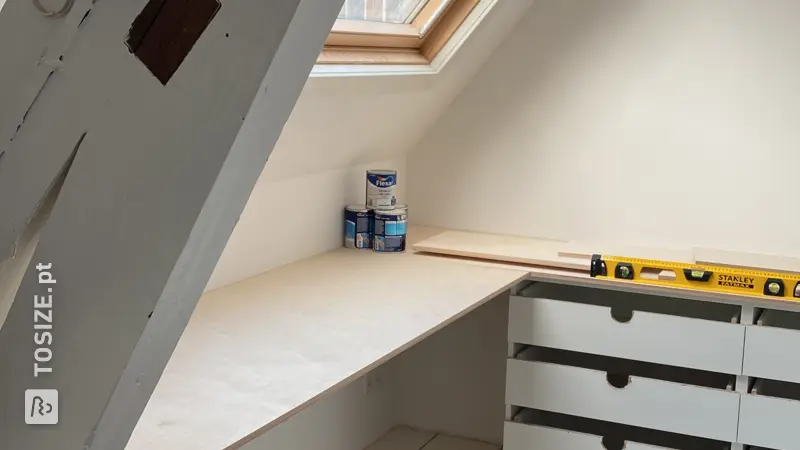
- because we made an extra deep cupboard, we also mounted some support beams between the plywood bottom and top against any possible damage. sagging.
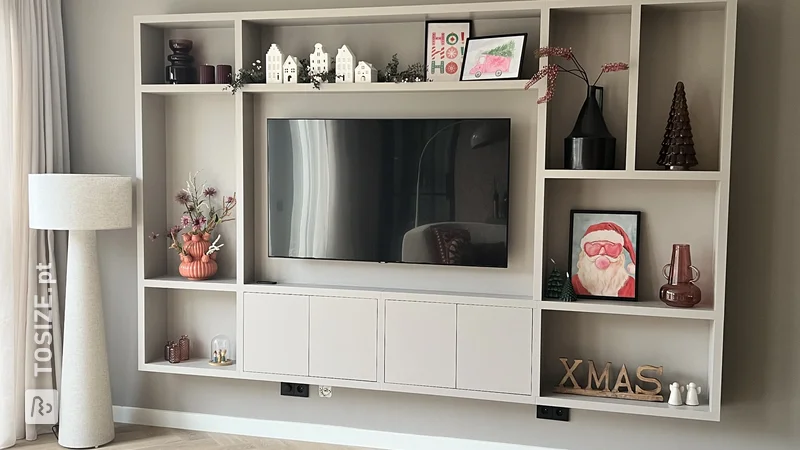
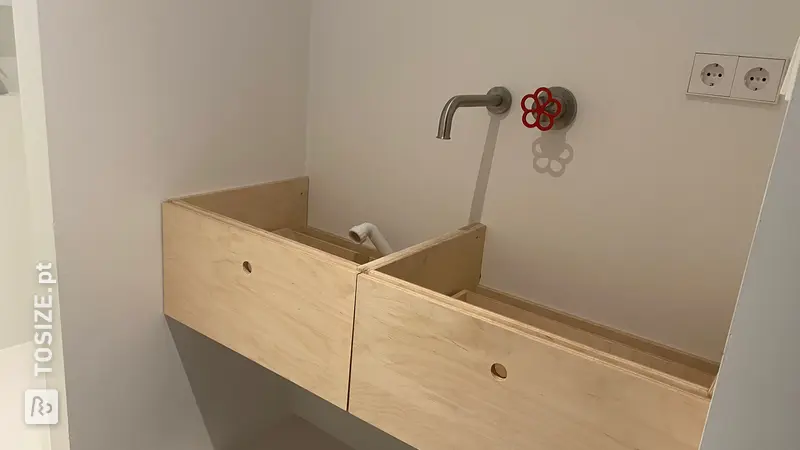
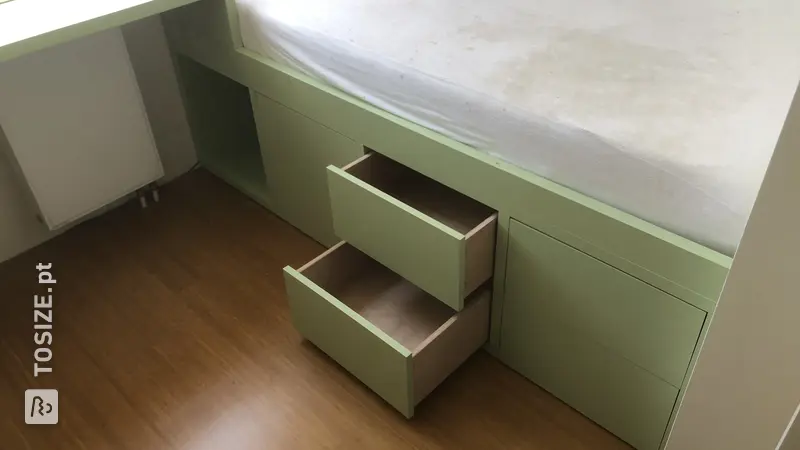
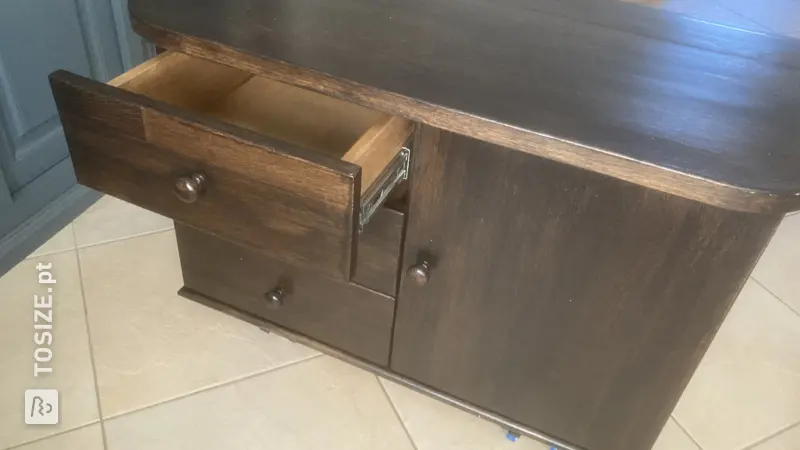
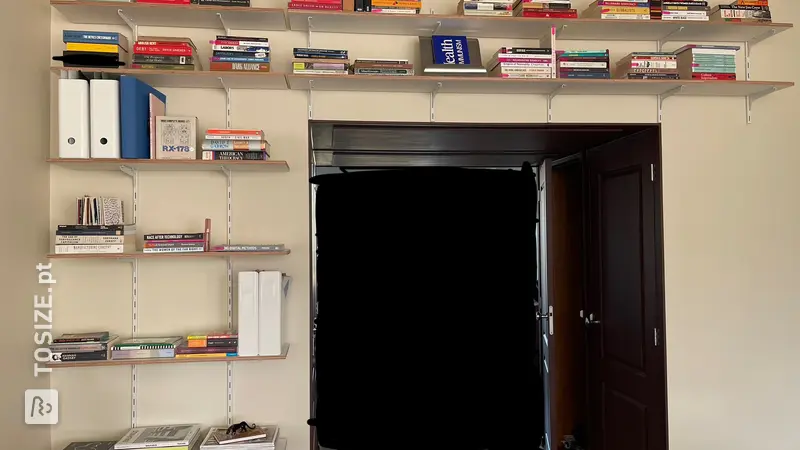
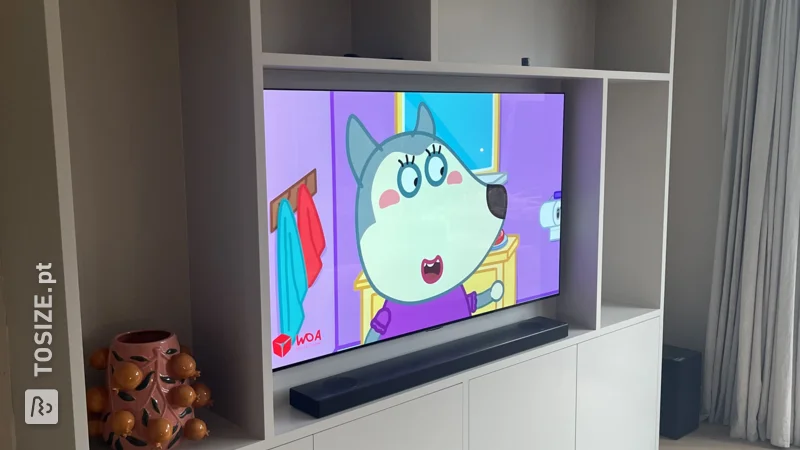
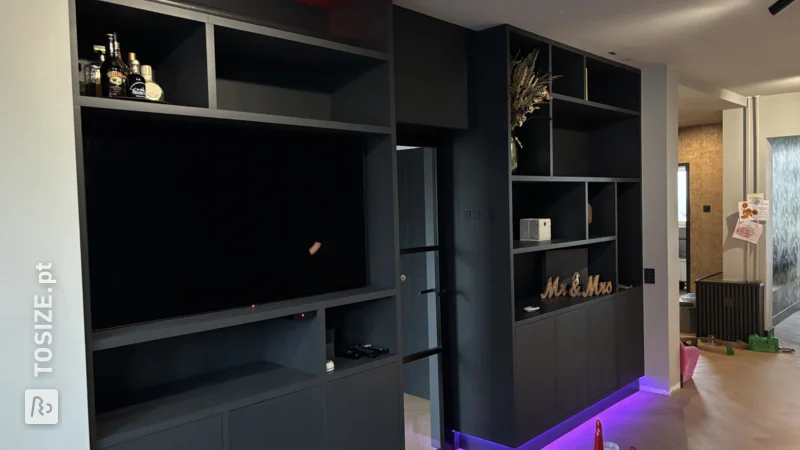
- In addition to the recess for the radiator, we have also made a recess in the bottom to allow you to pull cables into the cabinet.
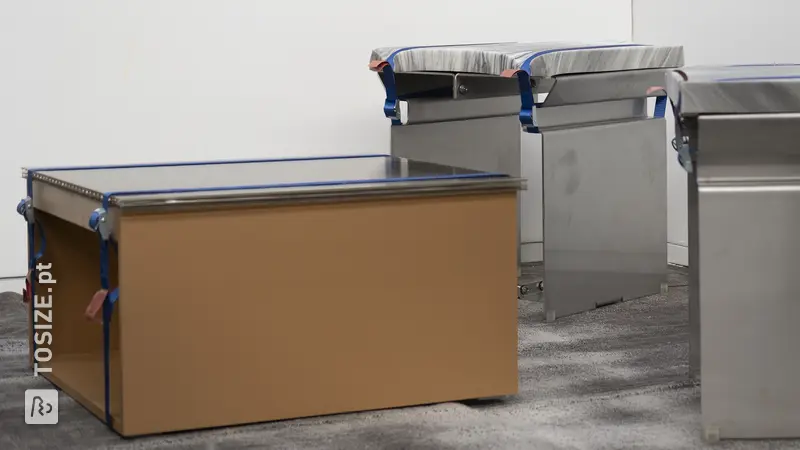
- the Putting the cabinet back on its feet was also difficult because we were afraid that the legs would break off when turning. We therefore rolled the cupboard onto its legs over 10 cm thick beams (after sticking felt pads under the legs).
- We then placed the cupboard on some cardboard and fleece blankets pushed into place.
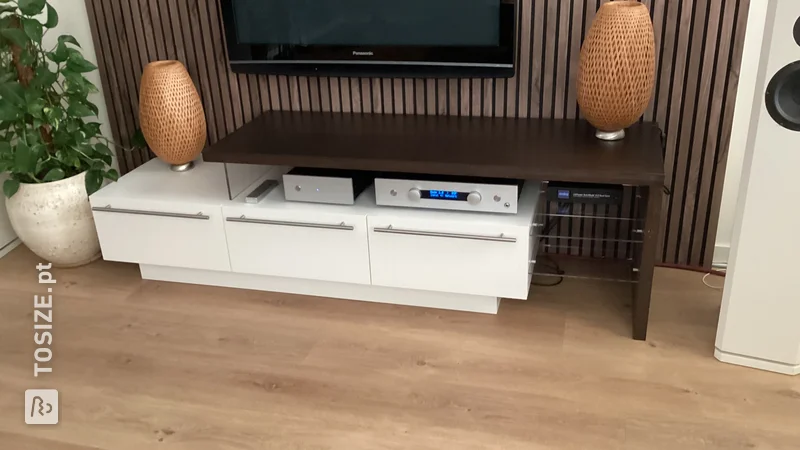
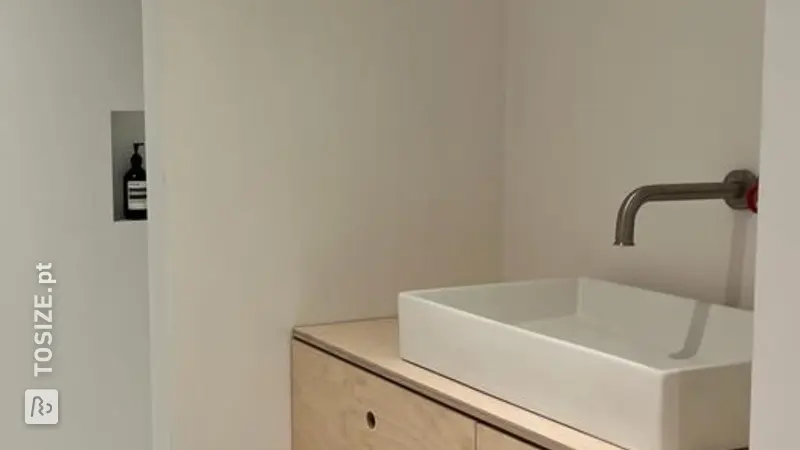
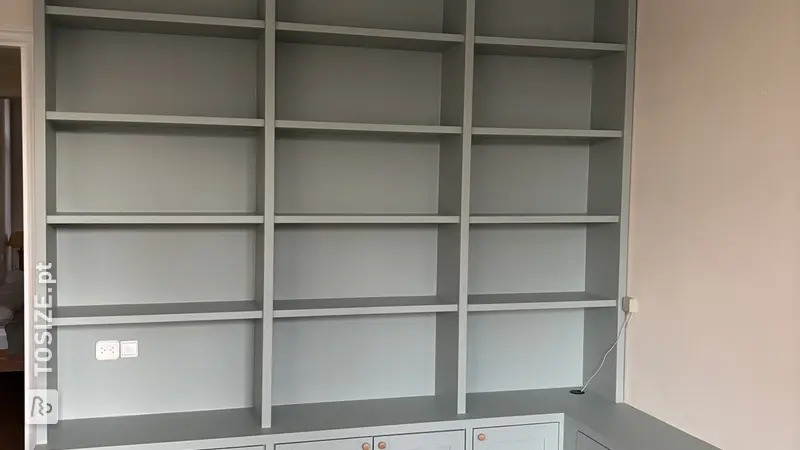
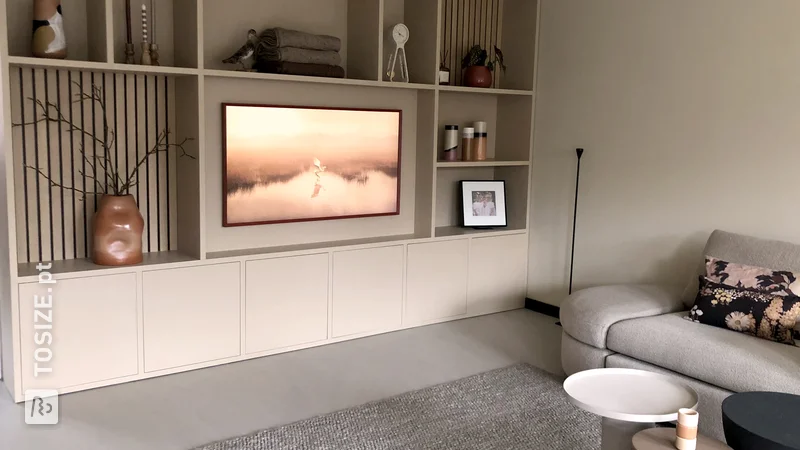
- The whole was then finished with a base coat and a natural/transparent varnish.
What are the dimensions?
The dimensions are 360.0 by 65.0 cm.
Tip! Also check out our handy DIY tips!
What now?
Want to make this DIY project? Check out Per's saw list and complete your order easily.
€ 511,66
All materials used
View all sheet materials


.webp)