- TOSIZE.pt
- Do it yourself
- DIY Projects
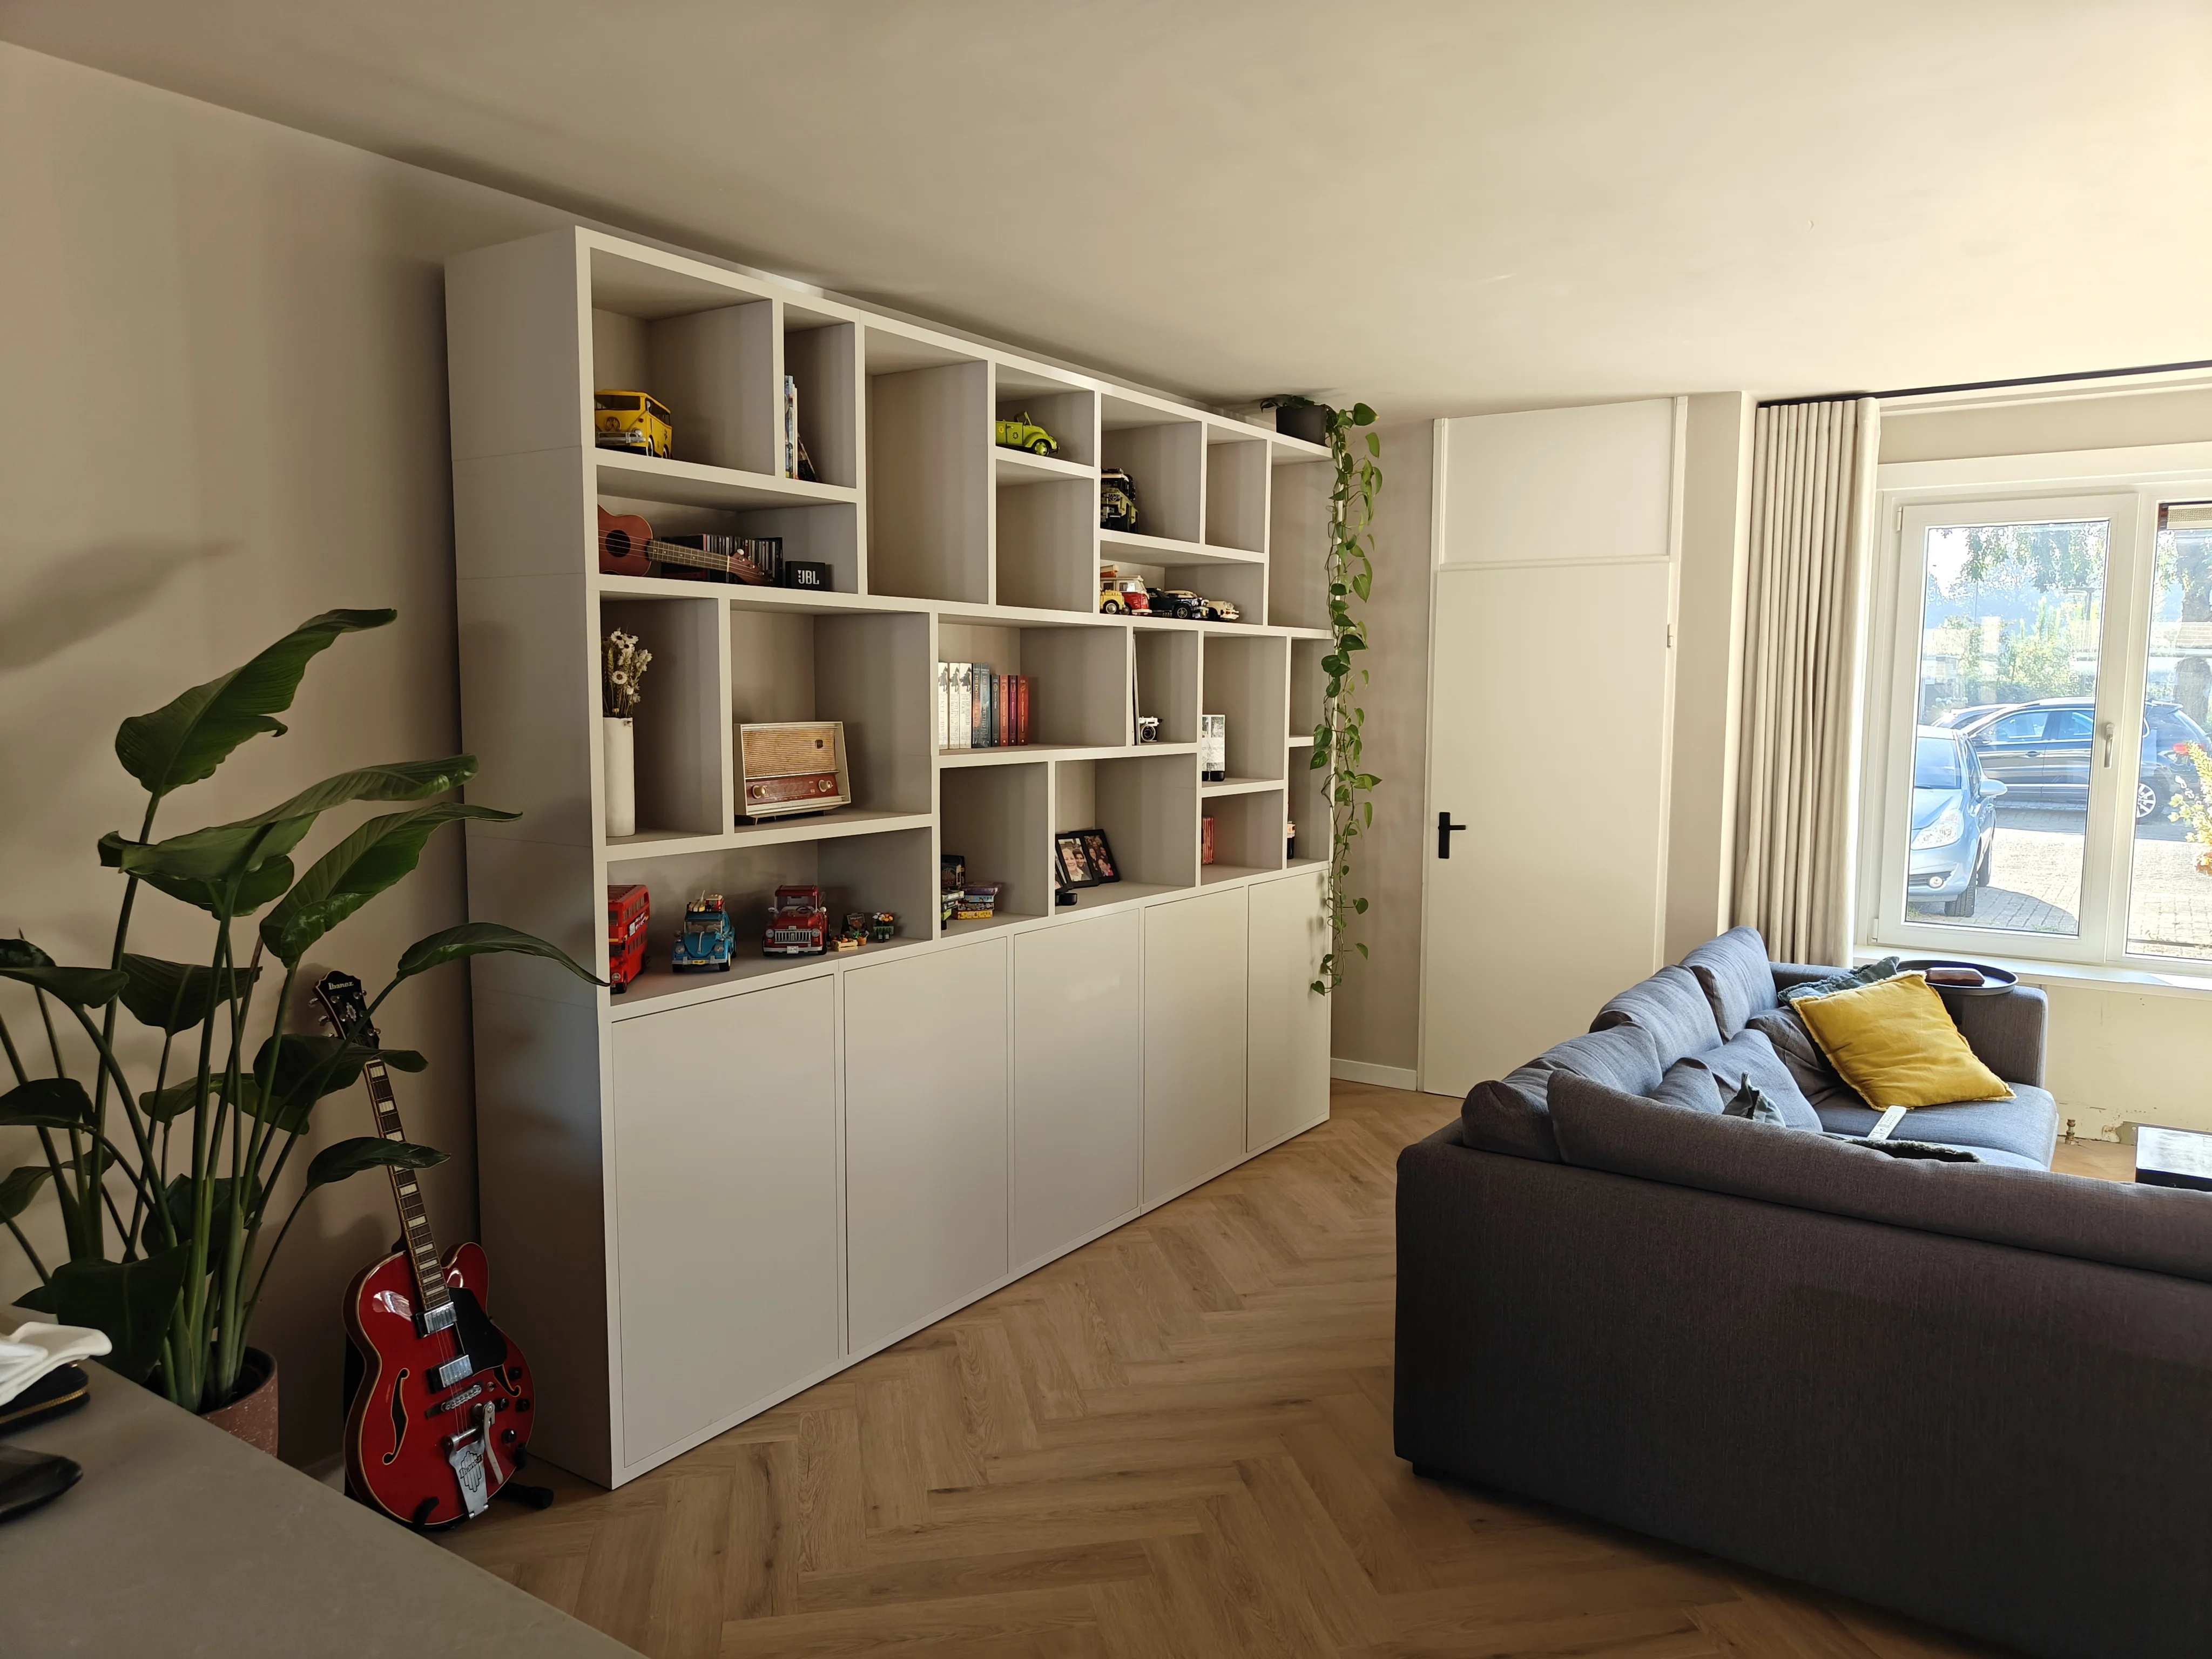
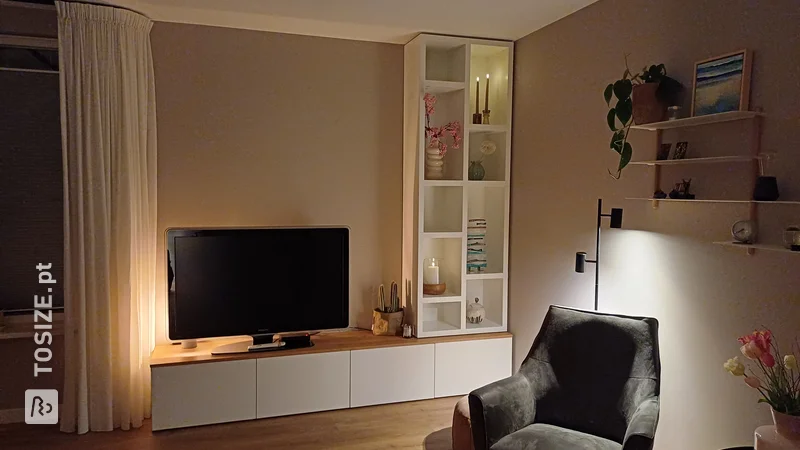
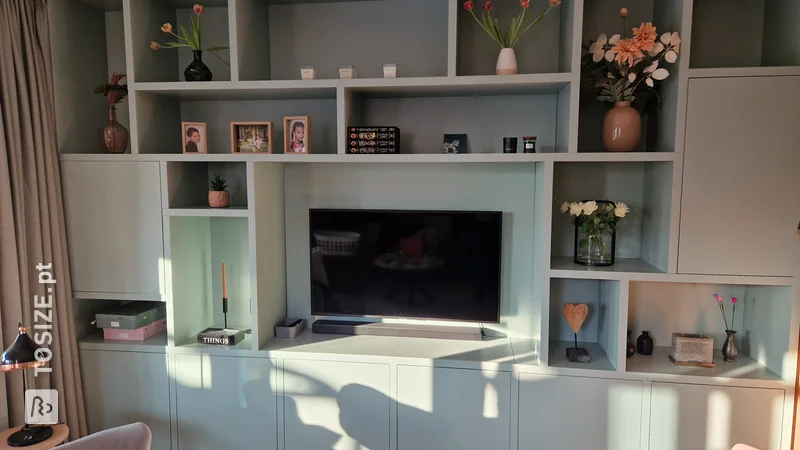
Integrated guest room cupboards completely custom-made, by Rene
Integrated guest room cupboards completely custom-made, by Rene

Create this project yourself with sheet material cut to size by TOSIZE.pt!
Rene
Average
3 minutes
Description
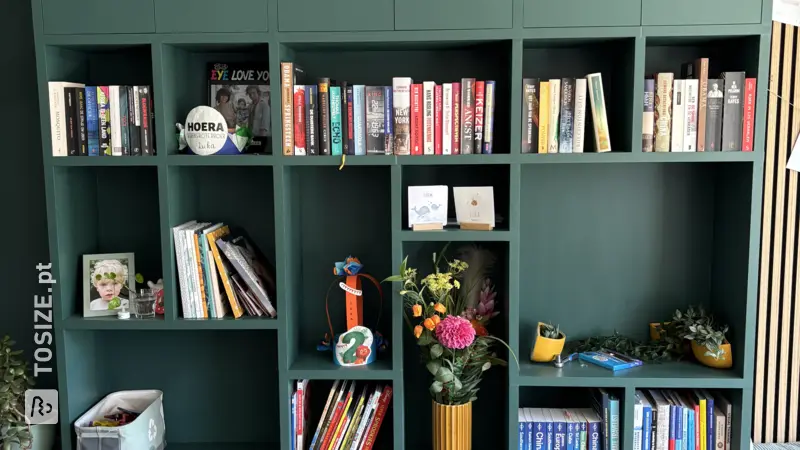
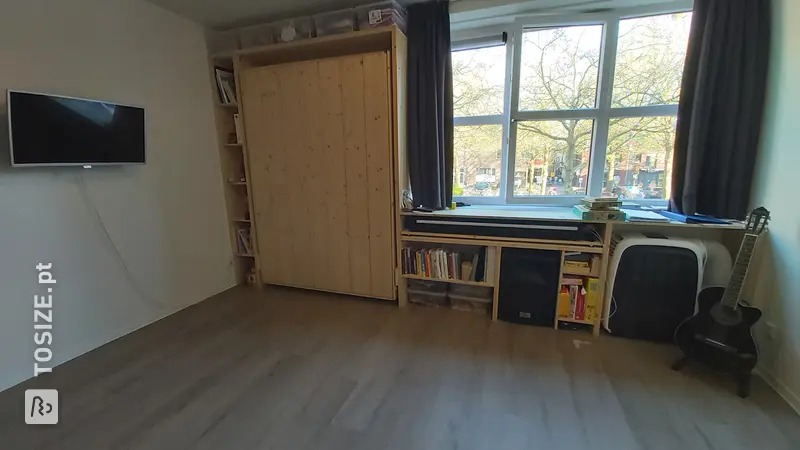
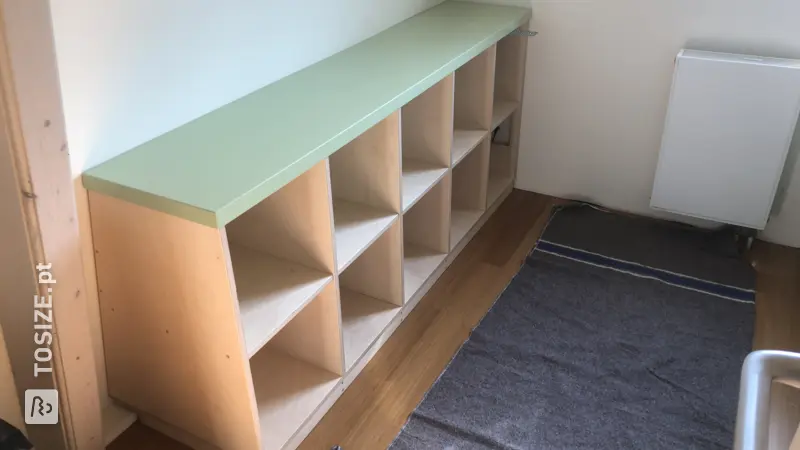
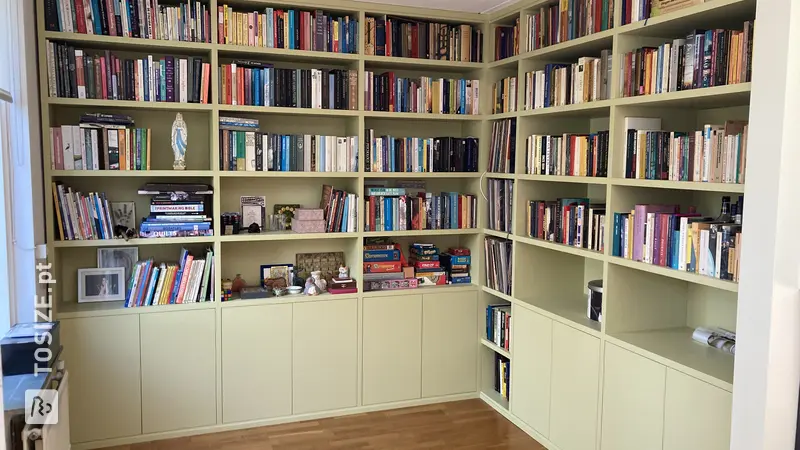
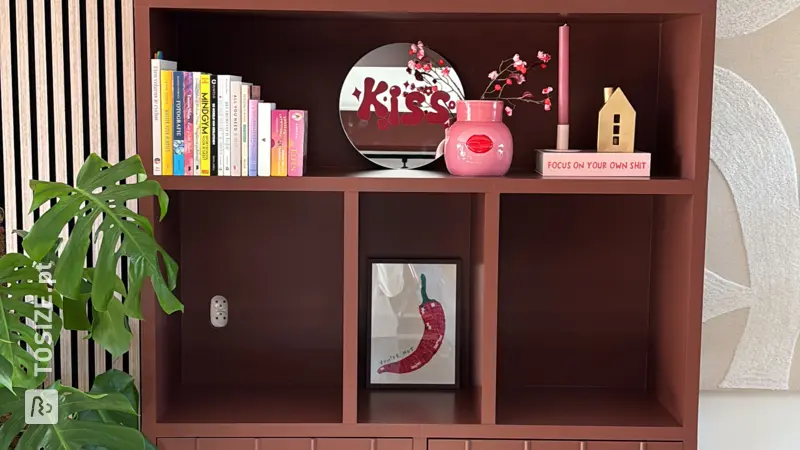
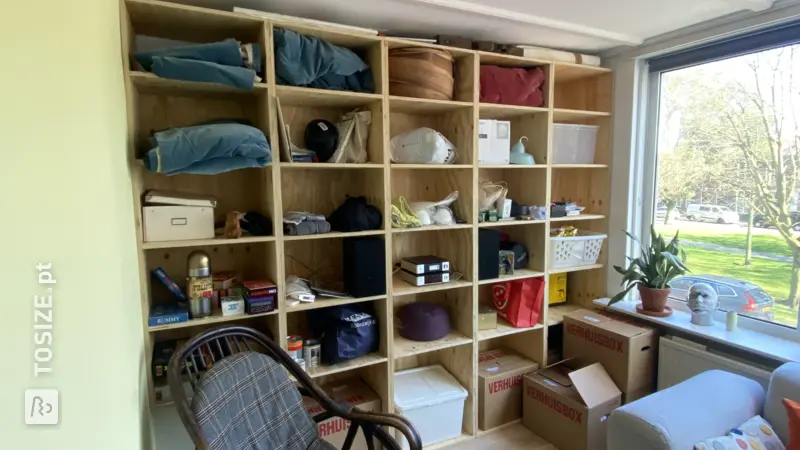
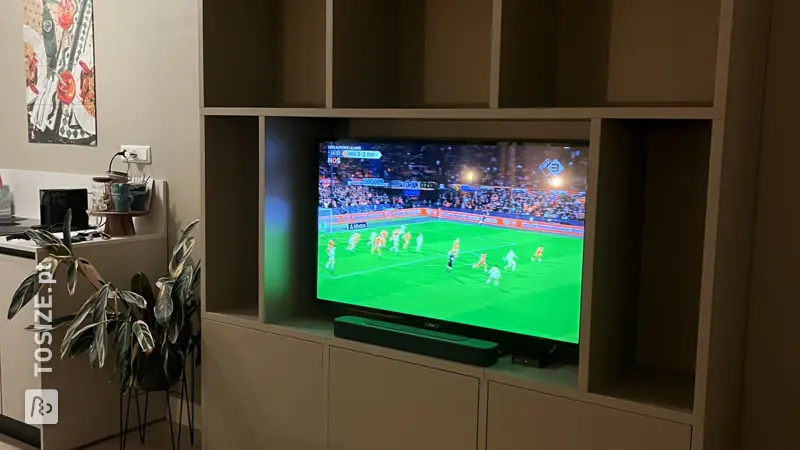
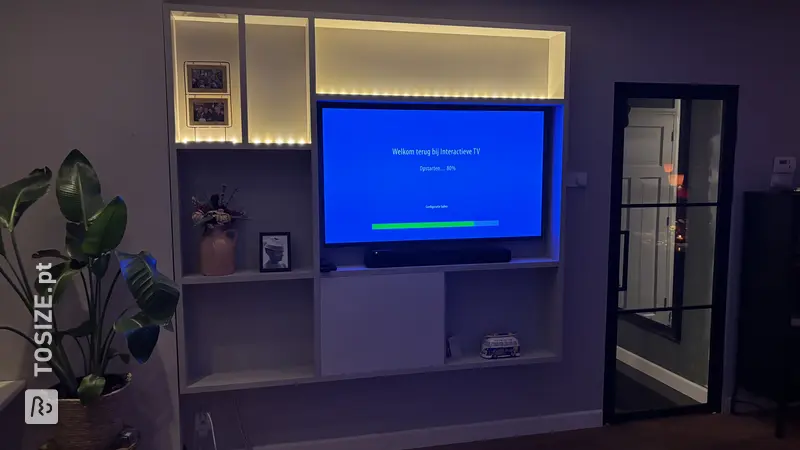
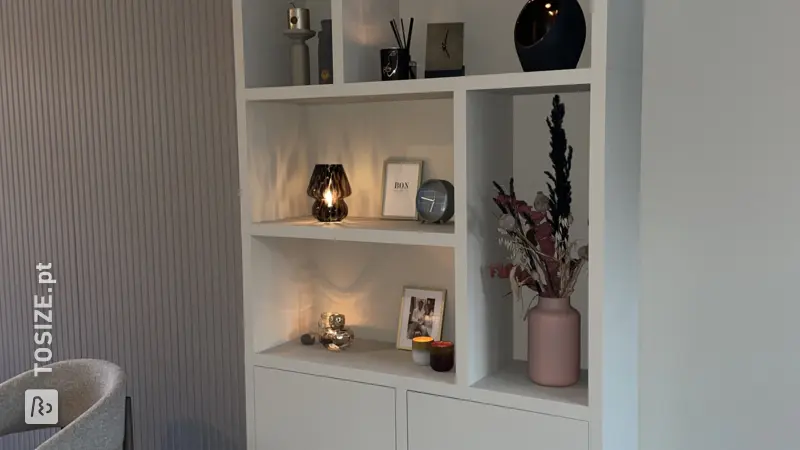
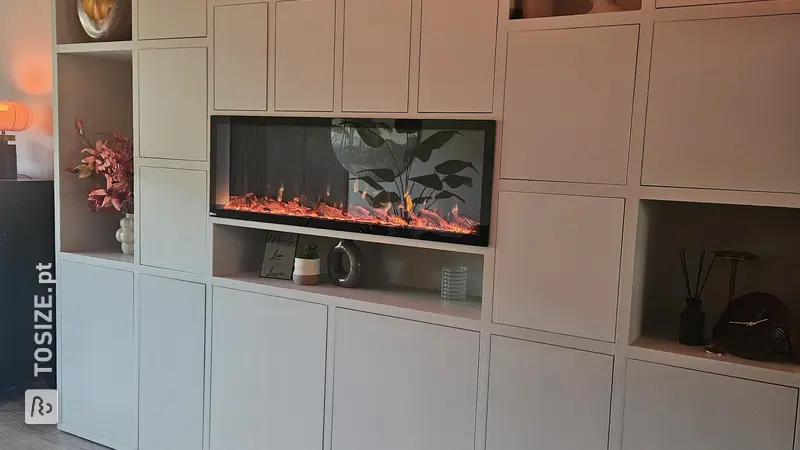
We have a small bedroom in the house, which we wanted to turn into a guest room. The guest room also had to have plenty of space for storing things such as games and hobby, painting and craft supplies. That storage space is what we created.
Work description: how did you realize your project
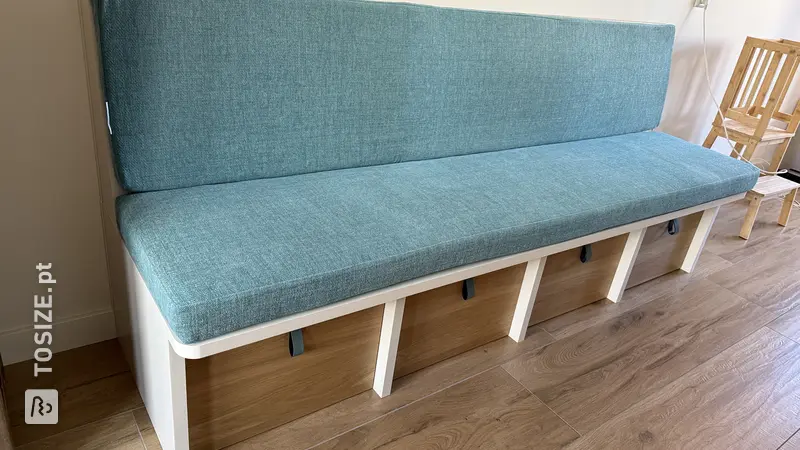
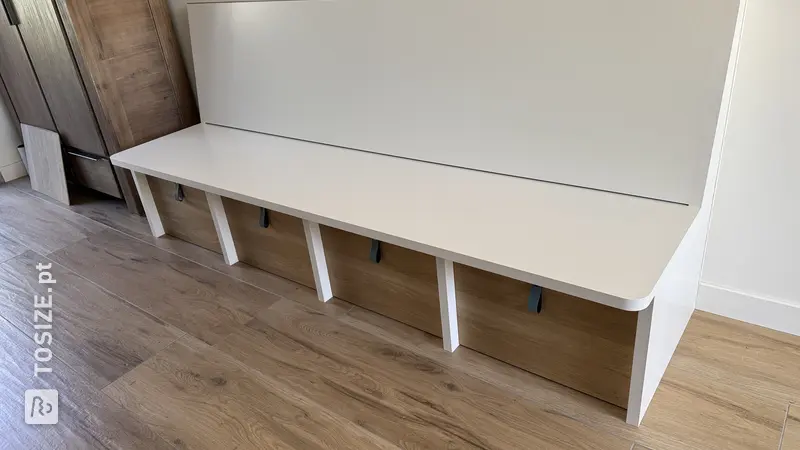
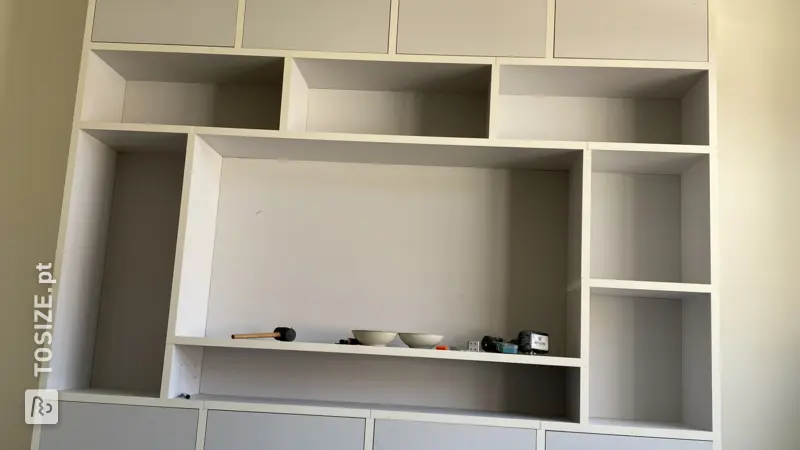
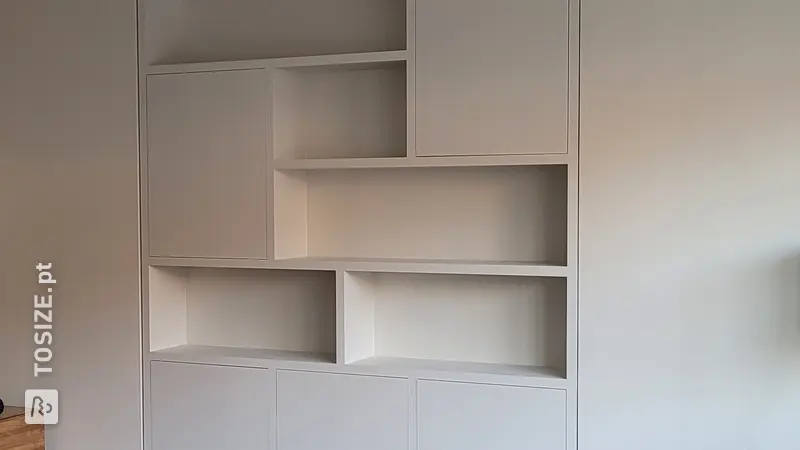
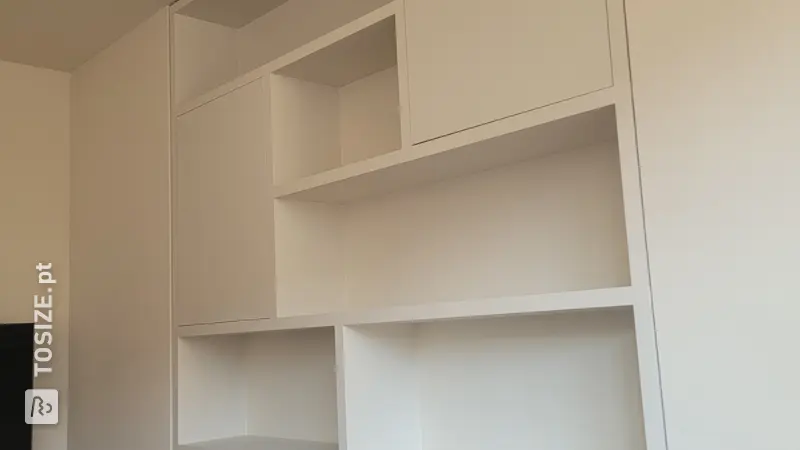
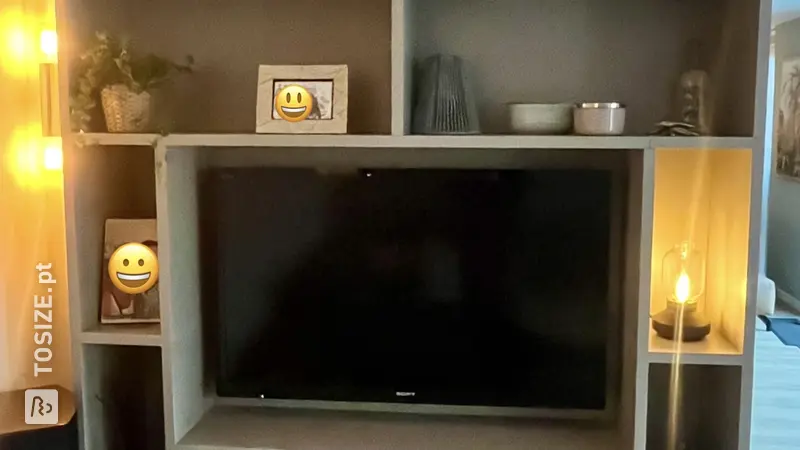
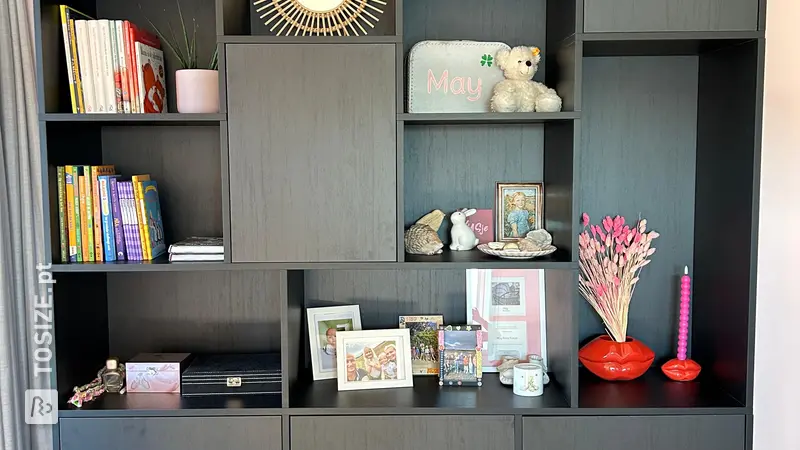
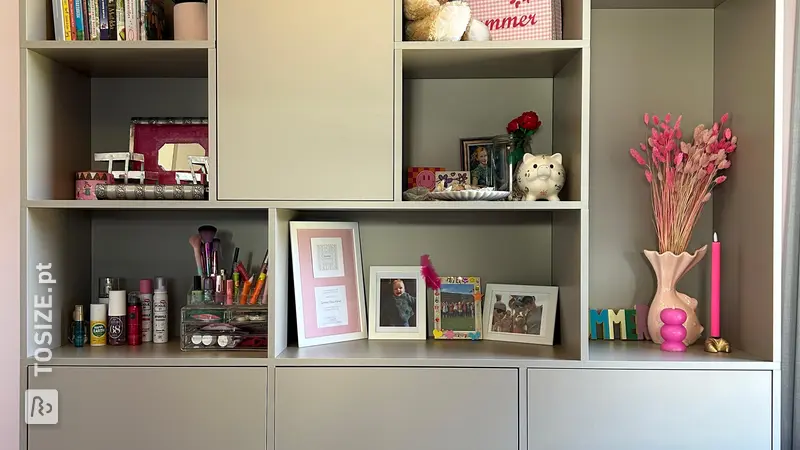
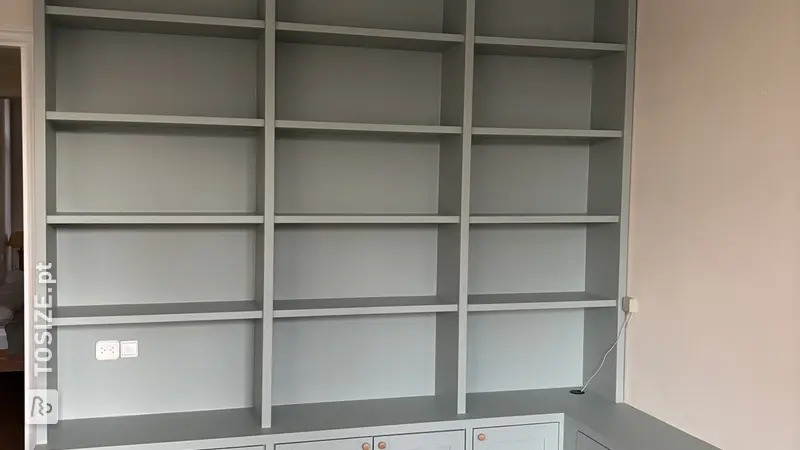
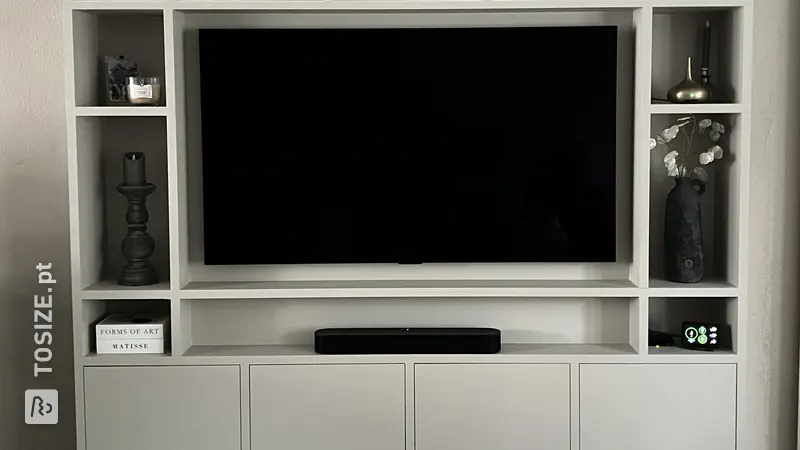
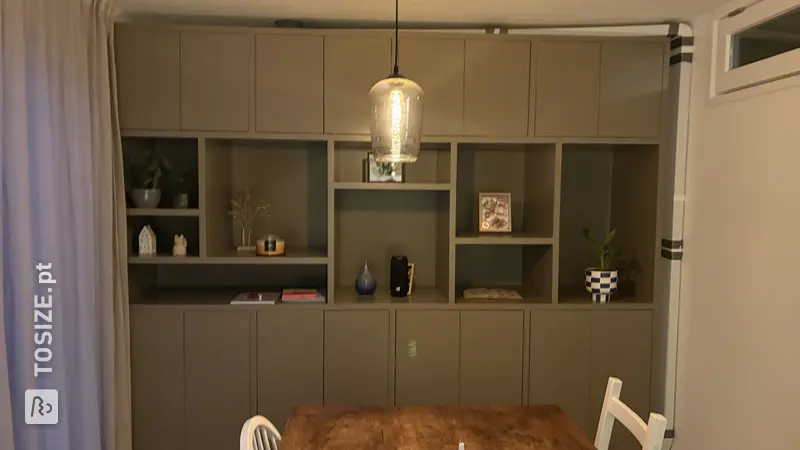
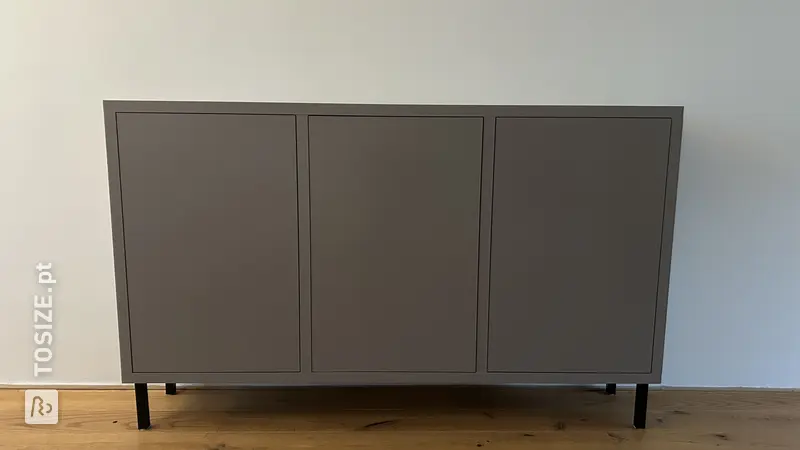
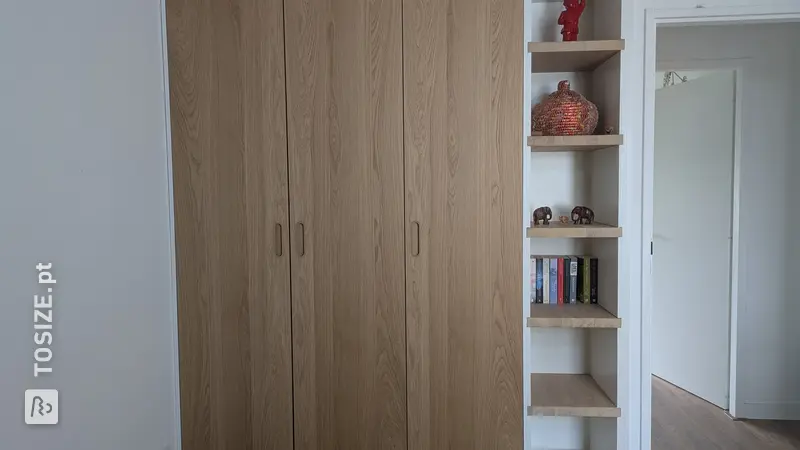
The starting point was four cupboards from IKEA: a relatively shallow cupboard and three relatively deep cupboards. We wanted the three deep cabinets on the long wall and the shallow cabinet on the short wall, next to the radiator. We wanted to create a construction around this so that everything ultimately became a whole.
After we had decided which cabinets we would use, I made a drawing with a CAD program. We are not handymen, this is our first 'real' DIY project ever, so I wanted to know exactly what the construction would look like and how it should be put together.
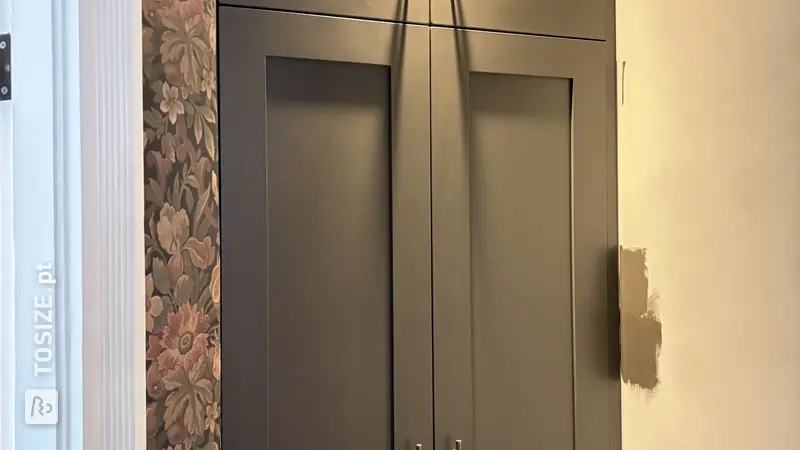
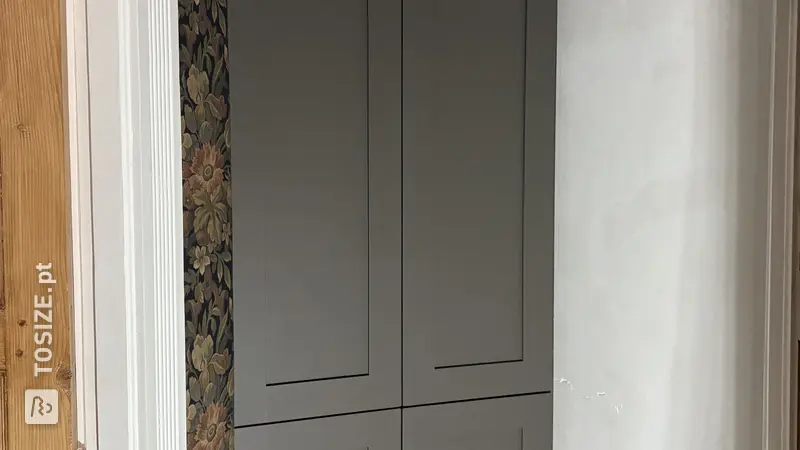
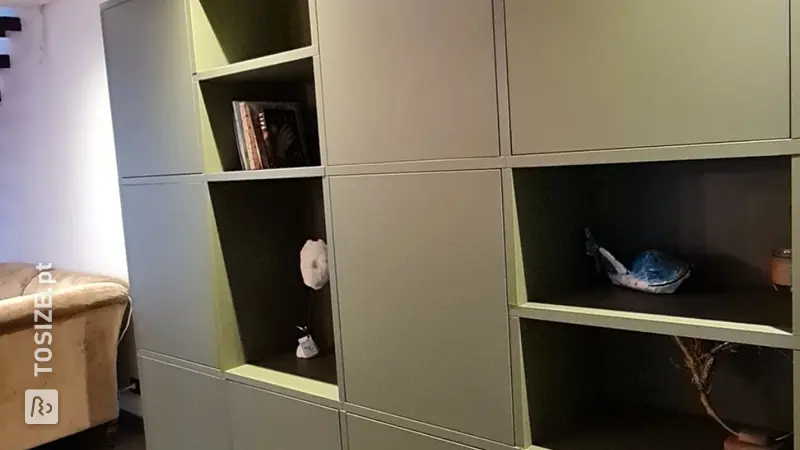
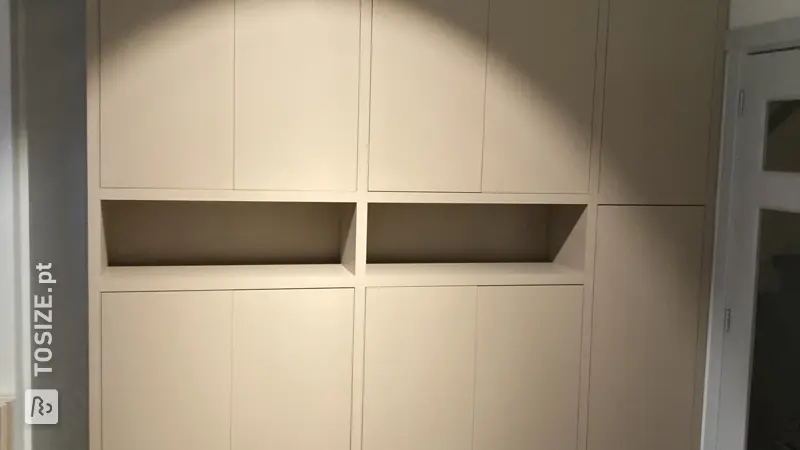
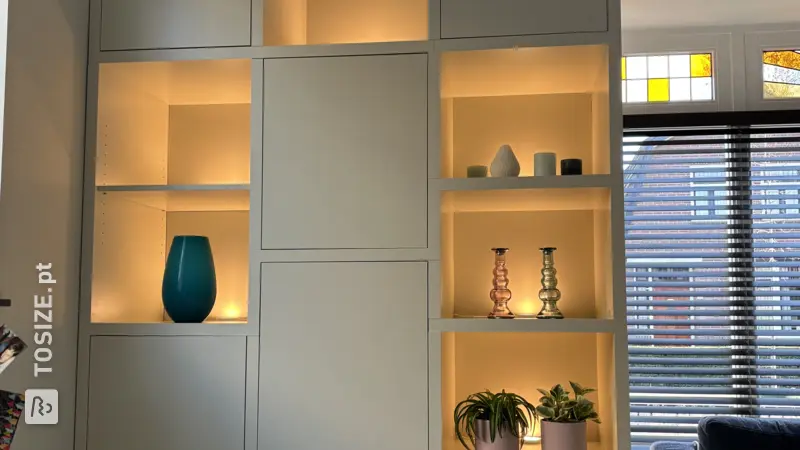
The idea was to divide the deep cupboards evenly over the long side of the room and make some extra shelves in between. The shallow cupboard had to be placed next to the radiator, a conversion was needed around the radiator, and some extra shelves on the other side of the radiator.
Using a self-written query, I then created the CAD drawing translated into pieces of wood that can be cut to size. We ordered them from TOSIZE.pt.
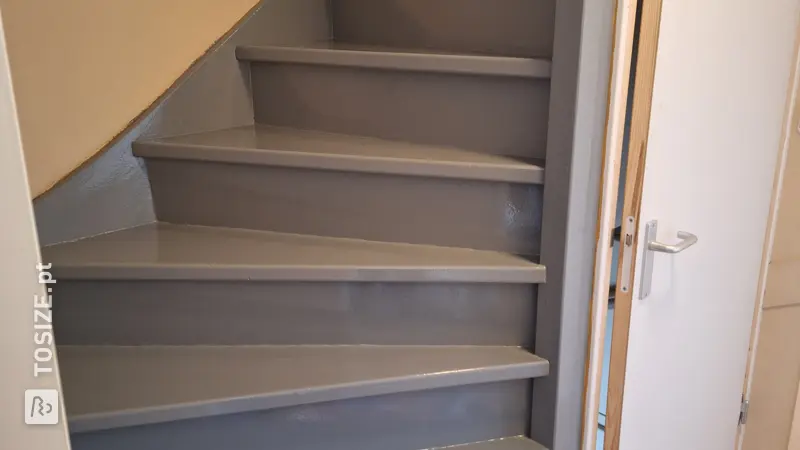
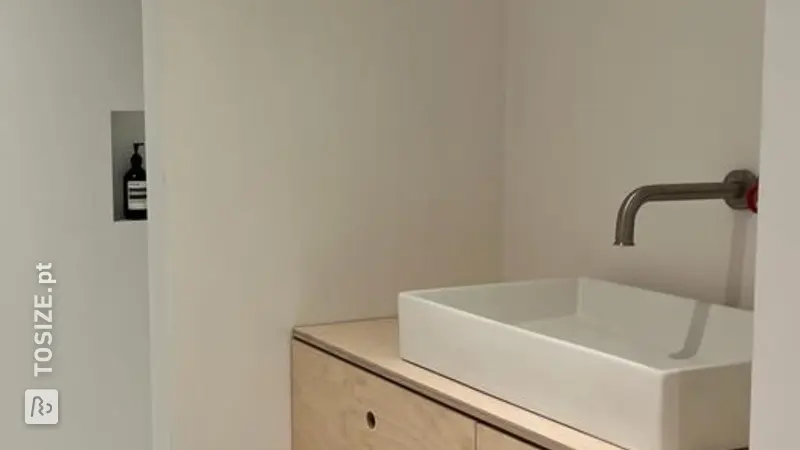
We started by painting the back wall and the radiator, because it would be more difficult to access them later.
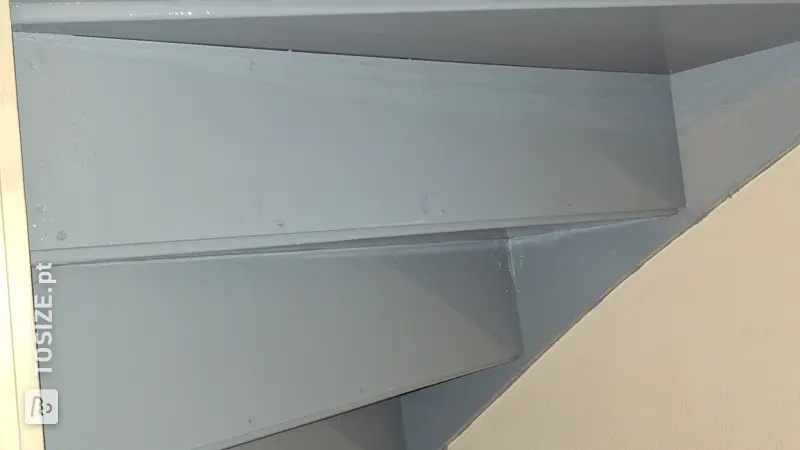
Then I made a frame that lay on the floor. Everything was put together with dowels. I didn't even know that those wooden pegs 'dowels' are mentioned, so you understand that it was quite a hassle to get this somewhat neat.
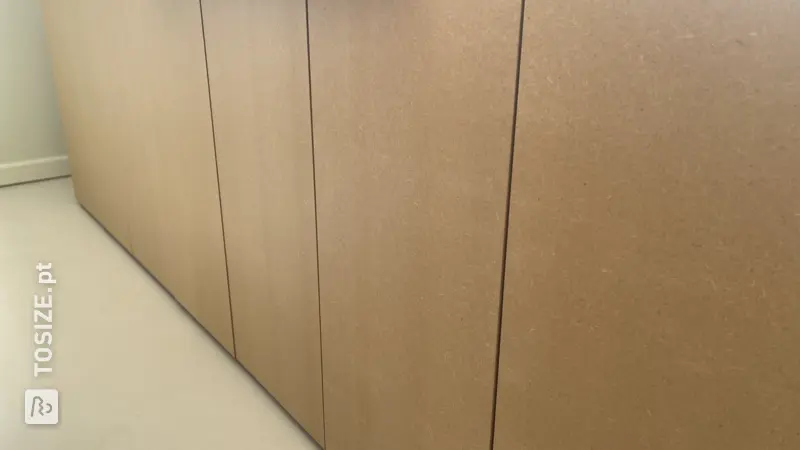
We made support beams against the walls in connection with the conversion around the radiator and the shelves to the right of it: those are secured with impact plugs. The cabinets were then placed on the frame and a top (made of two parts) was placed on the whole.
I placed two more sockets behind the right corner: always handy.
We painted the whole thing and bought material at the DIY store to hang some nice doors for the radiator.
We took our time: In total we spent almost two months on this project. The result is certainly not perfect, but I am very happy with it. I give it a 7.
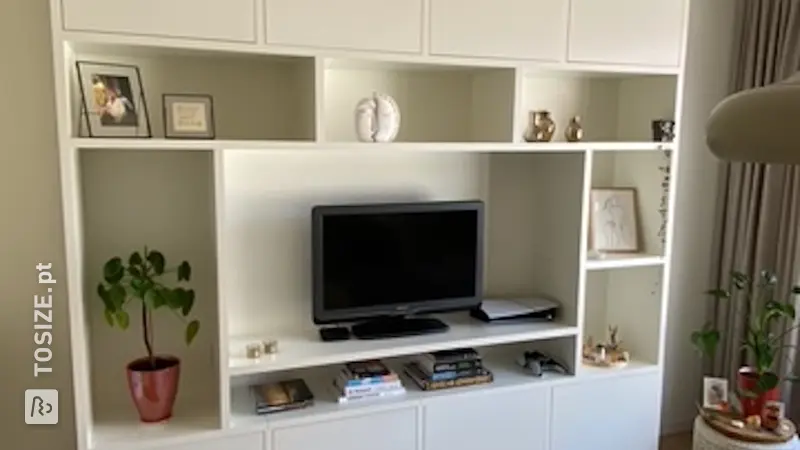
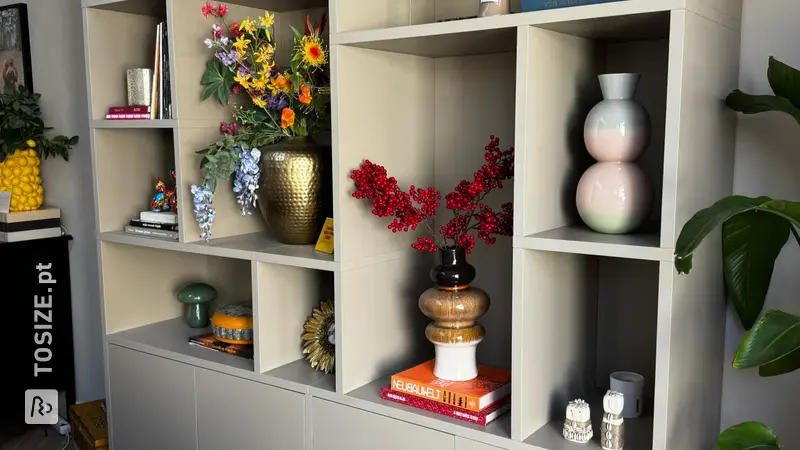
We will soon be making a bookcase in the living room. It should fill an entire wall. The wood has already been ordered.
Final size: What are the outside dimensions?
The whole is made in an L-shape. The short side is 2m91 long, 40.0 cm wide and 87.0 cm high. The long side is 3m28 long, 50.0 cm wide and 87.0 cm high.
Tip! Also check out our handy DIY tips!
What now?
Want to make this DIY project? Check out Rene's saw list and complete your order easily.
€ 350,13
All materials used
View all sheet materials