- TOSIZE.pt
- Do it yourself
- DIY Projects
Making a custom worktop for the utility room, by Fabian
Making a custom worktop for the utility room, by Fabian
Create this project yourself with sheet material cut to size by TOSIZE.pt!
Fabian
Easy
2 minutes
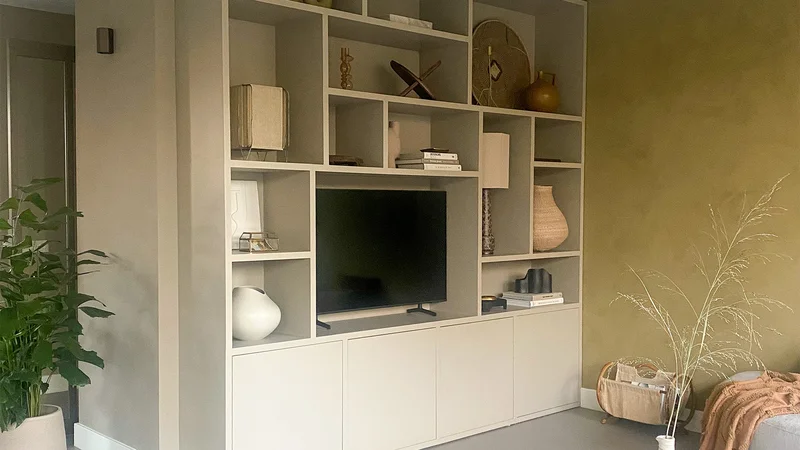
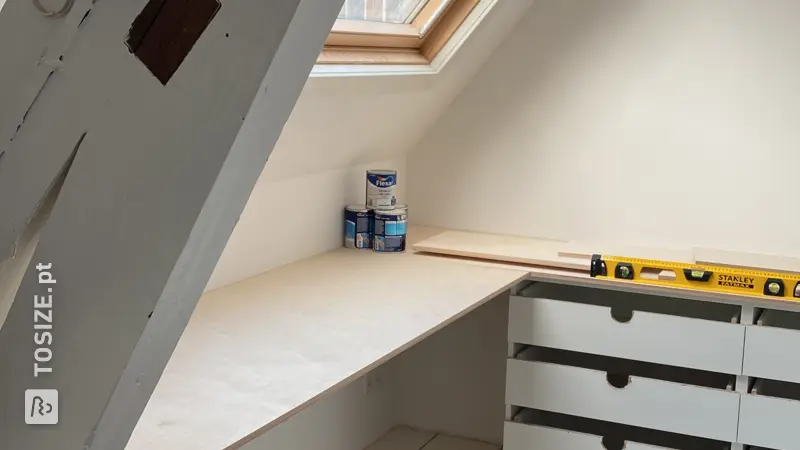
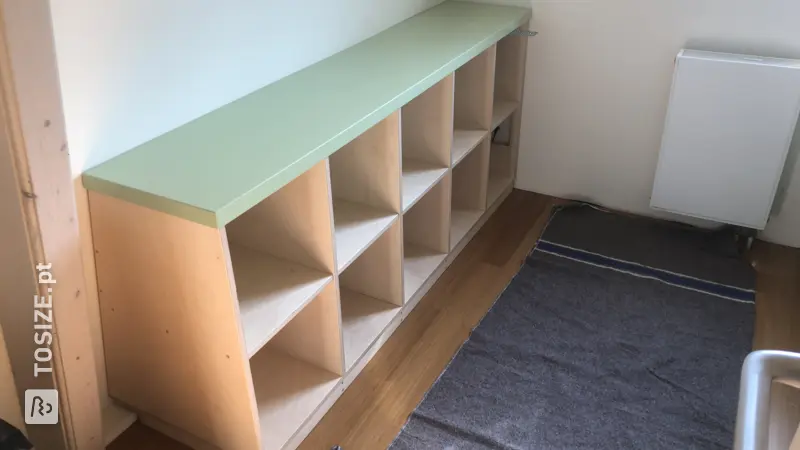
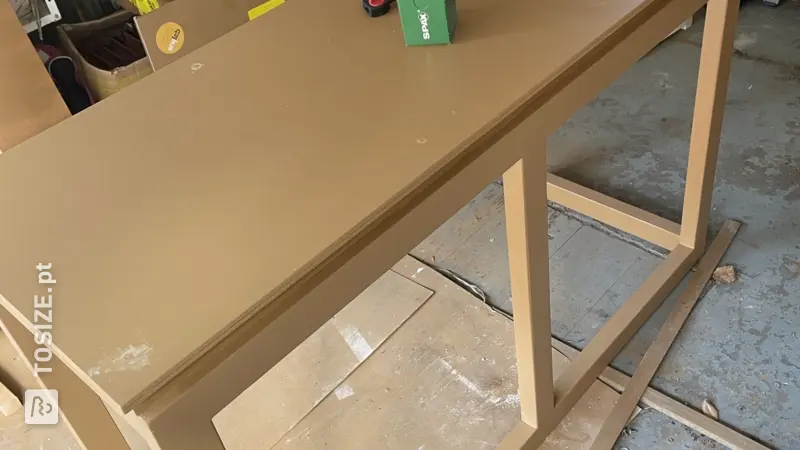
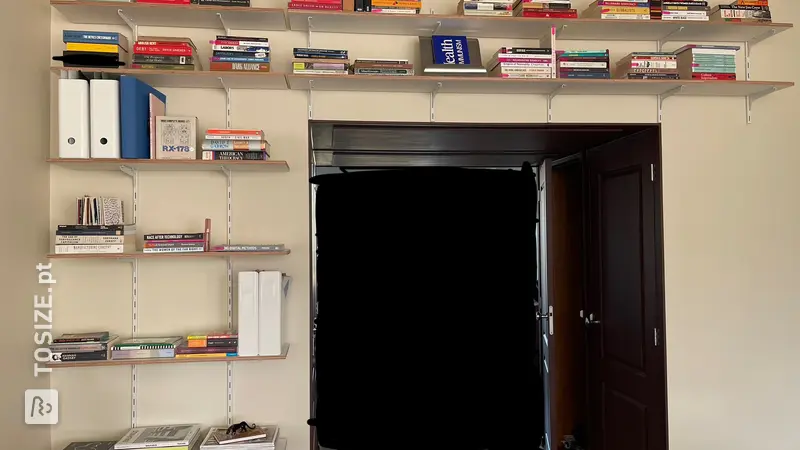
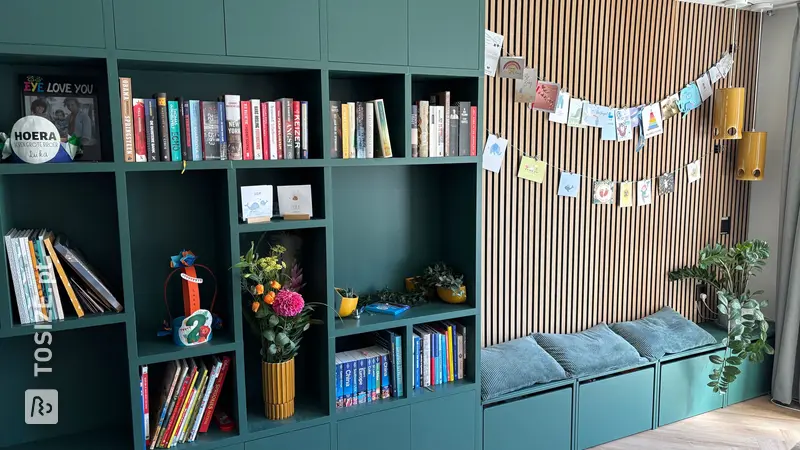
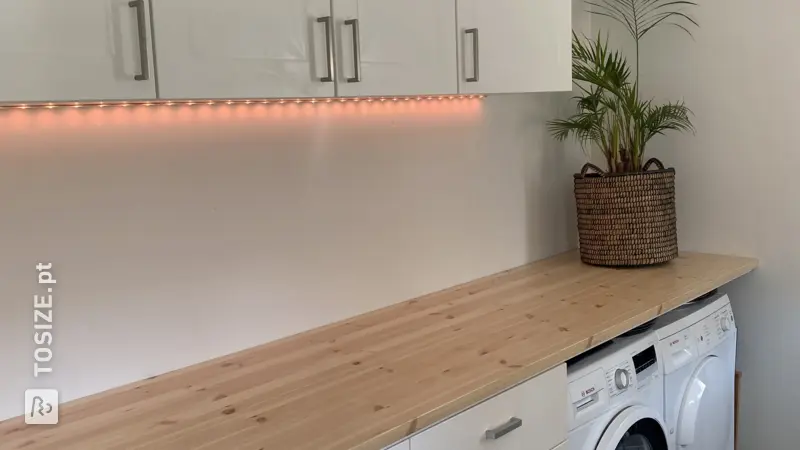
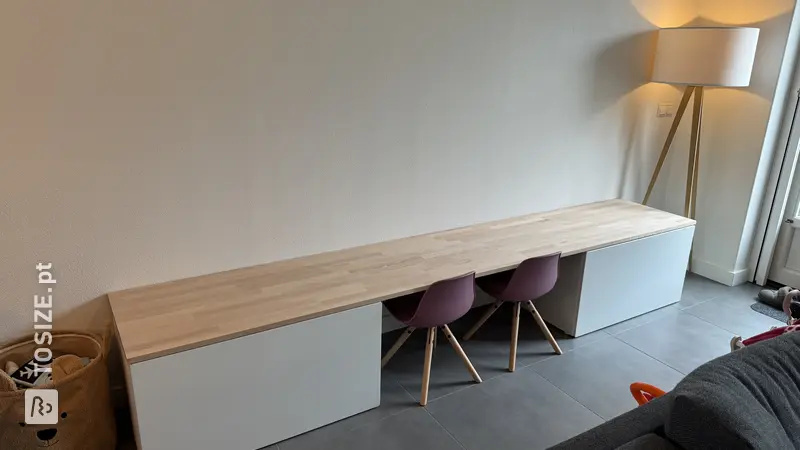
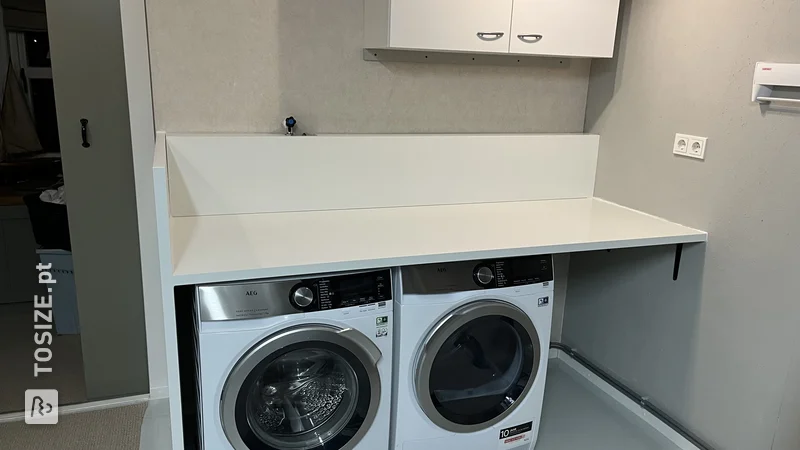
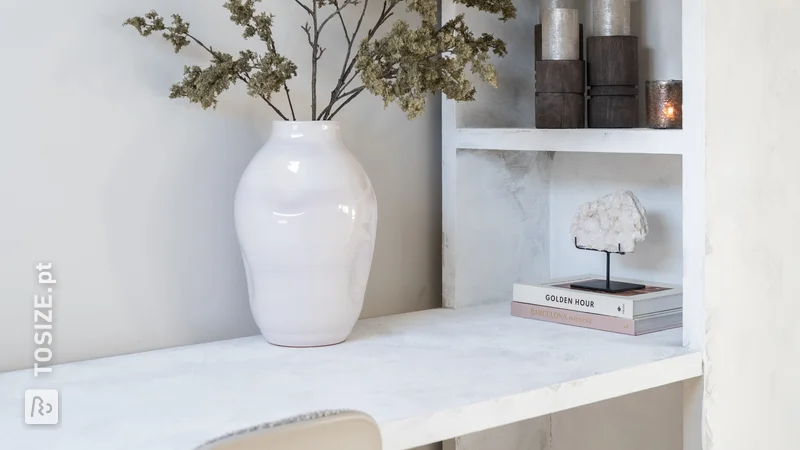
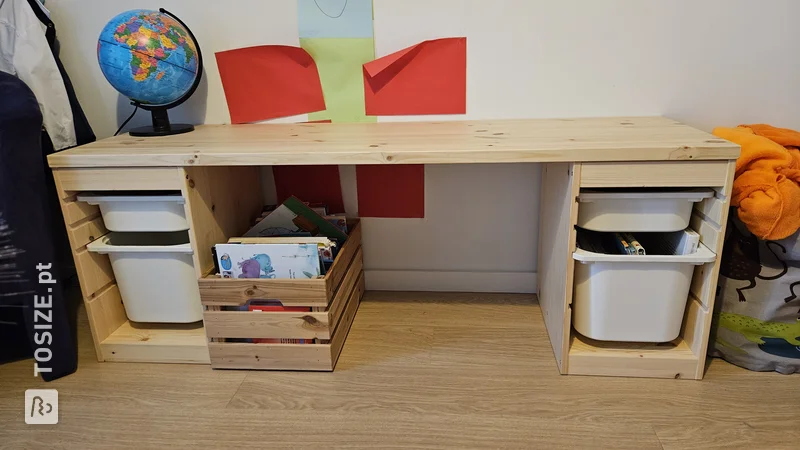
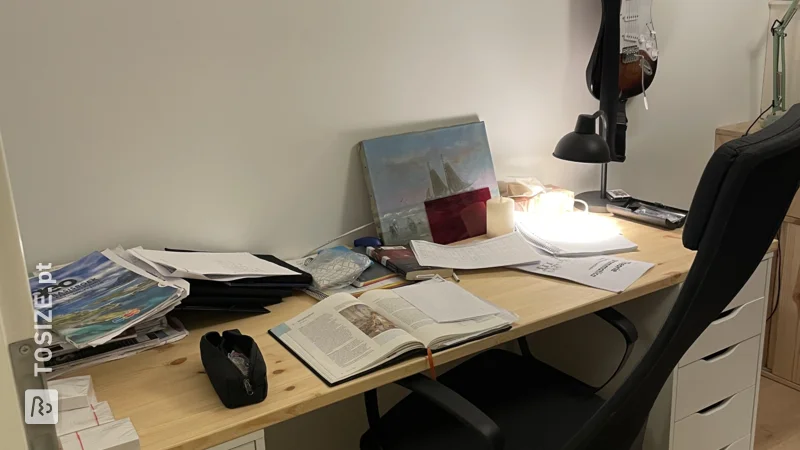
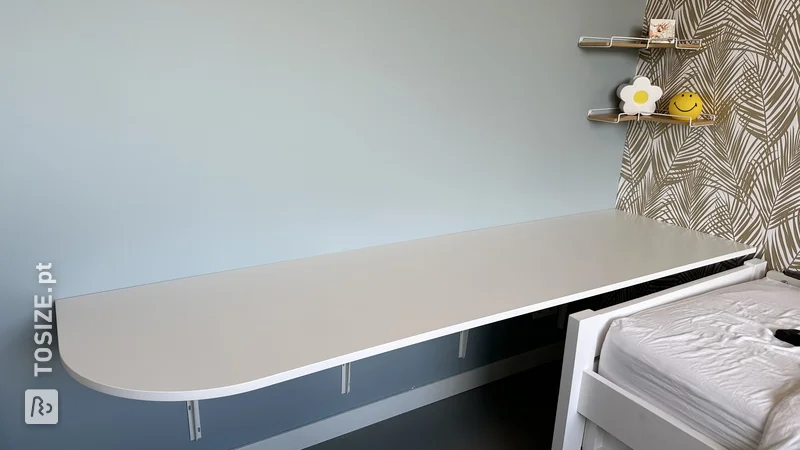
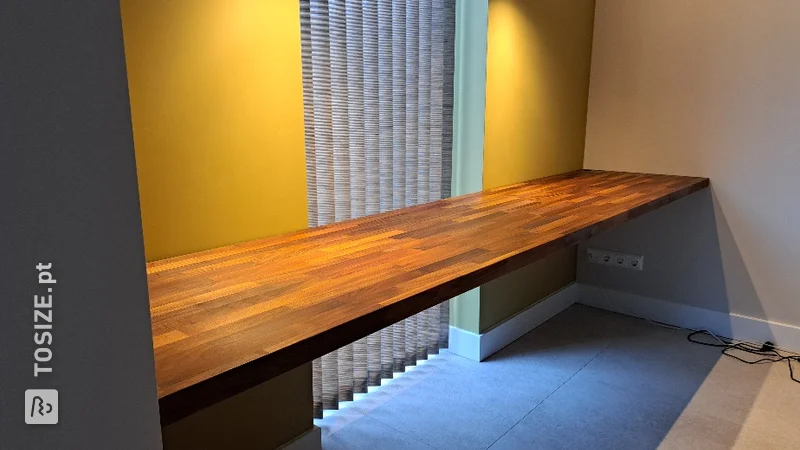
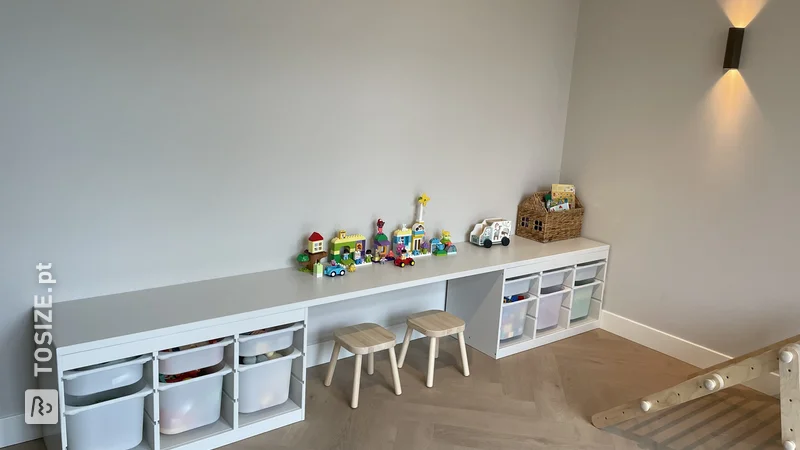
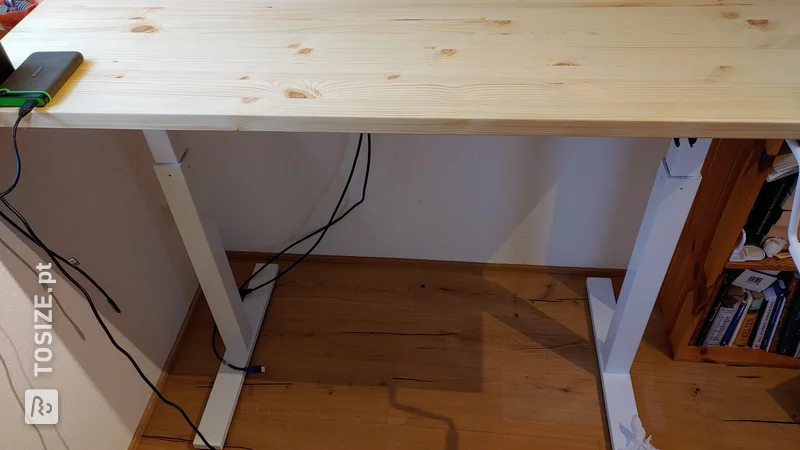
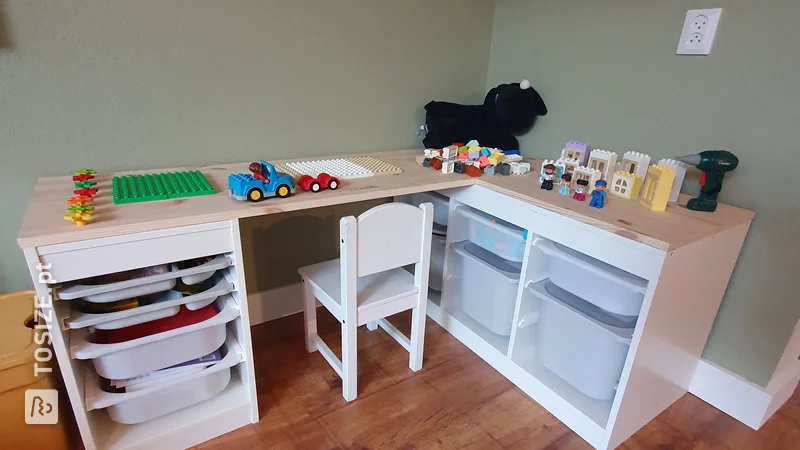
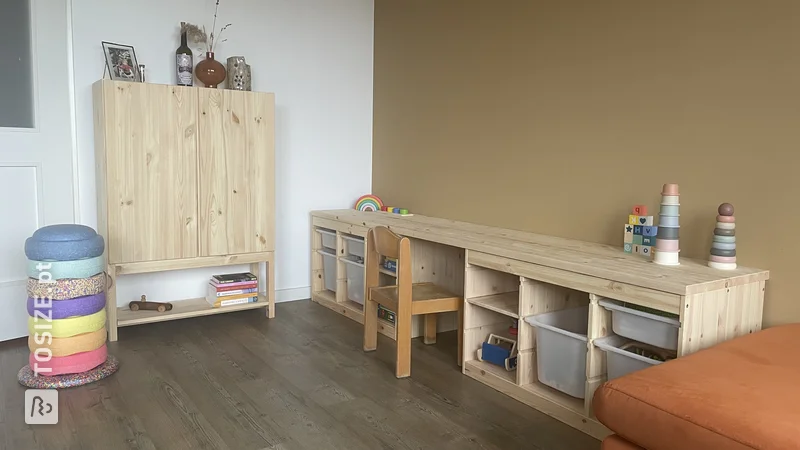
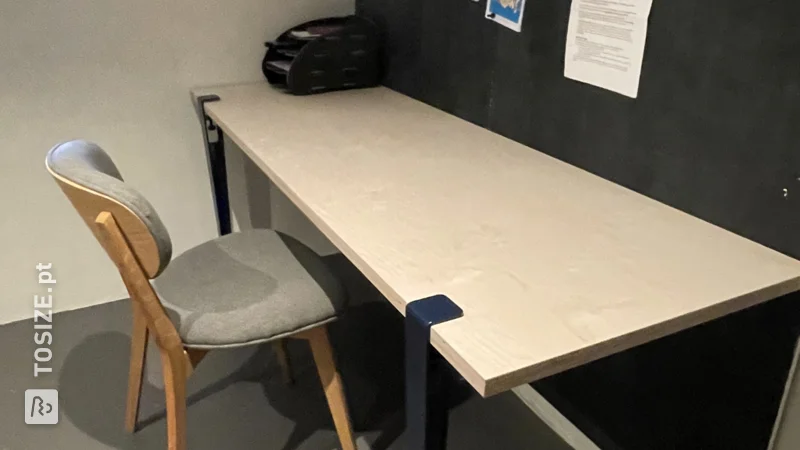
Fabian has made a custom worktop for the kitchen. A sturdy work table was created using poplar plywood cut to size. In the utility room, a custom worktop is ideal for folding laundry, for example.
Description by Fabian
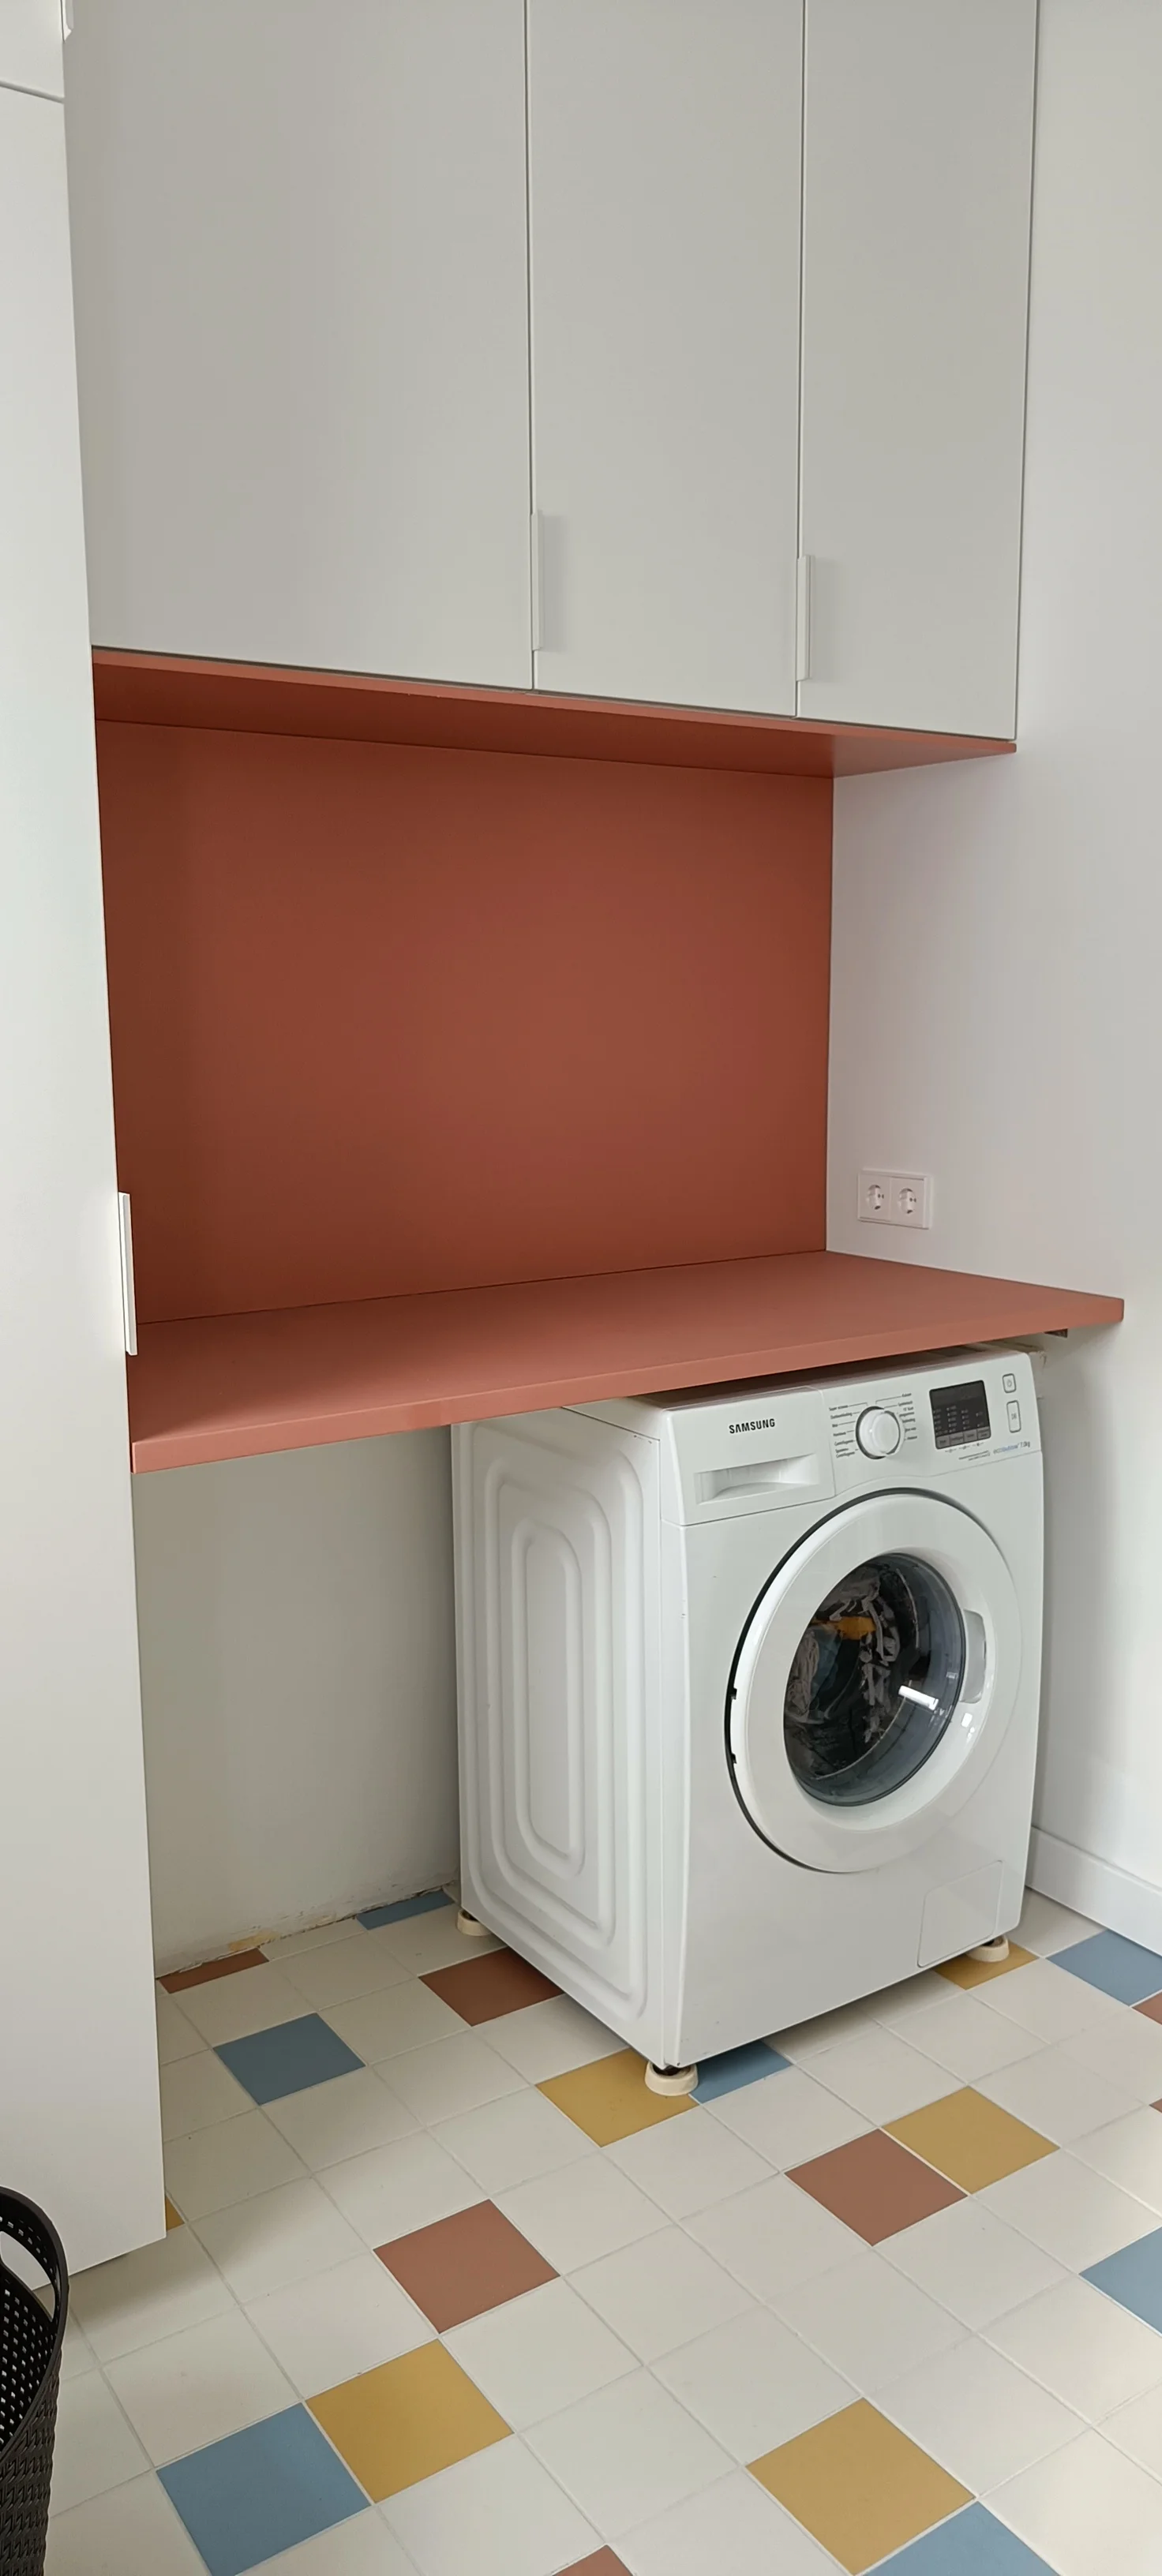
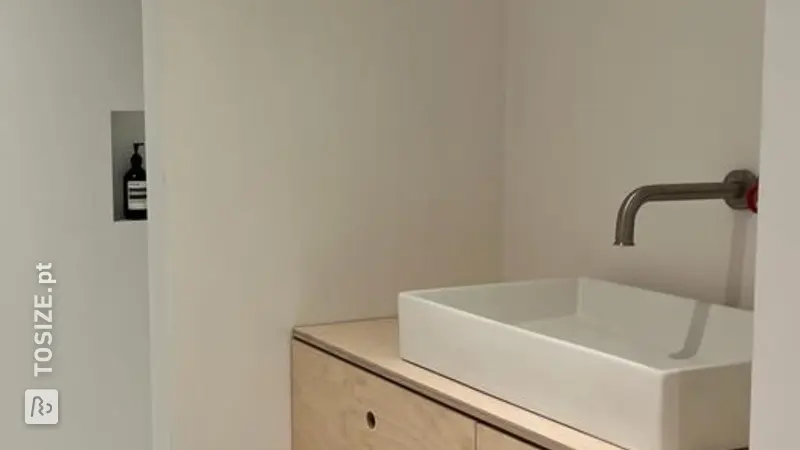
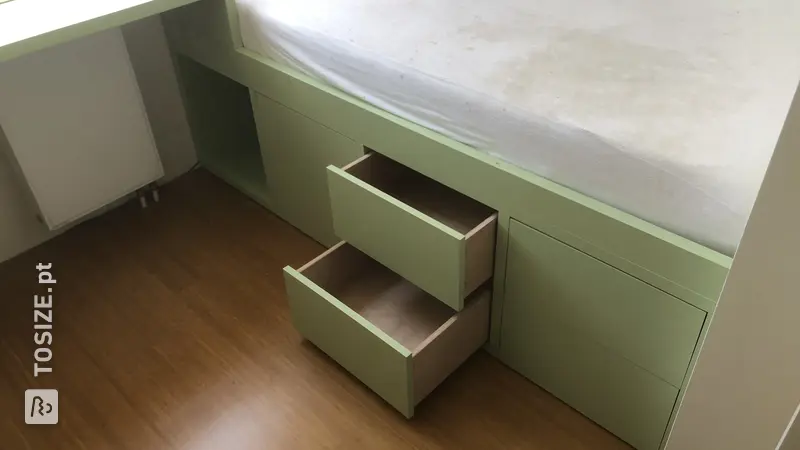
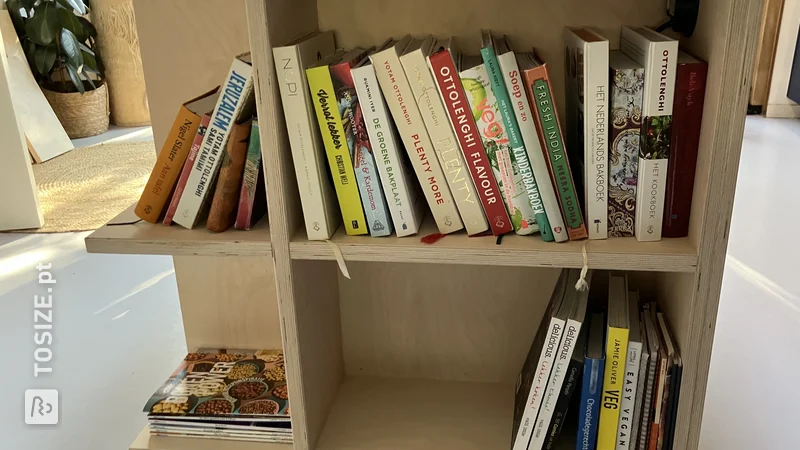
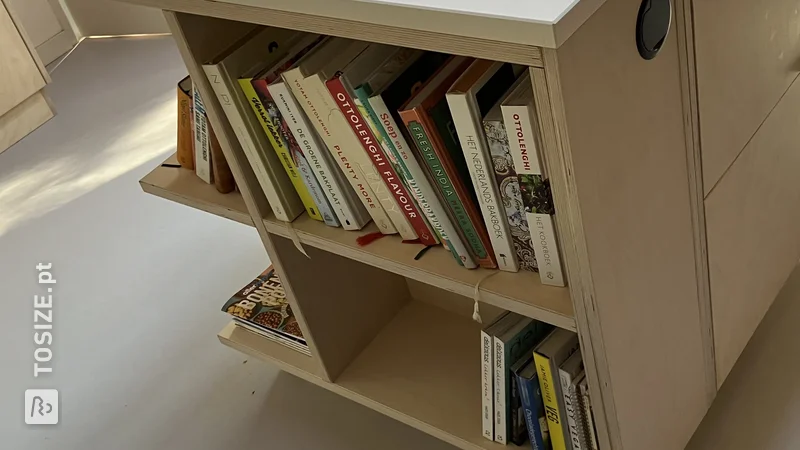
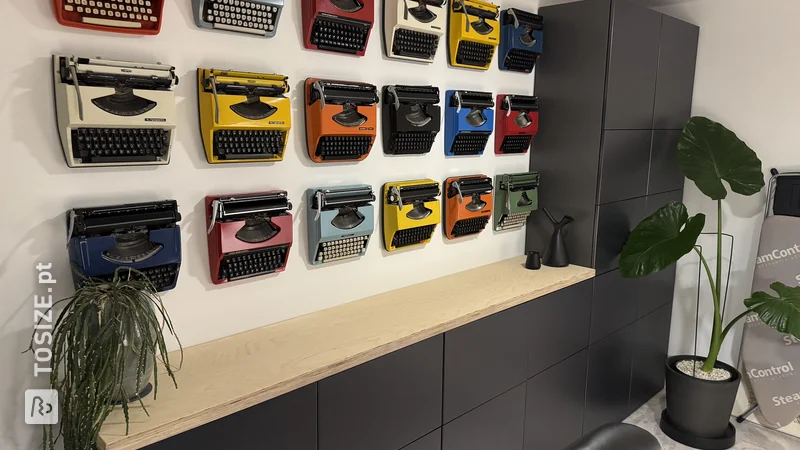
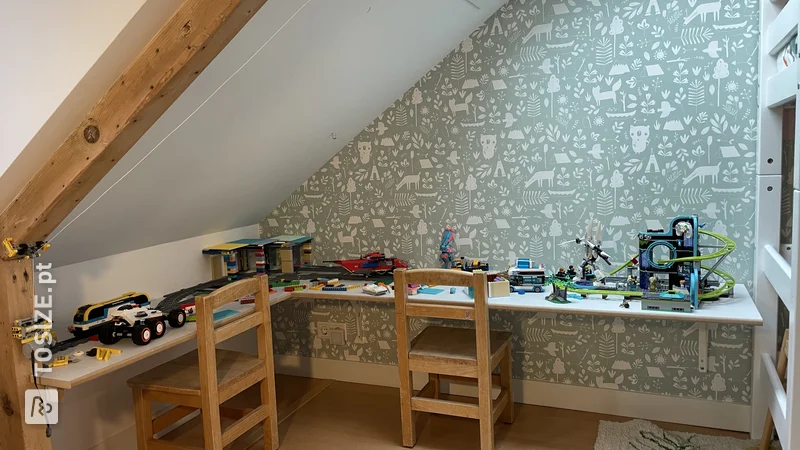
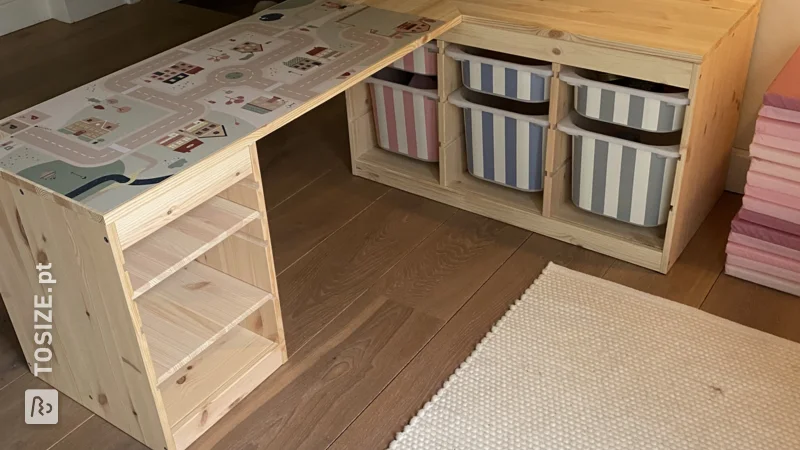
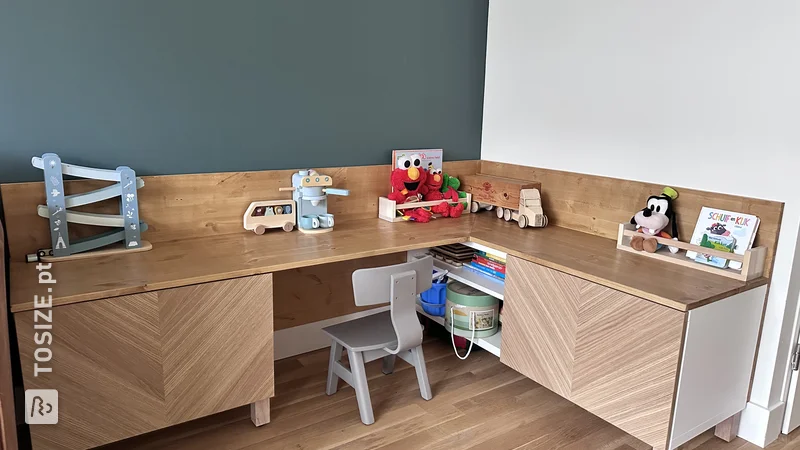
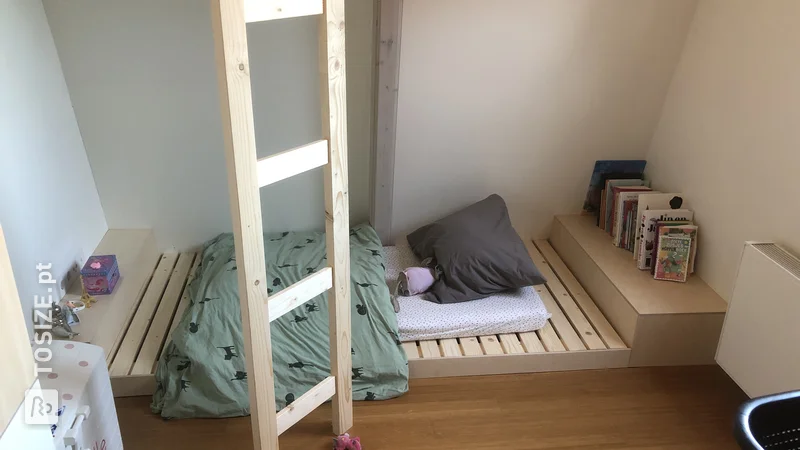
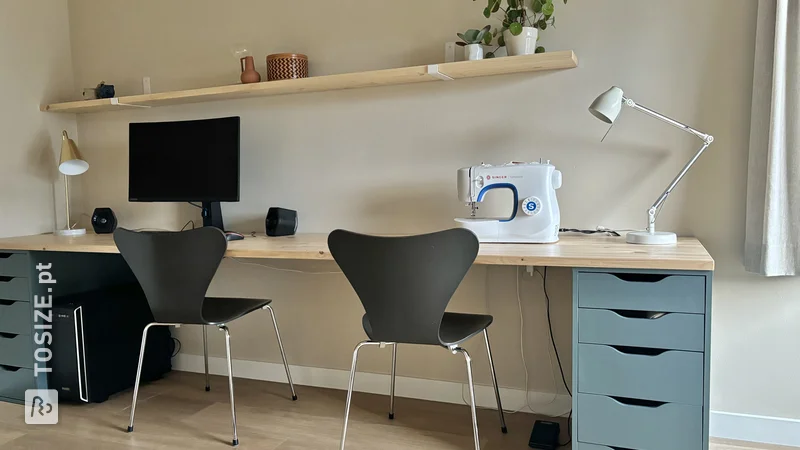
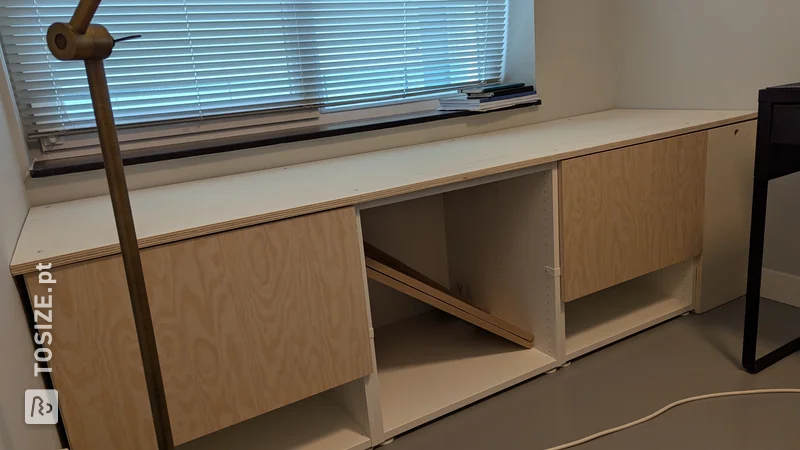
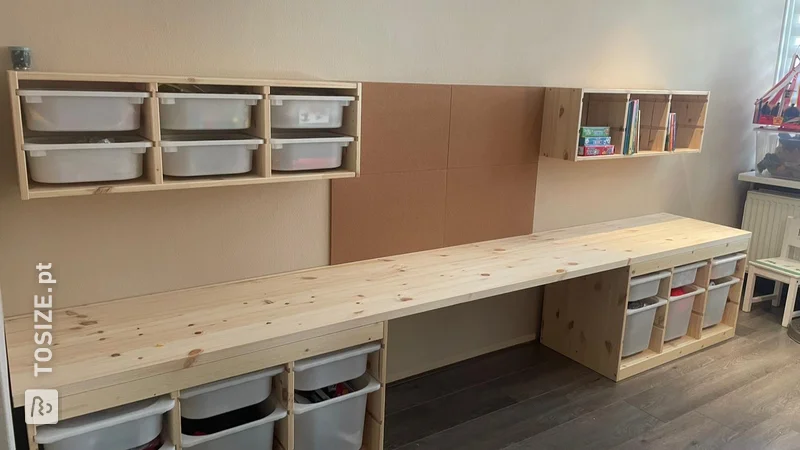
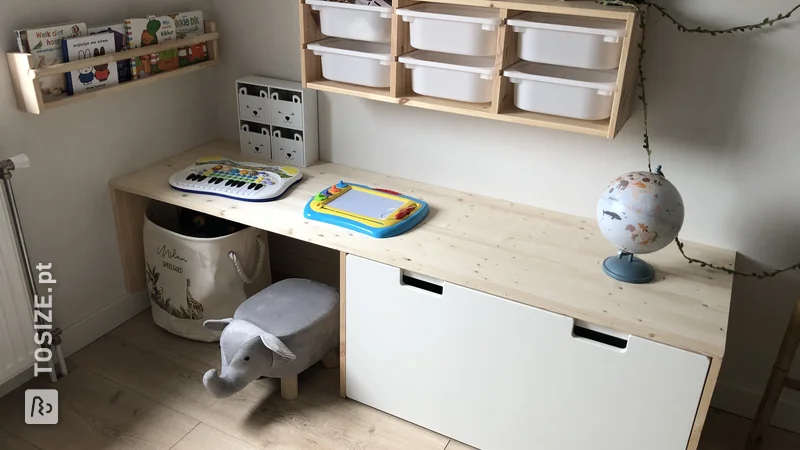
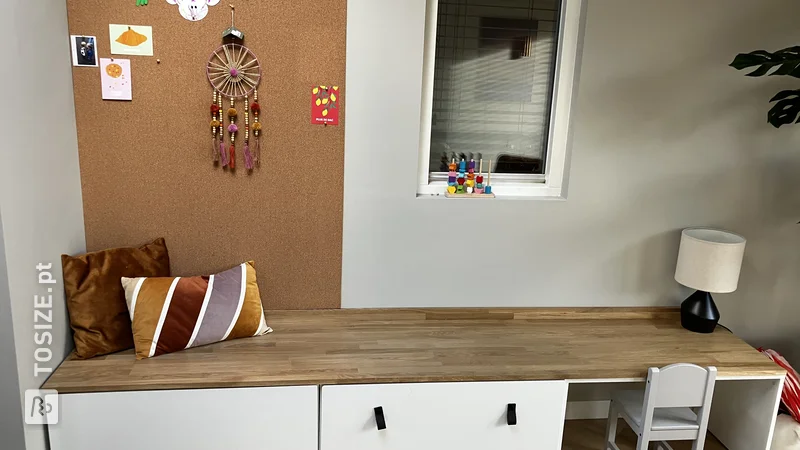
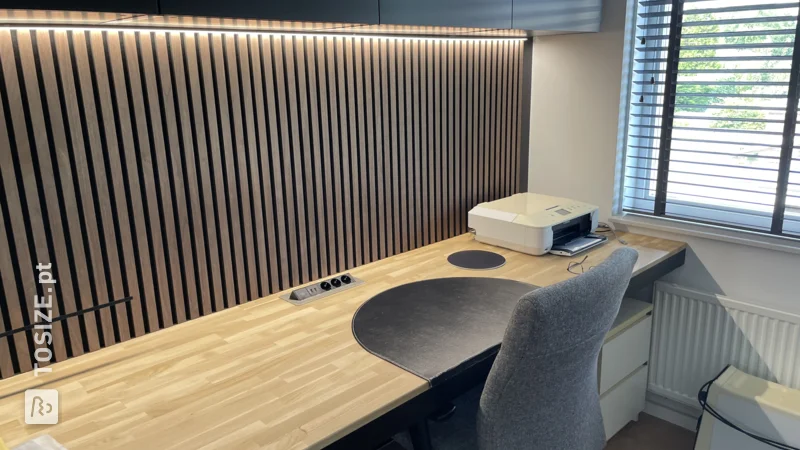
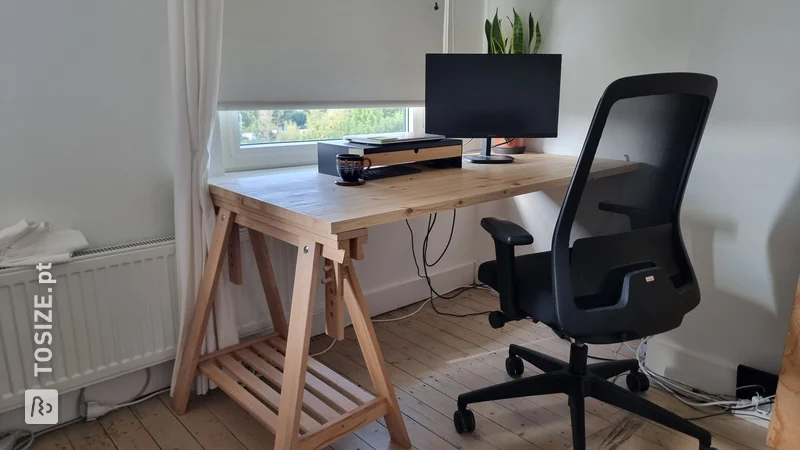
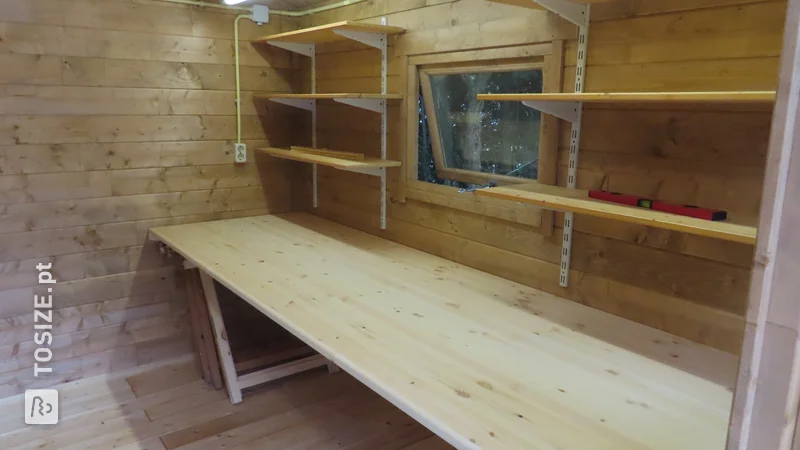
I have placed a base of Ikea cabinets in our utility room. In between, I made a niche with a worktop using ordered and custom-sawn wood. There is room for a washing machine and dryer under the worktop. The worktop is ideal for folding laundry.
How I made this project
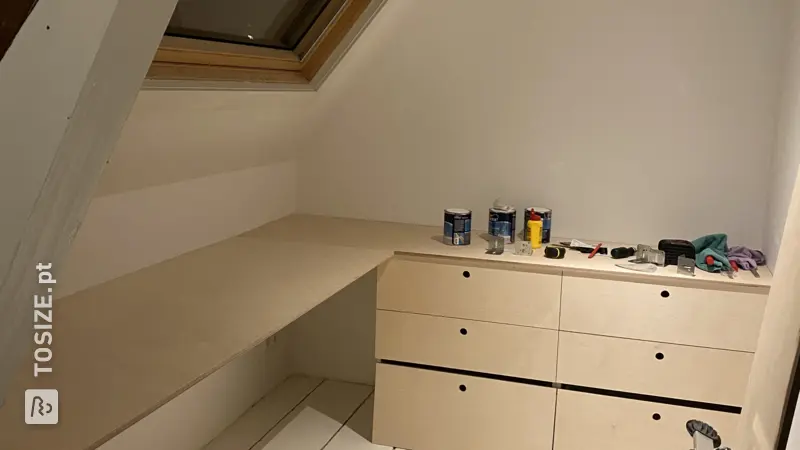
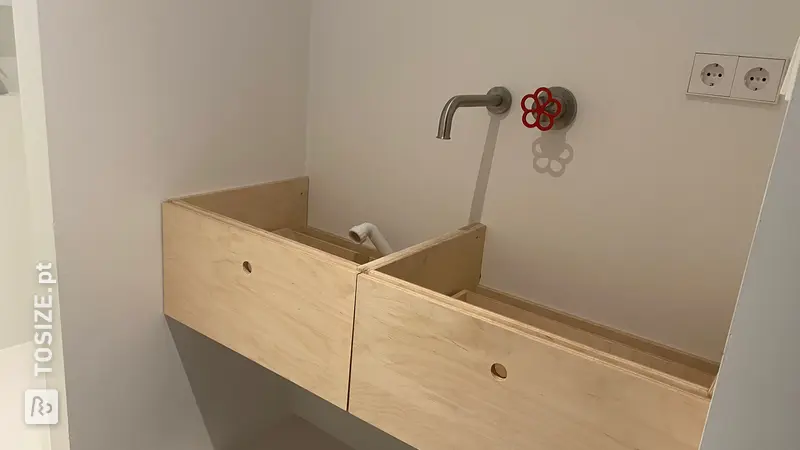
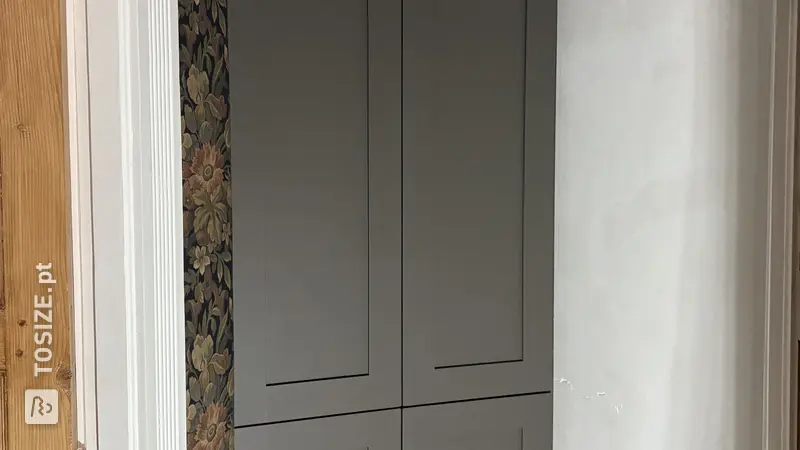
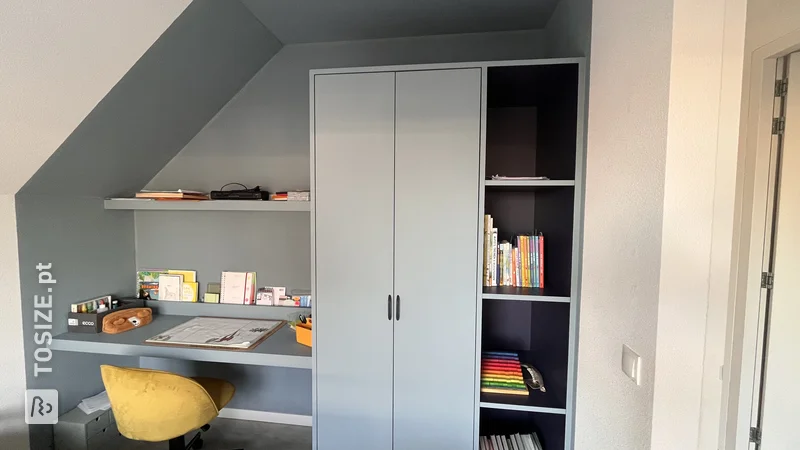
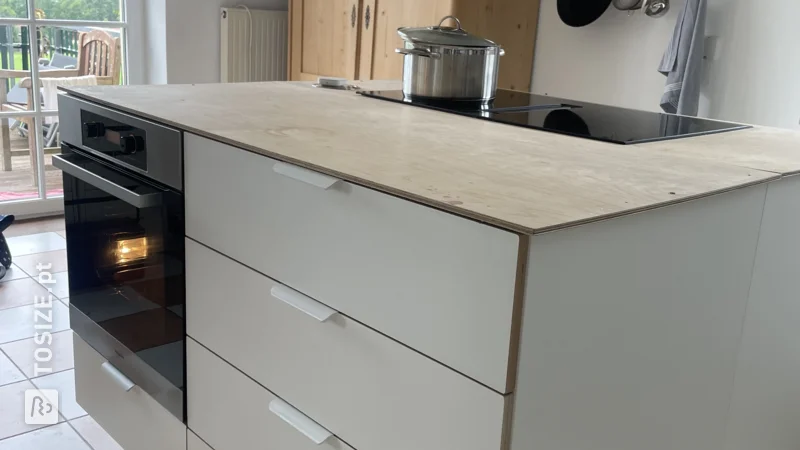
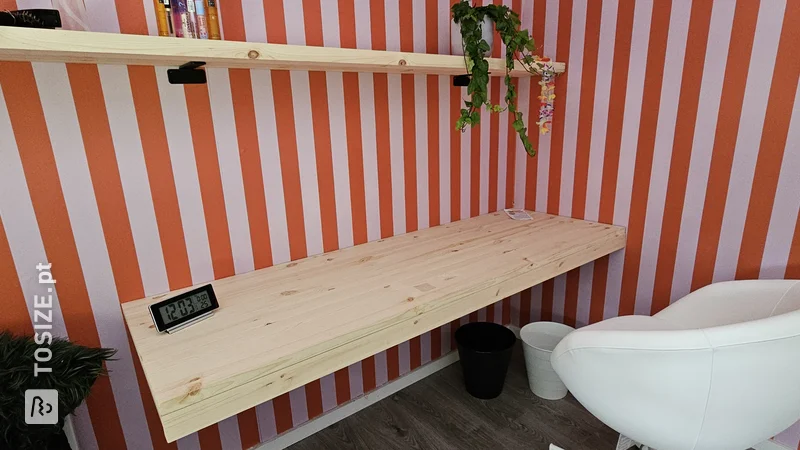
I ordered three sheets of plywood online. I ordered these plates a bit too large because the walls to which they have to connect are not perfectly perpendicular. This offered me the opportunity to make the plates exactly fit during the work. First of all, I made all the plates to size. For this I used a circular saw with guide rails. I then primed the ends of the wood and sanded them smooth. As a result, the rough wood structure is no longer visible. After everything was sanded nice and smooth and made splinter-free, I provided the panels with a layer of primer and two layers of matte varnish. Then I started placing the plates. The top plate is placed first and screwed from the inside of the cabinet. As you can see in the photos, I placed a small white slat in between to ensure that the doors do not get stuck and the irregularity of the Ikea cabinets is compensated for. The back plate is placed second. This is attached to the wall with mounting kit. Because it is not heavily loaded, this is an excellent mounting method. I placed the worksheet last. This is clamped to the bottom of the back plate and is attached to the bottom with a wooden slat. It is attached to the left side by a screw from the inside of the cabinet. On the right side it is attached to the wall with an angle iron. Finally, I provided the worktop with a protective layer of clear two-component varnish.
Dimensions of my DIY project
140.0 x 60.0 cm
Tip! Also check out our handy DIY tips!
What now?
Want to make this DIY project? Check out Fabian's saw list and complete your order easily.
€ 270,40
View all sheet materials