- TOSIZE.pt
- Do it yourself
- DIY Projects
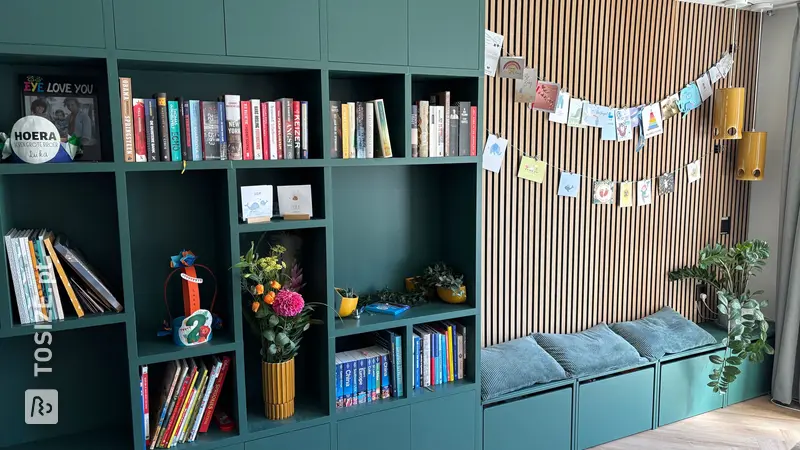
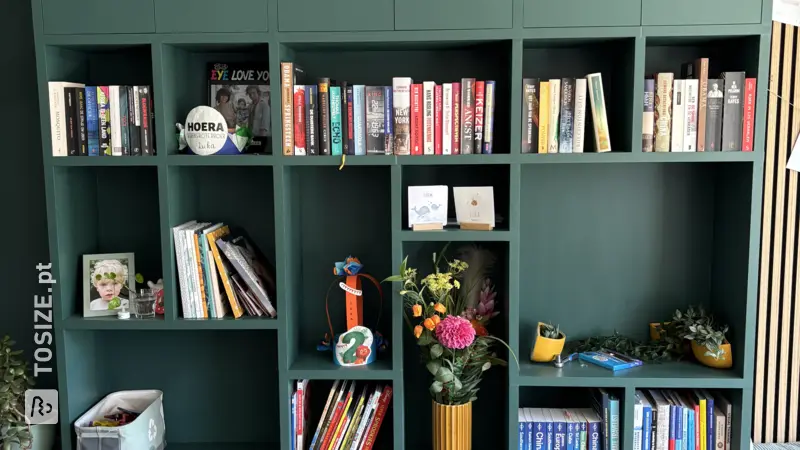
Shelving unit and bench with baskets and a rough wooden back wall, by Remi
Shelving unit and bench with baskets and a rough wooden back wall, by Remi
Create this project yourself with sheet material cut to size by TOSIZE.pt!
Remi
Average
2 minutes
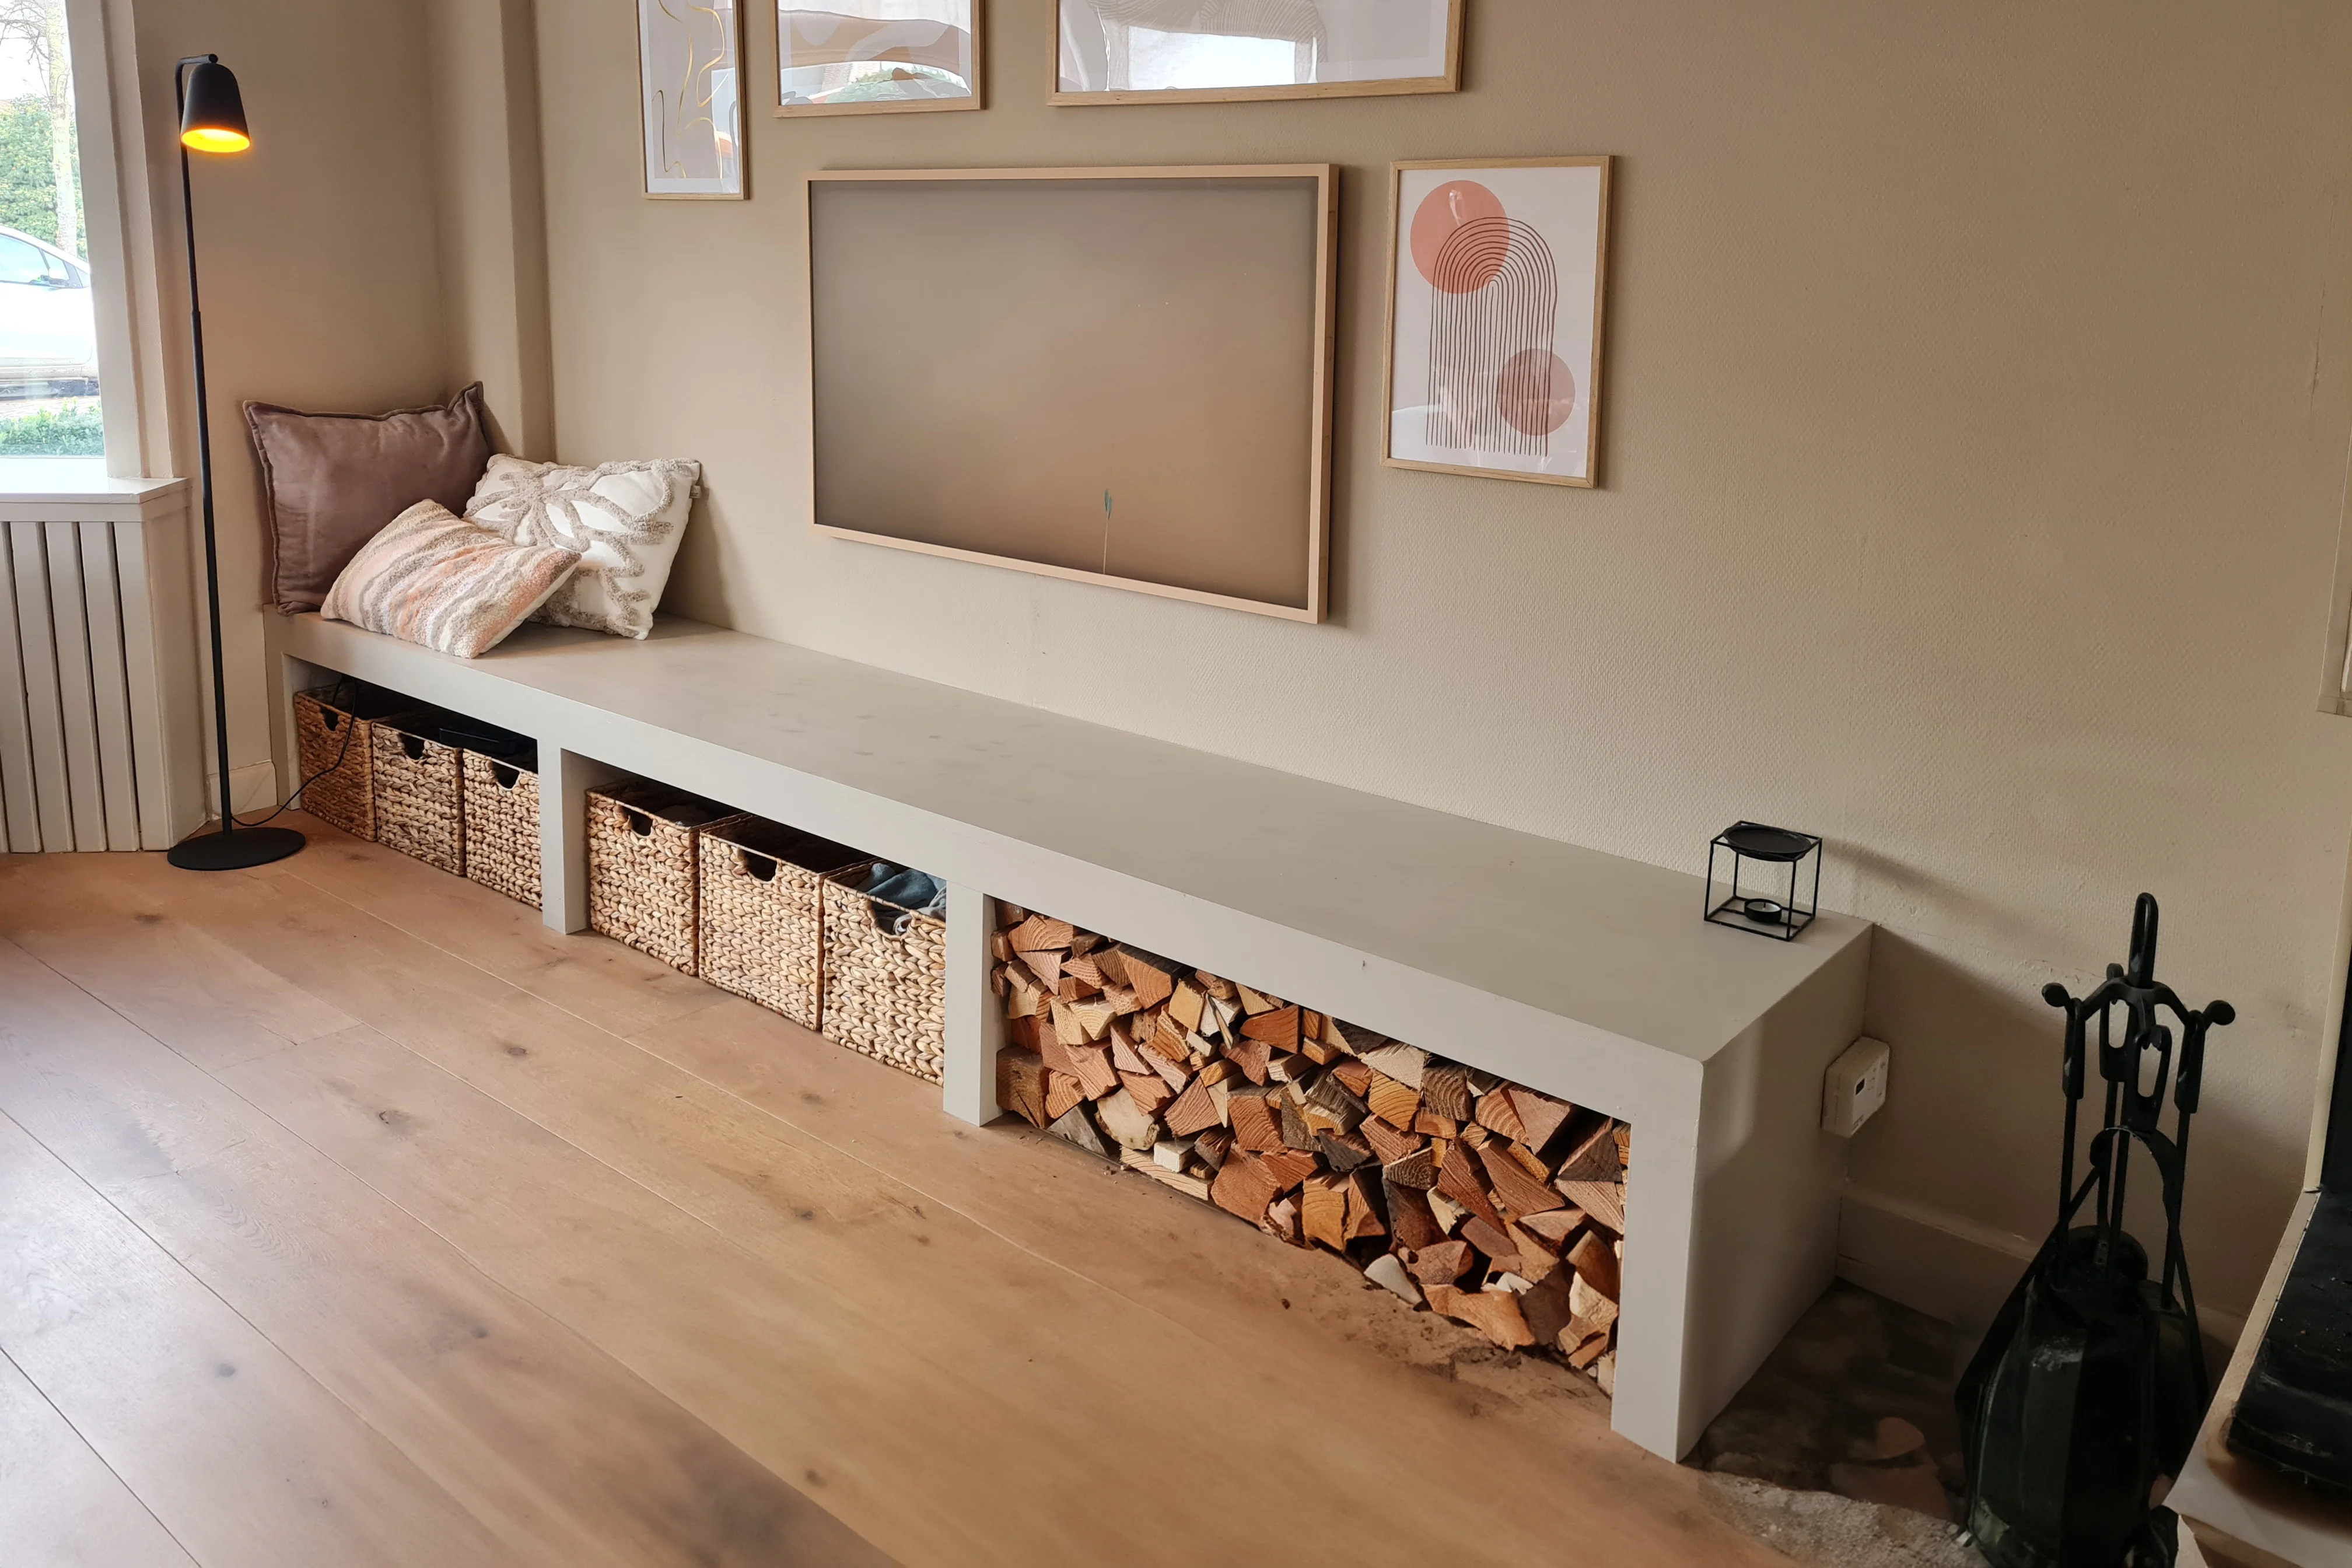
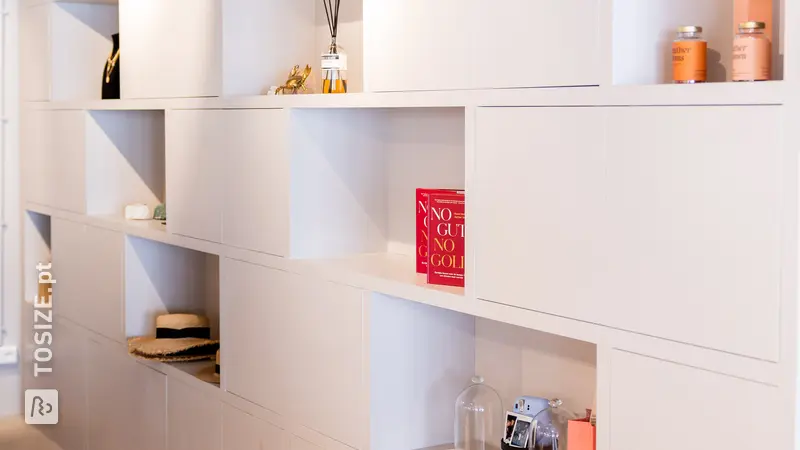
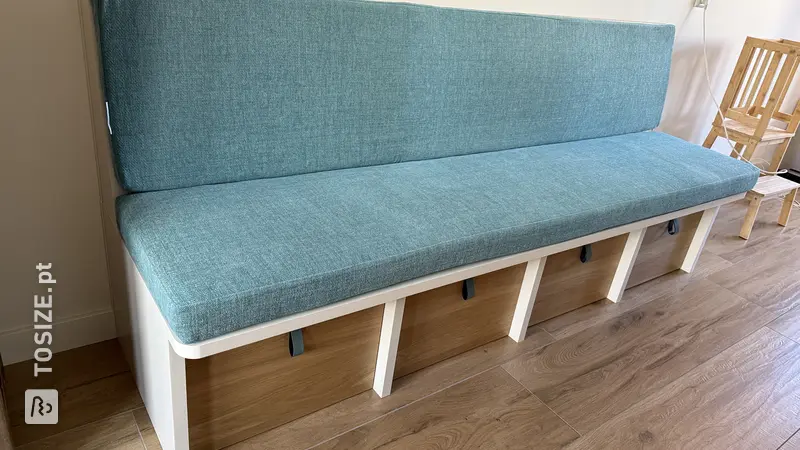
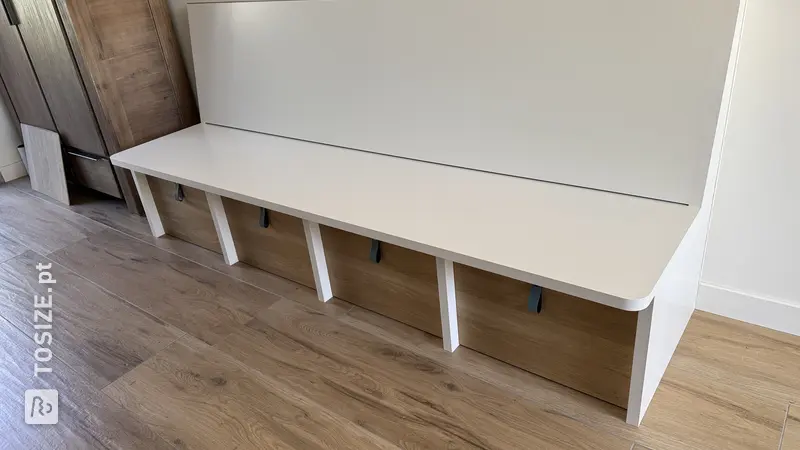
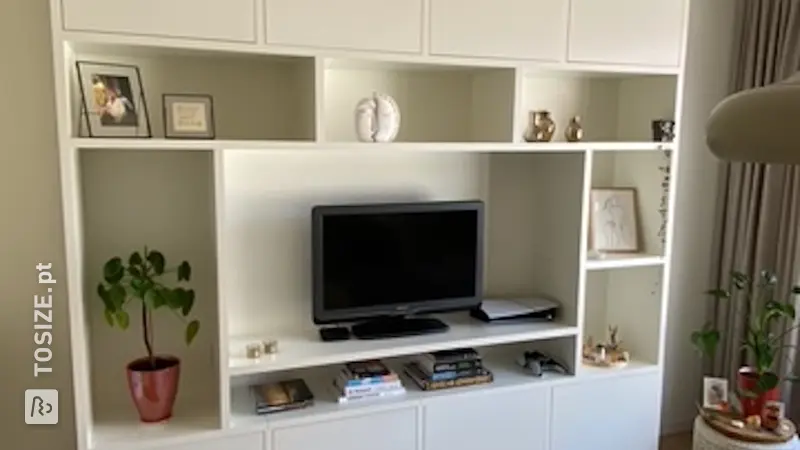
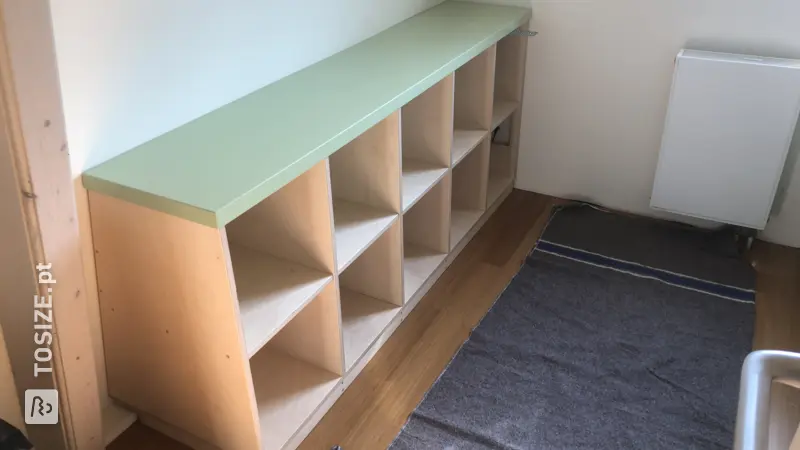
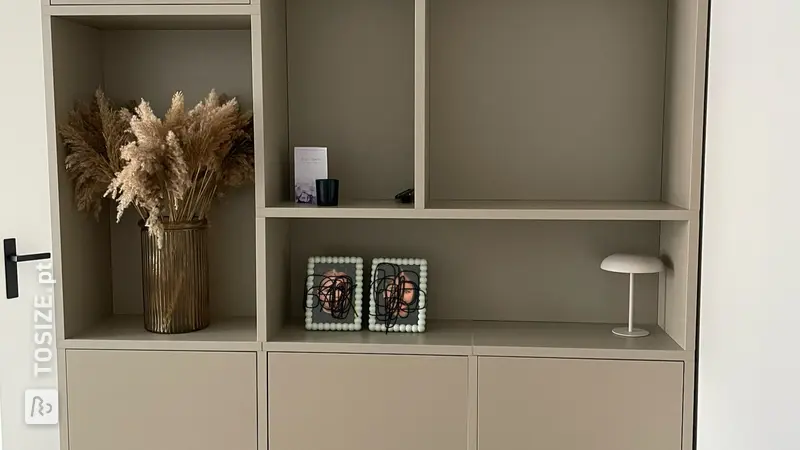
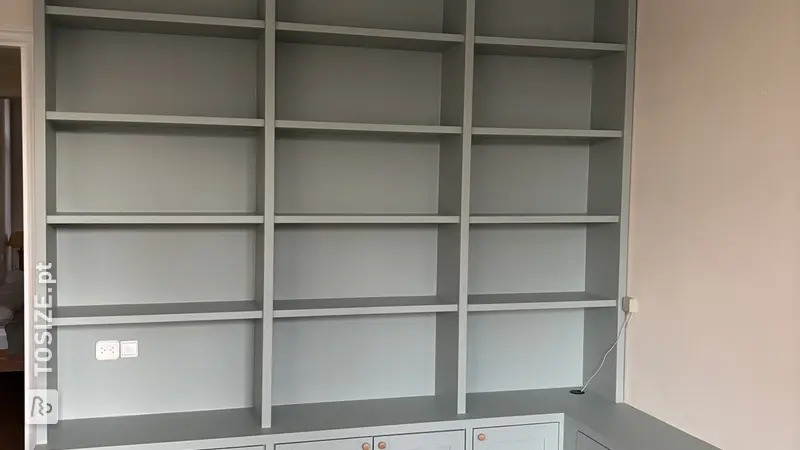
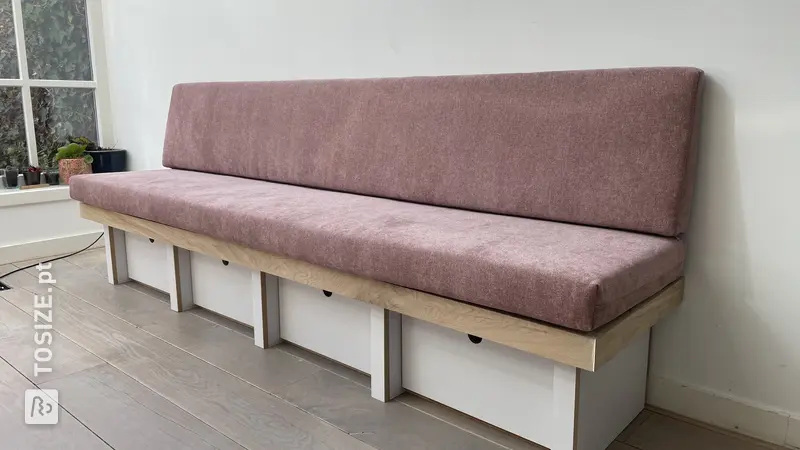
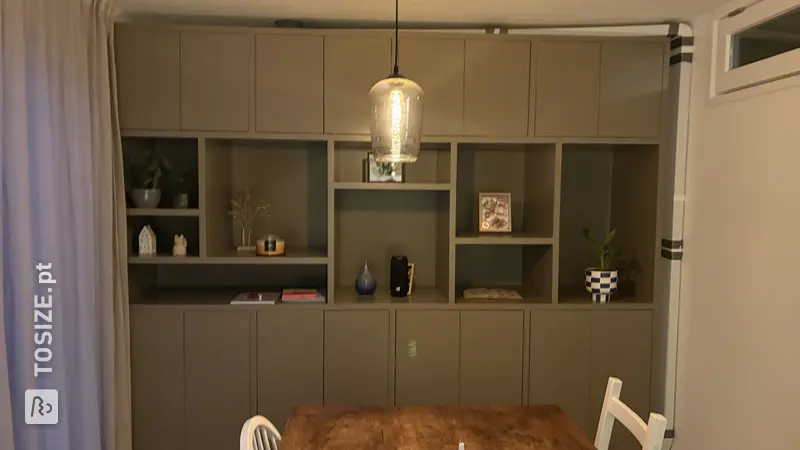
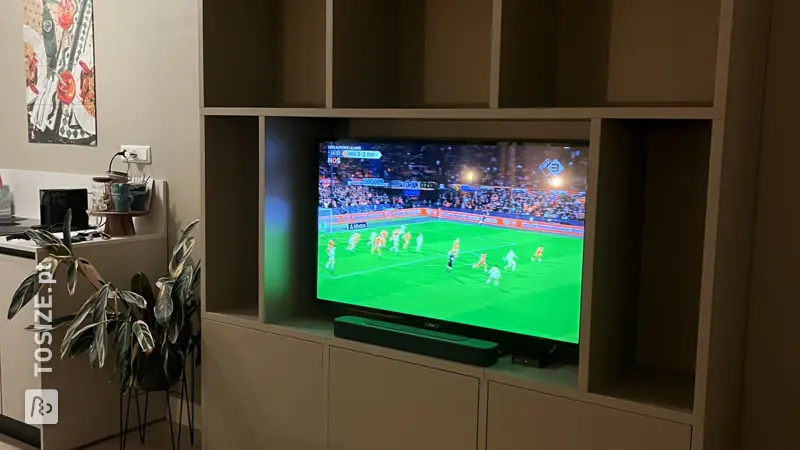
Remi himself made a custom rural living bench between two walls. By customizing everything, he makes optimal use of the open space. In addition, the bench also offers a practical application! The baskets at the bottom provide space for shoes, winter clothing and accessories, or other necessities. He finished the whole thing with a rough, sturdy back wall, making it completely in country style. Because Remi had limited experience with creating benches, he made it easy for himself. Do you want to know how? Then read on!
Description by Remi
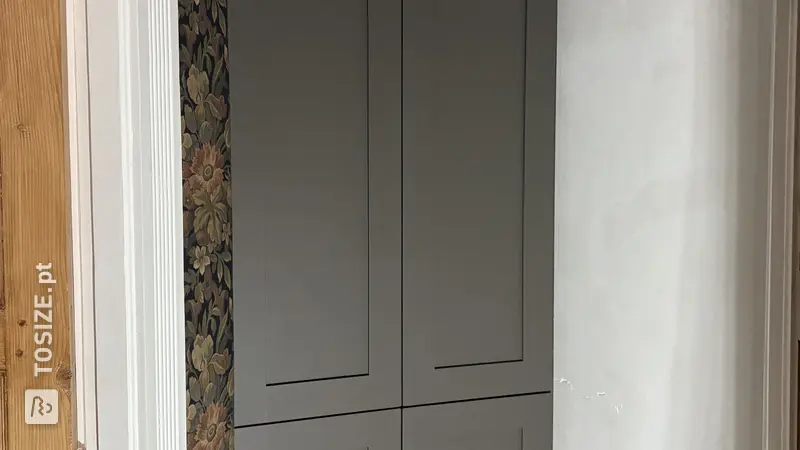
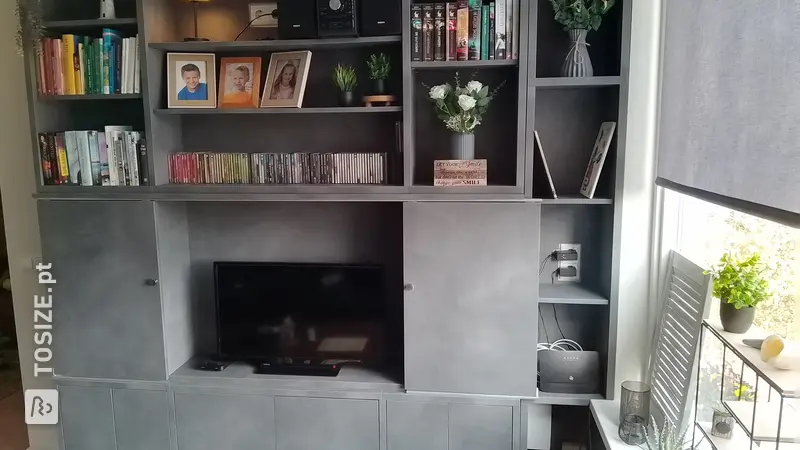
Our hall was still a bit bare and we had an underfloor heating pump that had to be concealed. We saw an opportunity to build a shelving unit around it and provide it with wicker baskets.
How I made this project
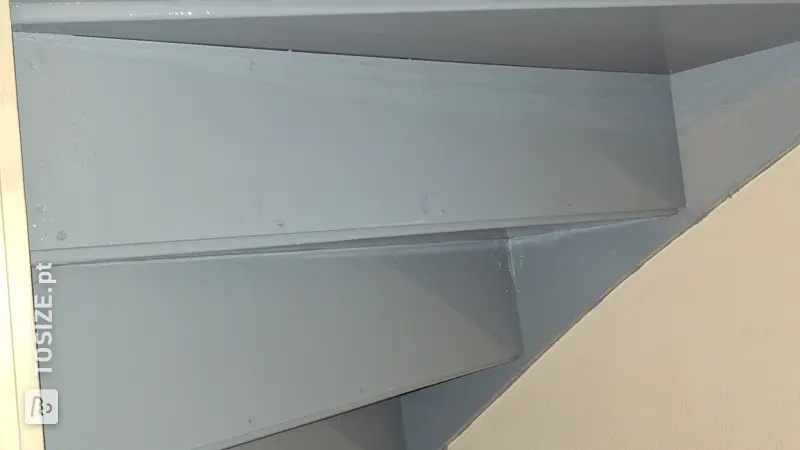
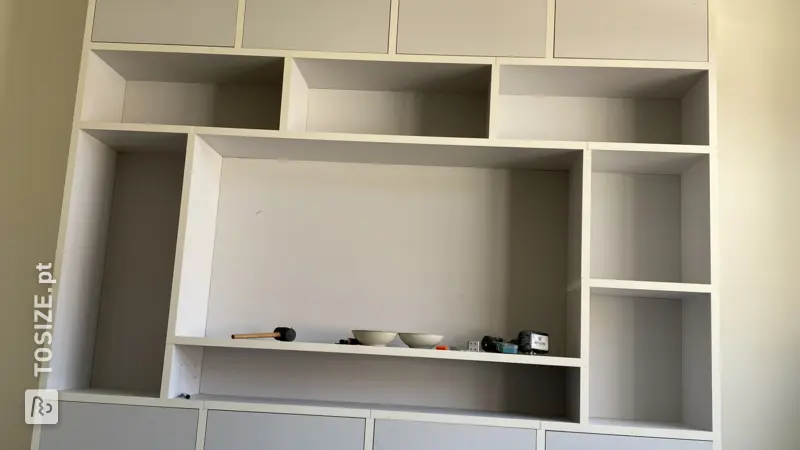
I measured the width of the opening between the walls measured. Made a drawing via Coreldraw at that width and included the MDF partitions of 3.0 cm thick. Because I am not a professional, I made it easy for myself by using a double top plate, with the front edge of the top plate being bevelled. Because I have a second top plate, I could drill as much as I wanted through the second top plate, but this was still covered.
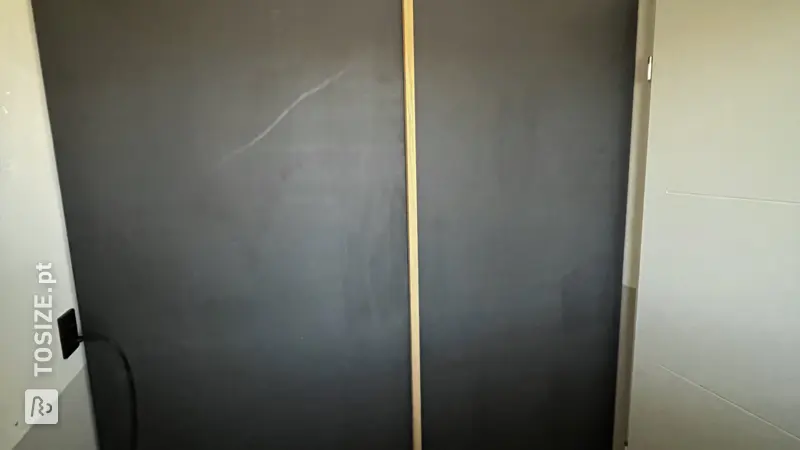
By means of. Dowels secured the partitions. First saw the long planks to size and fitted them, then pre-drilled everything in the living room. After this everything could be built up as a kit. Height of the cabinet kept the same as the front plinth. The supporting blocks are screwed in place of the partitions. And the top plate was screwed on from the bottom from the compartments. Then everything was sanded well, the end edges were coated with lacquer filler, more sanding, sealant, primer, sanding and a layer of lacquer. One of the baskets was sawn in half to hide the underfloor heating pump. After this, the back wall was covered with scrap wood.
Dimensions of my DIY project
200.18 cm
Tip! Also check out our handy DIY tips!
What now?
Want to make this DIY project? Check out Remi's saw list and complete your order easily.
€ 283,07
All materials used
View all sheet materials