- TOSIZE.pt
- Do it yourself
- DIY Projects
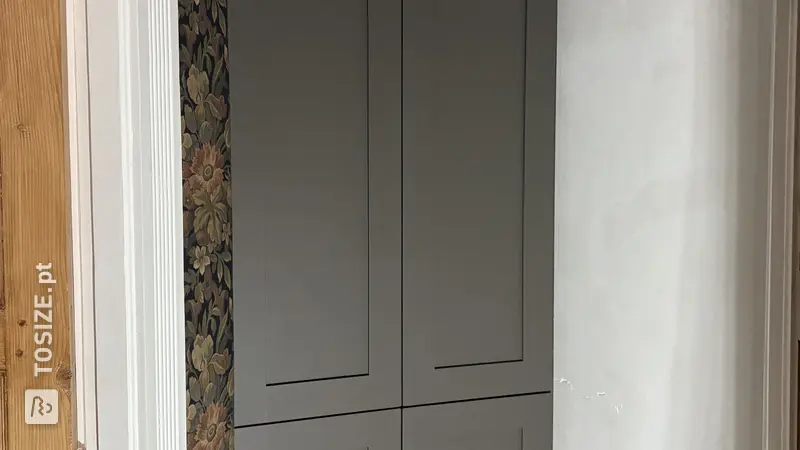
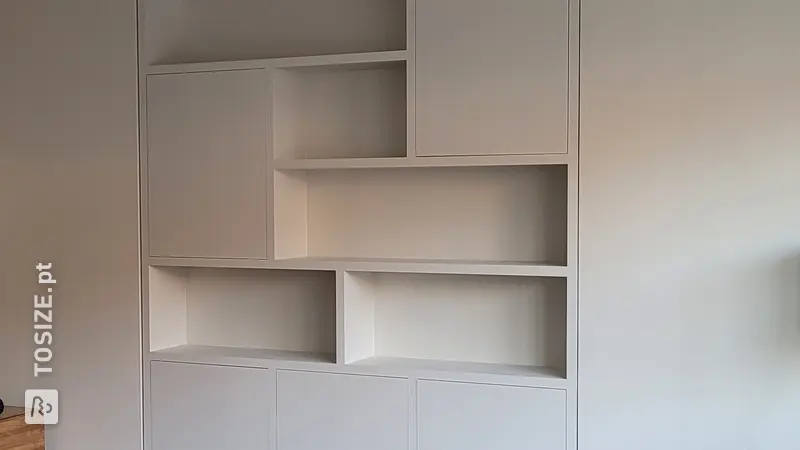
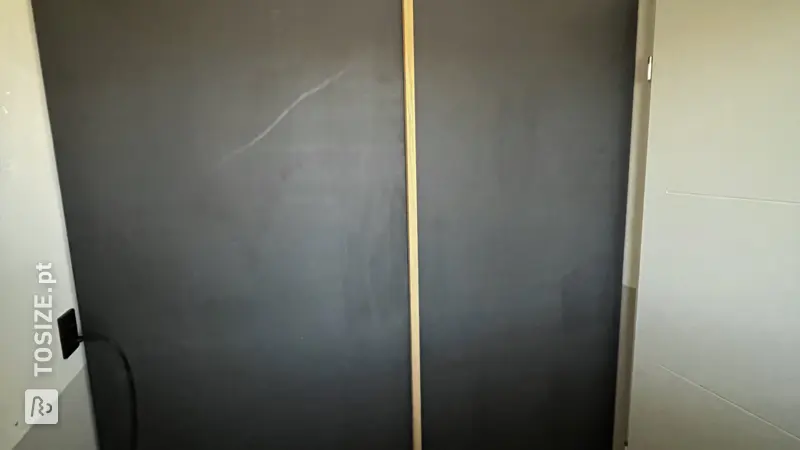
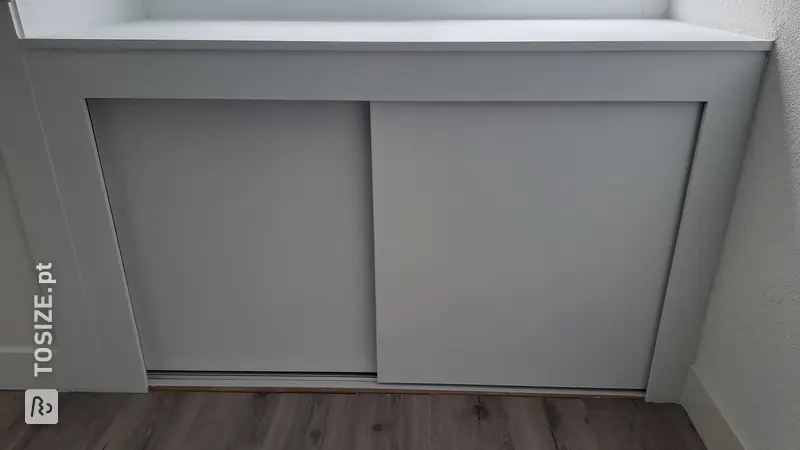
Sliding panels made of MDF Blank; floating bookshelf, by Jos
Sliding panels made of MDF Blank; floating bookshelf, by Jos
Featured!
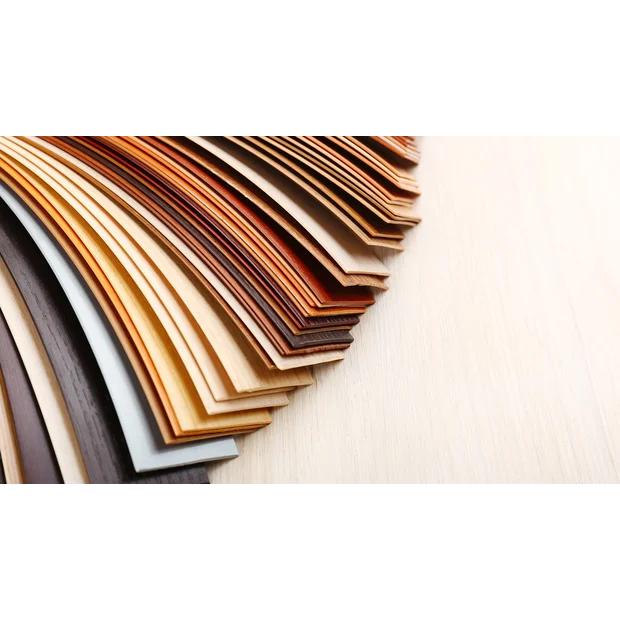
Extensive range of edgebanding
View the product range
Create this project yourself with sheet material cut to size by TOSIZE.pt!
Very easy
3 minutes
Description
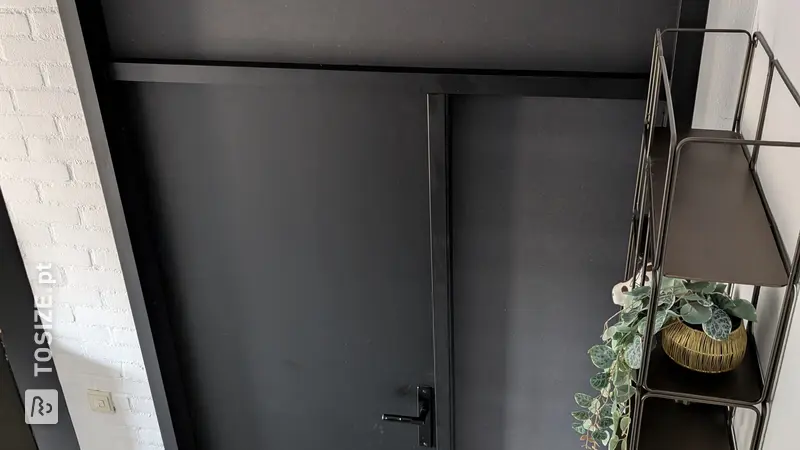
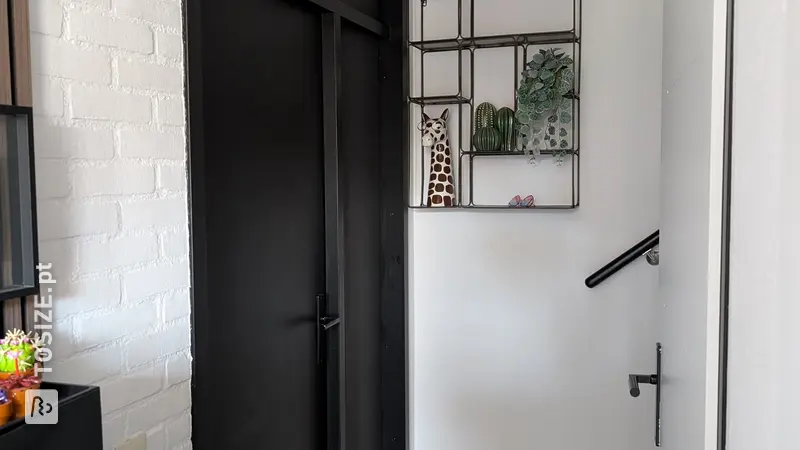
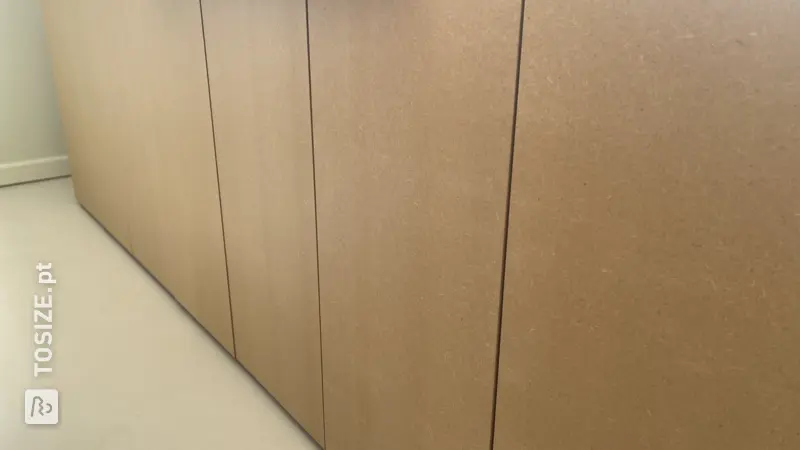
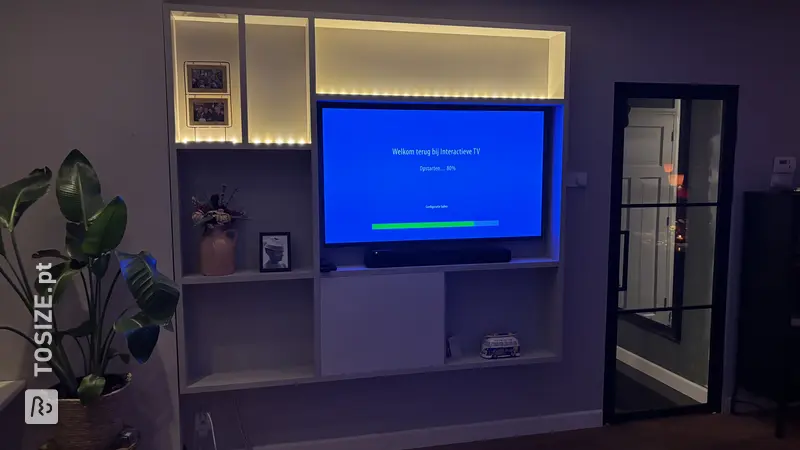
To make the attic look a bit tidier, I hung MDF panels on a rail under the roof. You can slide these panels back and forth to gain access to the items behind them.
Work description: how did you realize your project
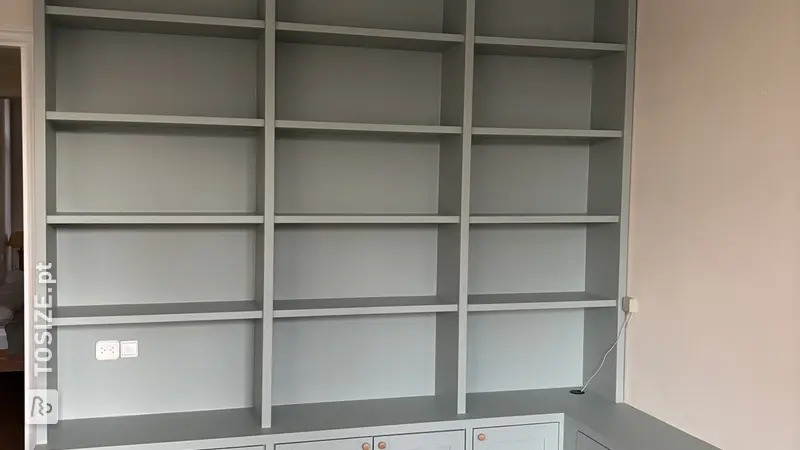
Project 1: Sliding panels
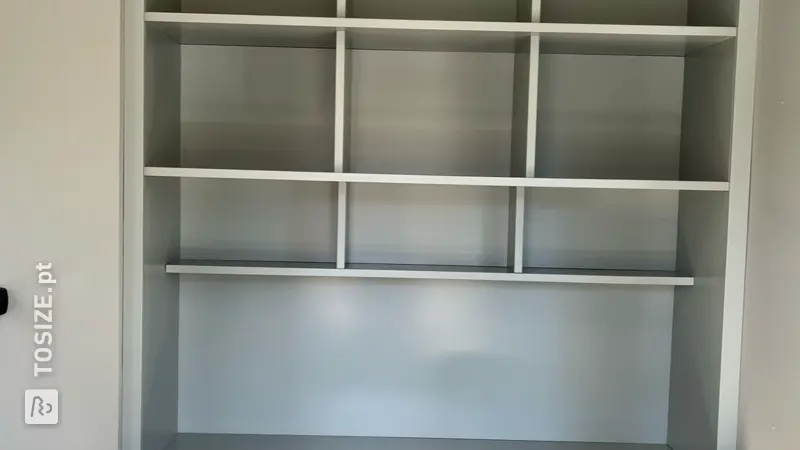
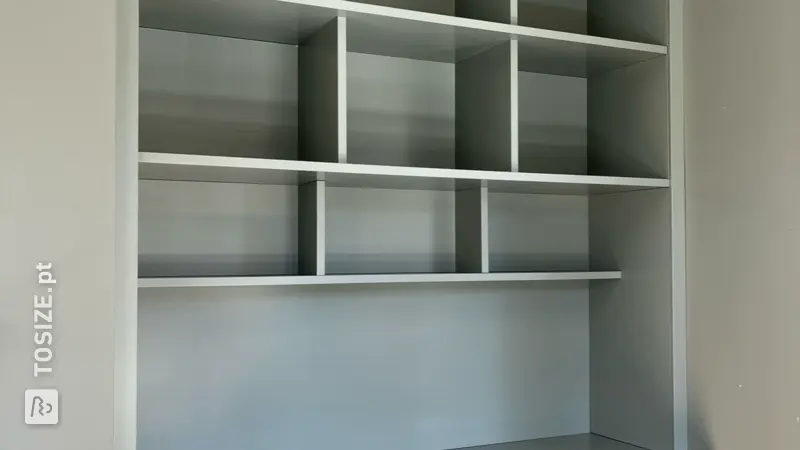
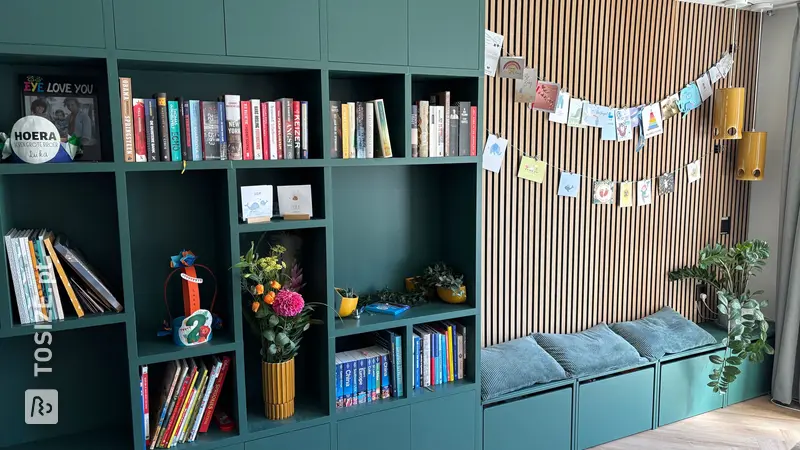
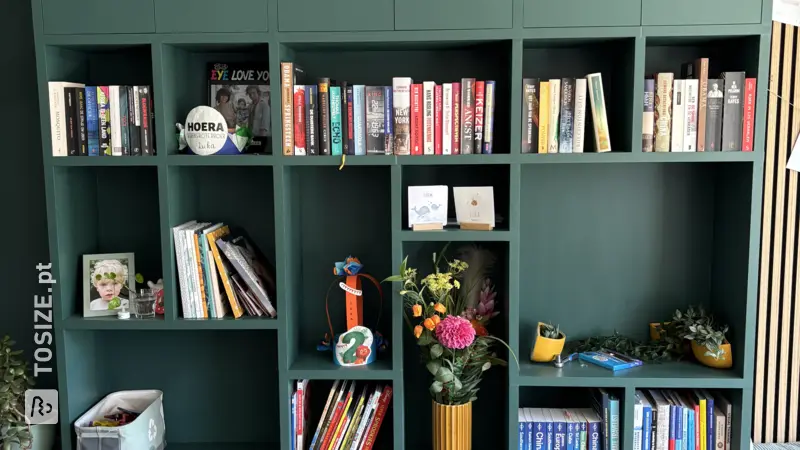
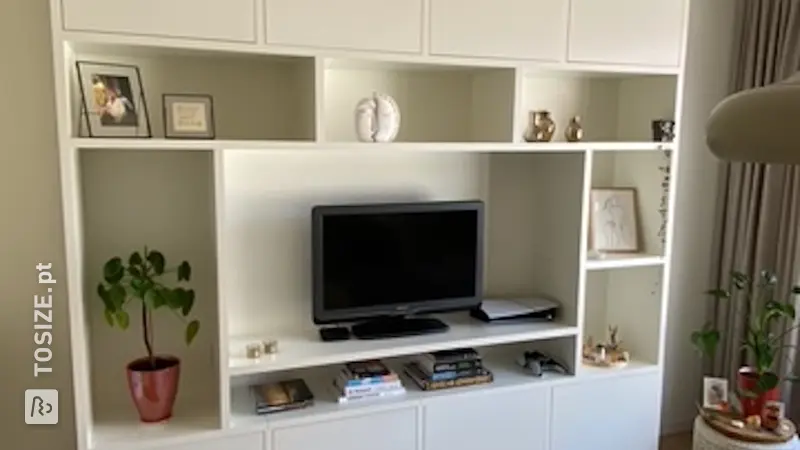
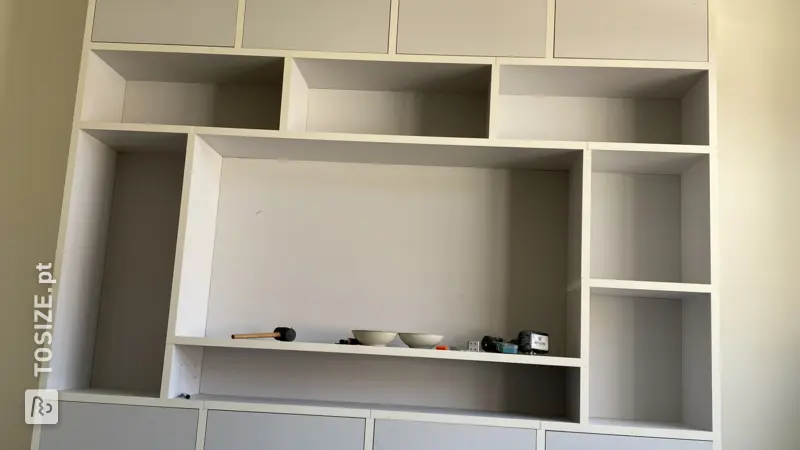
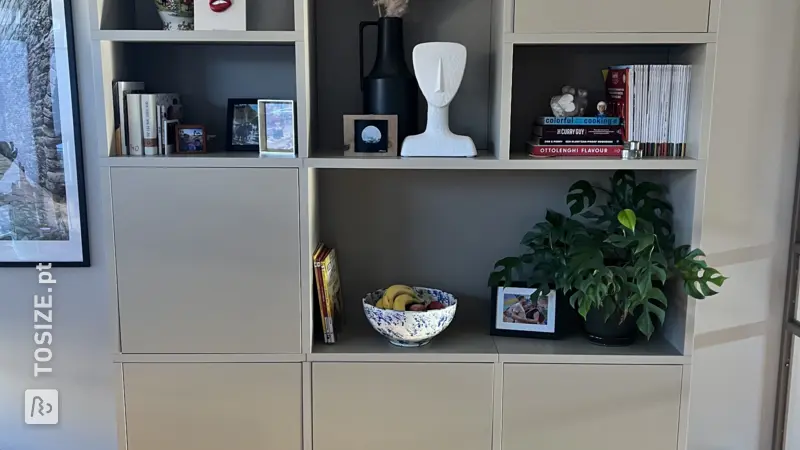
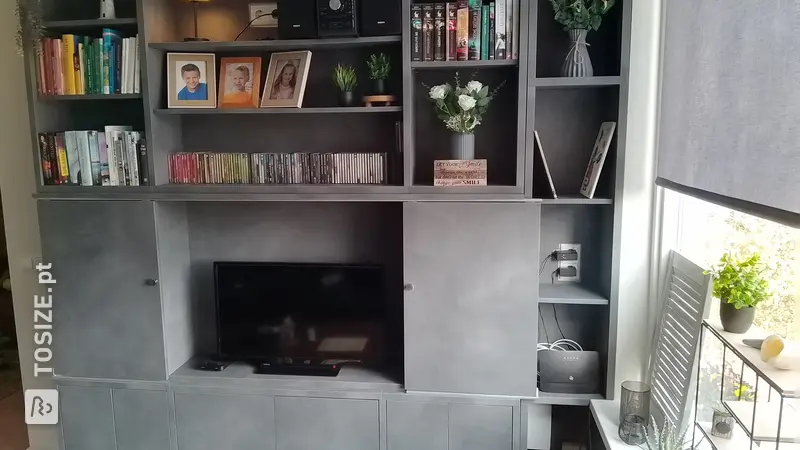
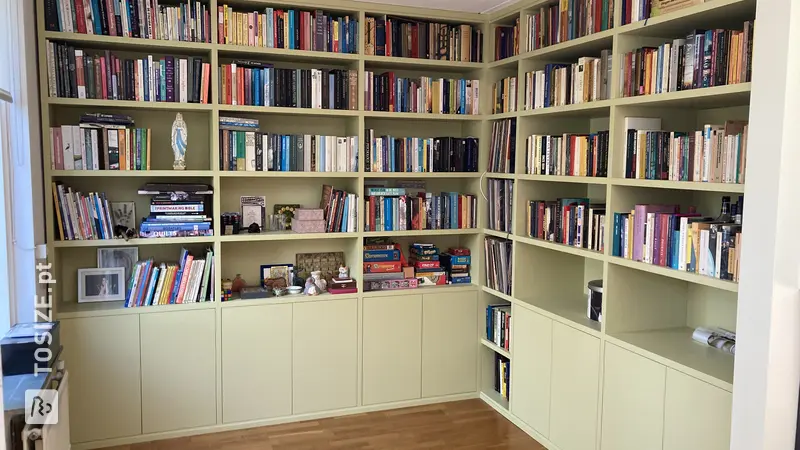
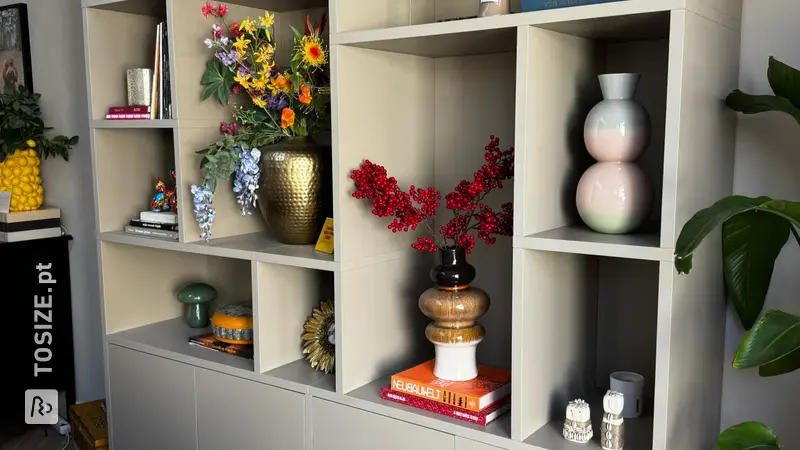
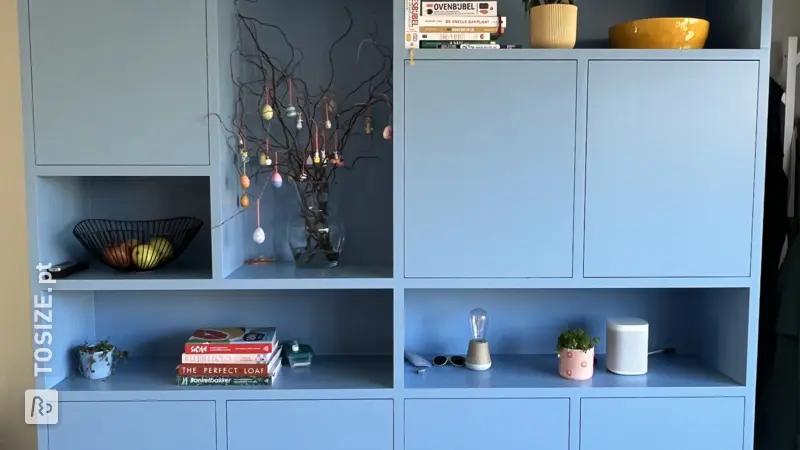
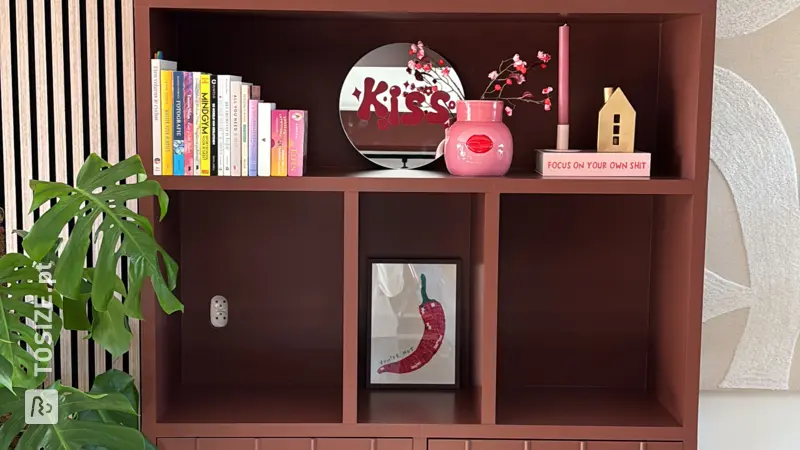
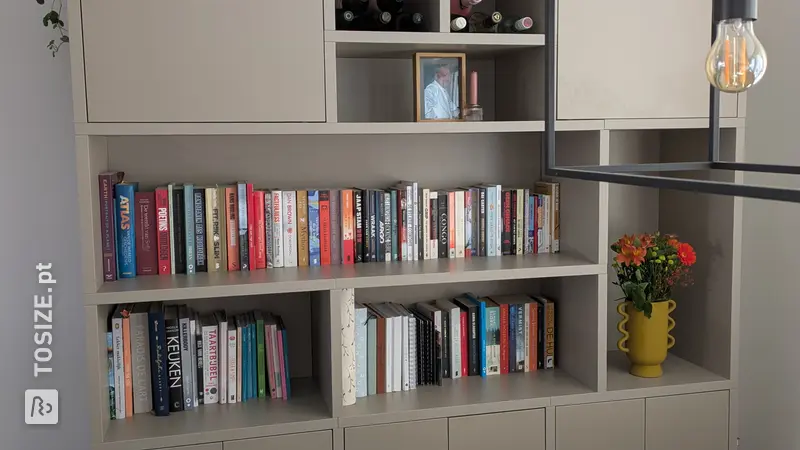
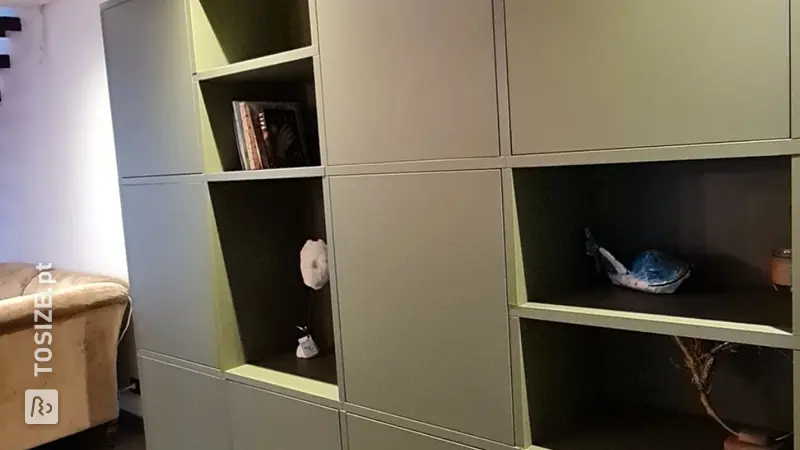
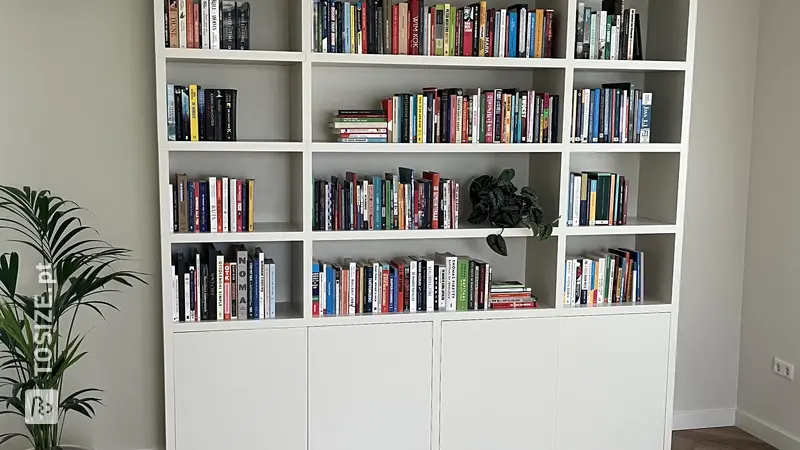
ol>Project 2: Floating bookshelf
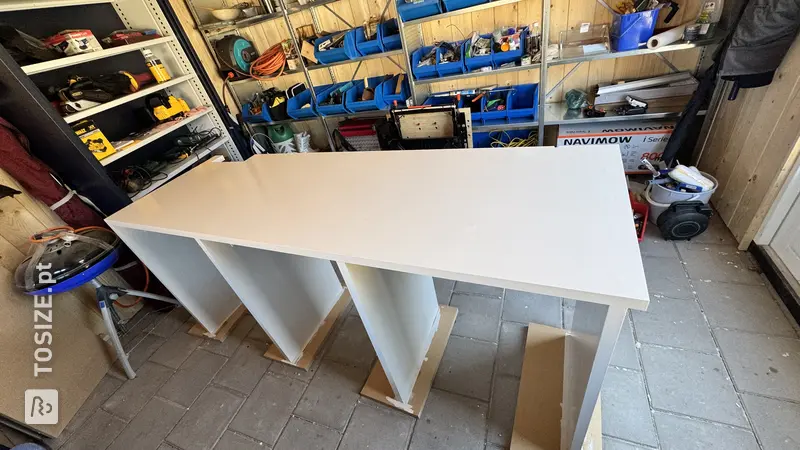
Step 1:
- li>Using (painter's) tape, mark out the lines as you would like the bookshelf to look.
- To keep it easy, only use angles of 45 and 90 degrees. /li>
- Measure the shelves and order them via TOSIZE.pt
- I chose a bookshelf that is 23 cm wide is.
- I also did the miter sawing (for planks with an angle of 45 degrees) myself with a circular saw.
- You still need the triangle that comes off for step 2.
Step 2:
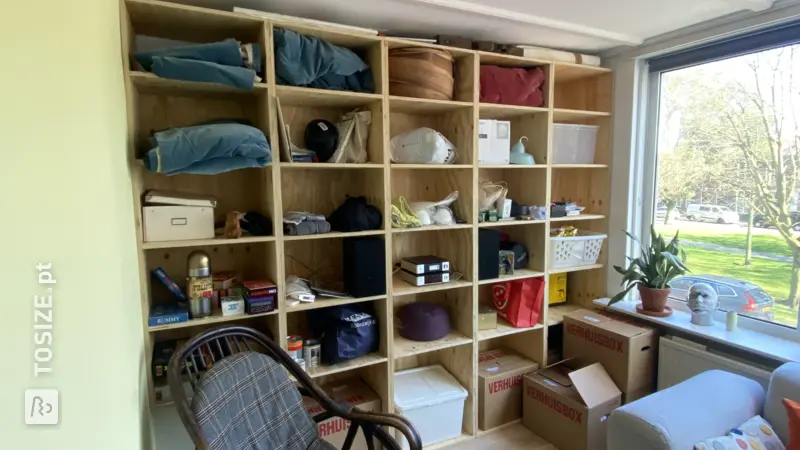
Glue the triangles to the short side of the board of the miter saw. These will provide some strength.
Step 3:
Pre-drill the holes. It is best to do this with 2 people: one person holds the planks in place, the other drills. Also use a drill with the same diameter as the screws you will use to make the screws disappear into the plank (sink).
Step 4:
div>On its own, this will never really become a sturdy bookshelf. Place something on the shelves where you want to place books (or something else heavy) later to attach them to the wall. I personally opted forthese pictures which are for sale at Gamma . The long plank that runs horizontally has two of these pictures, 3 others have one.Step 5:
Painting. My wife liked a gray wash best. She did this by applying varnish with a roller.
Step 6:
Hanging.
Final size: What are the outside dimensions?
There are four planks of 245.0 × 81.5 cm.
Tip! Also check out our handy DIY tips!
What now?
This is a project for inspiration. Because our assortment has changed, (some of) the products are no longer available.
View all sheet materials