- TOSIZE.pt
- Do it yourself
- DIY Projects
Custom birch plywood fronts for an IKEA kitchen, by Laura
Custom birch plywood fronts for an IKEA kitchen, by Laura
Create this project yourself with sheet material cut to size by TOSIZE.pt!
Laura
Above average
5 minutes
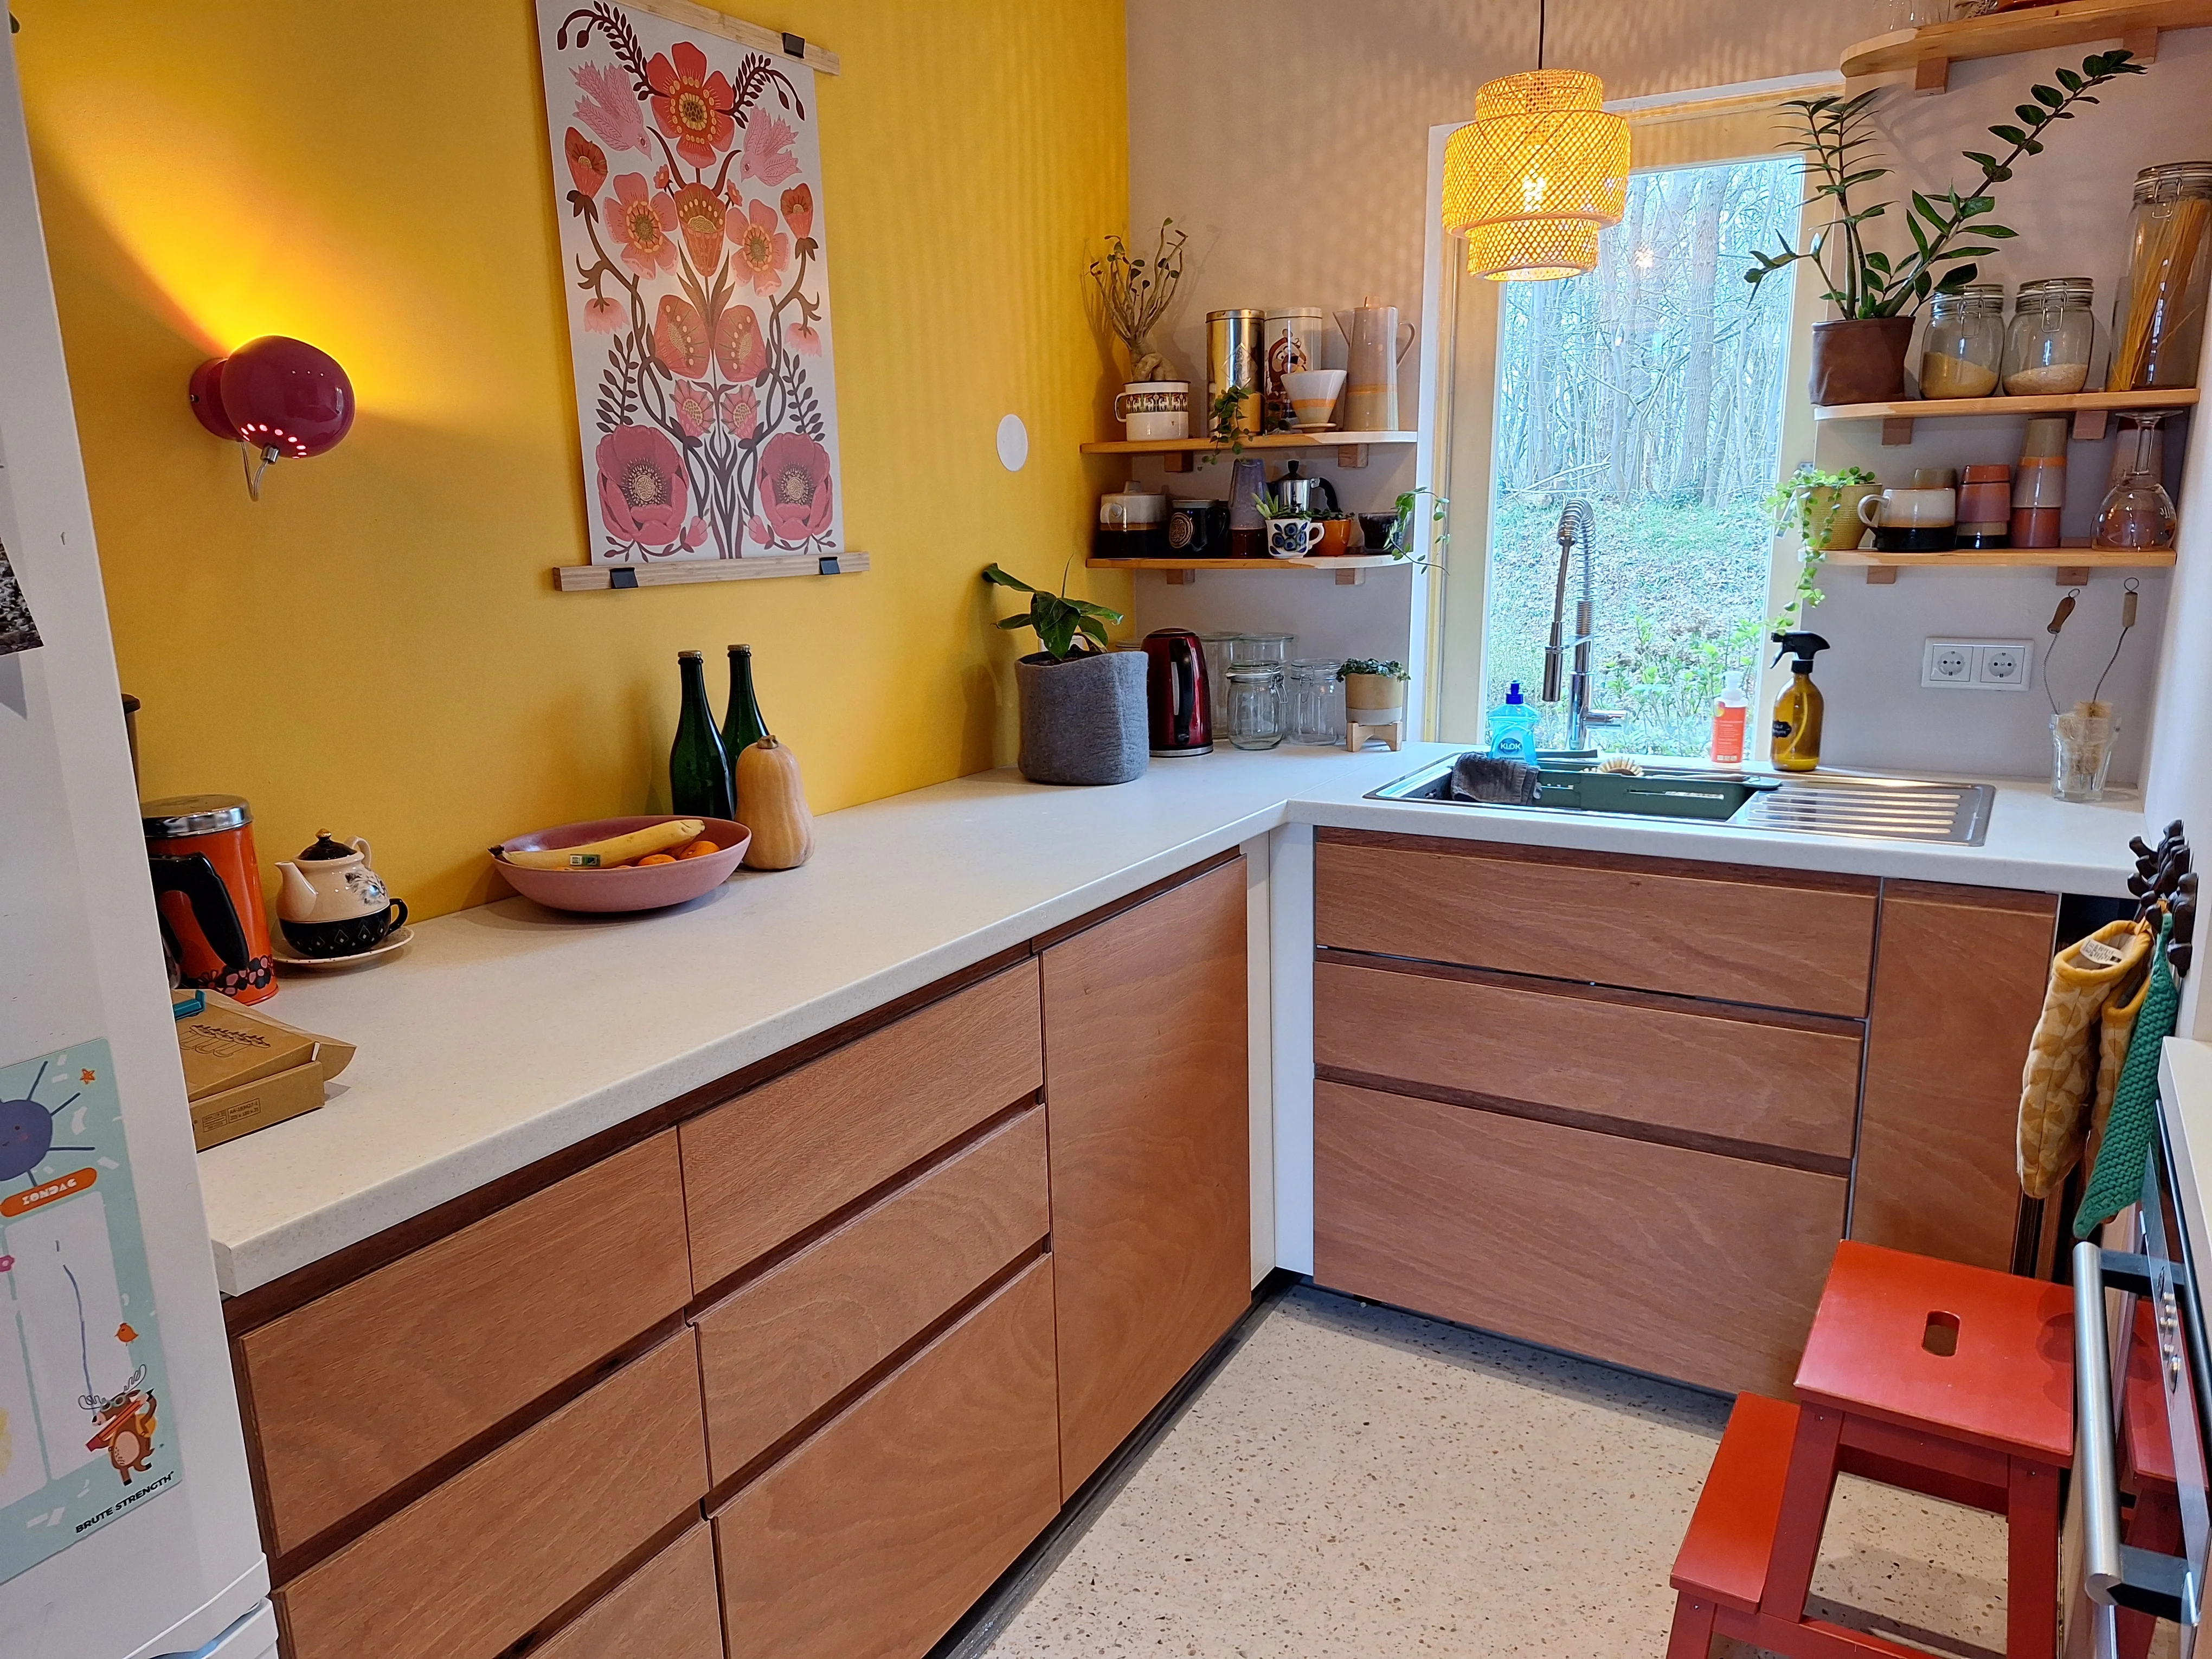
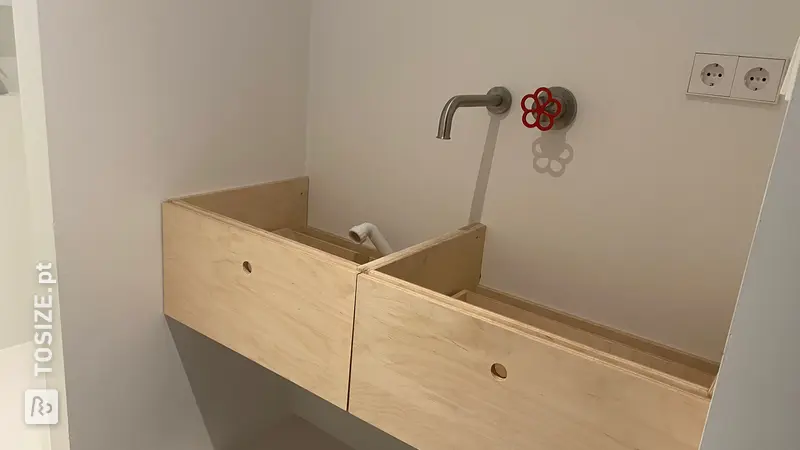
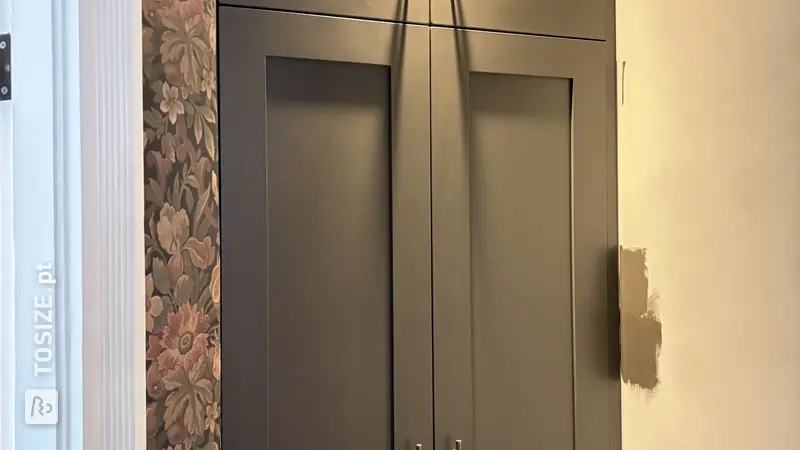
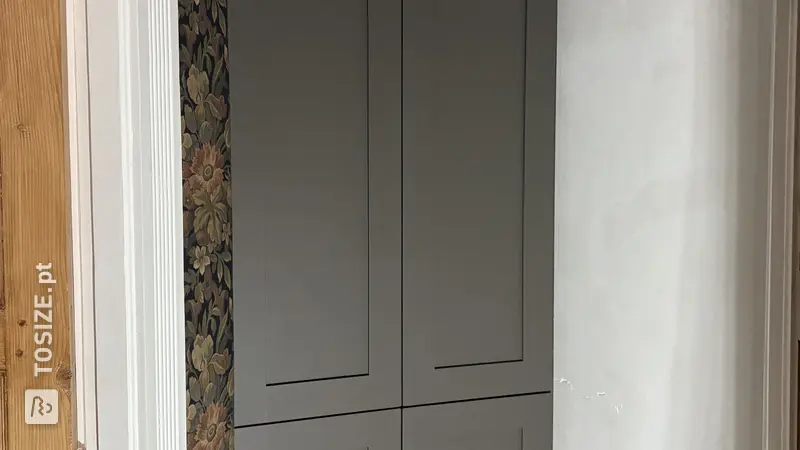
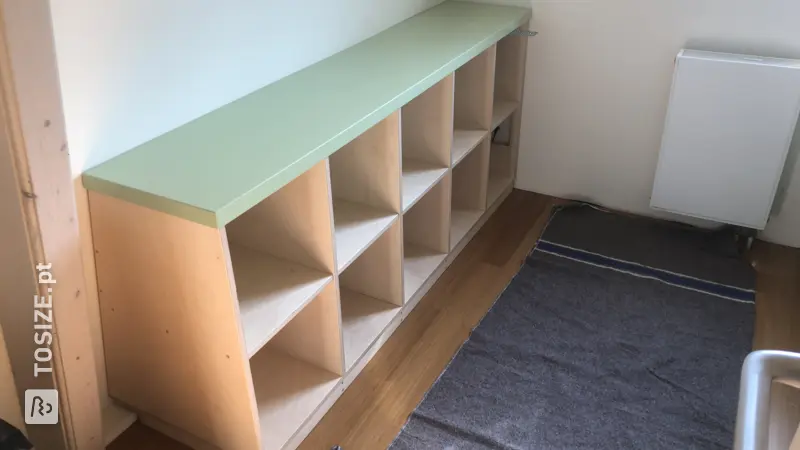
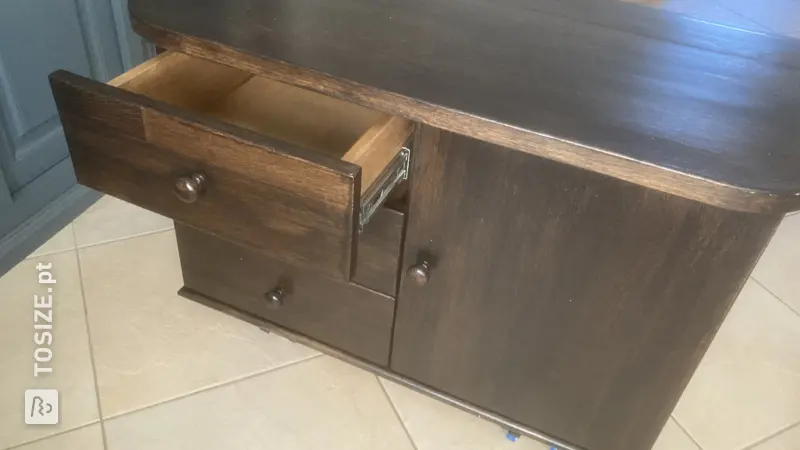
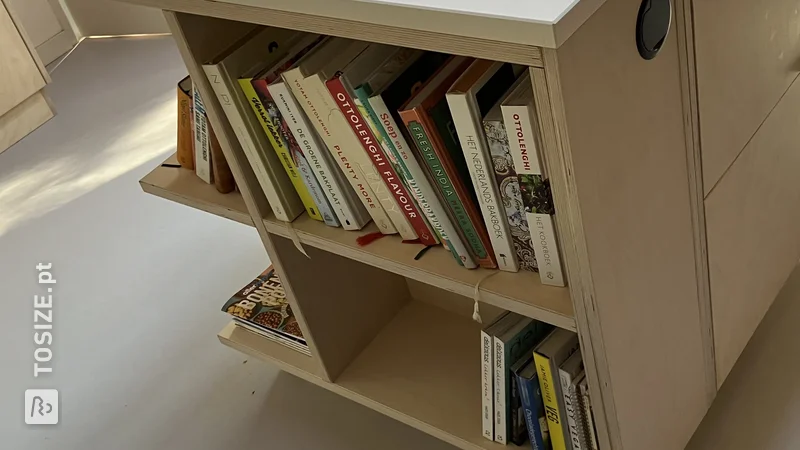
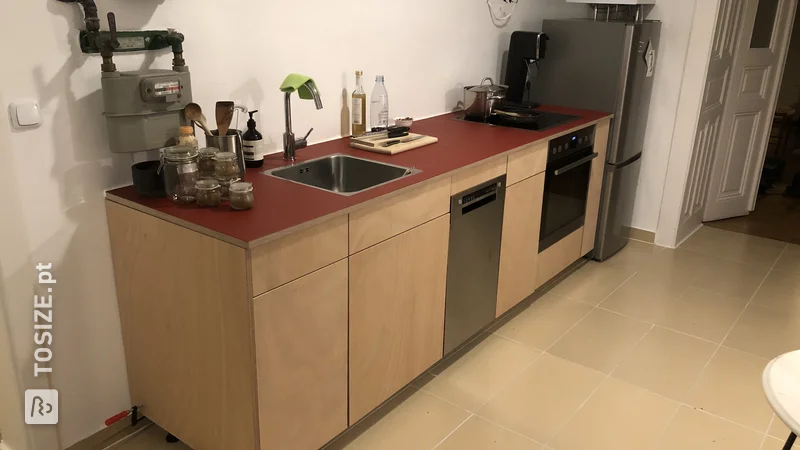
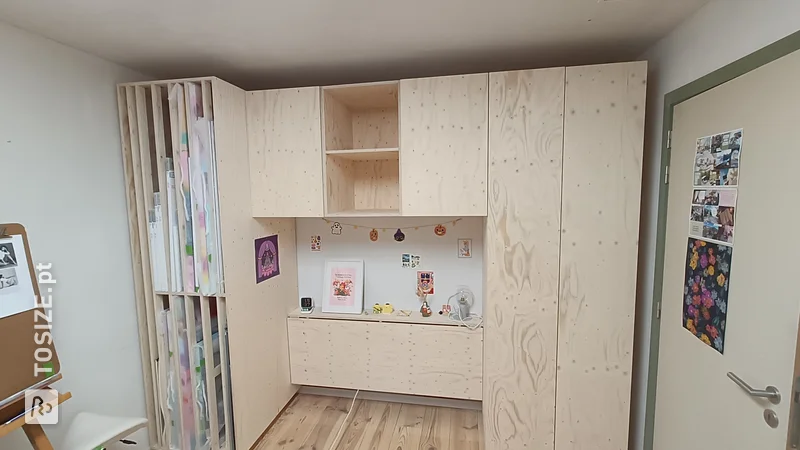
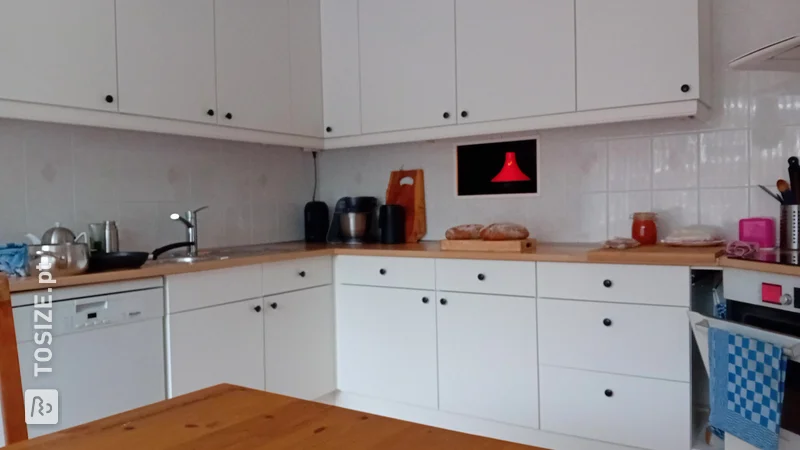
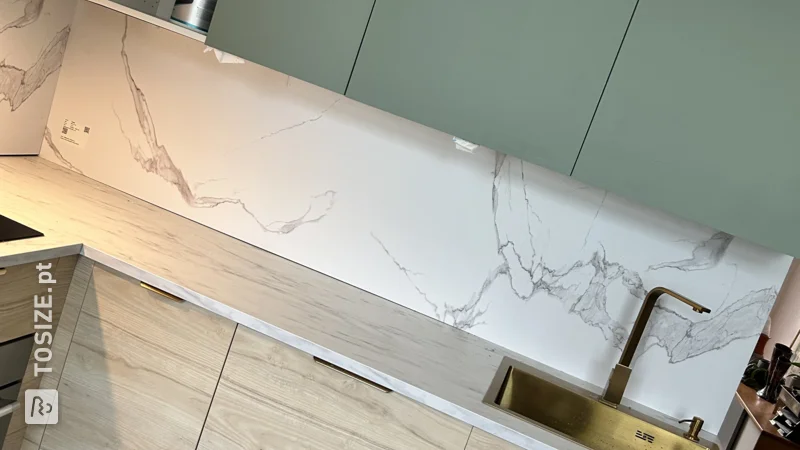
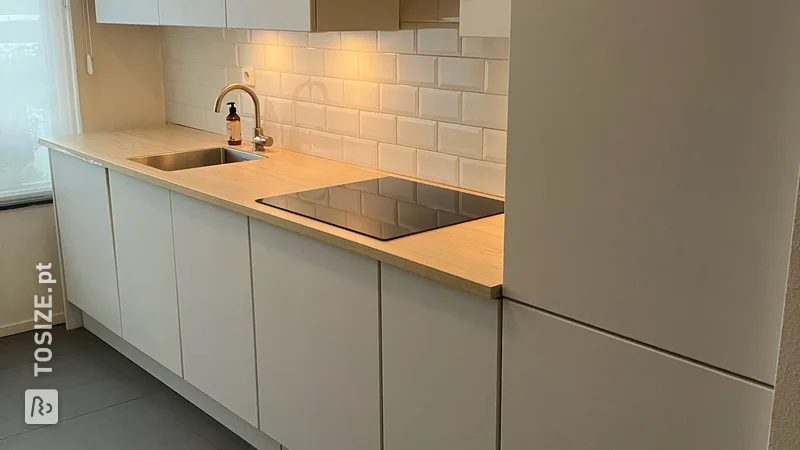
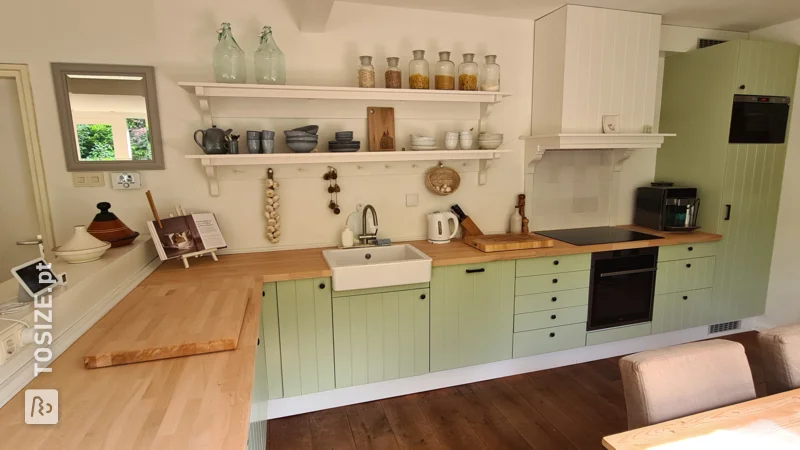
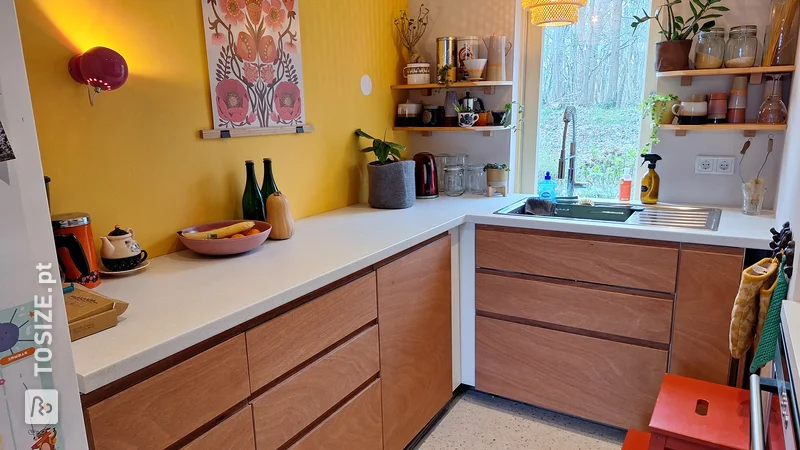
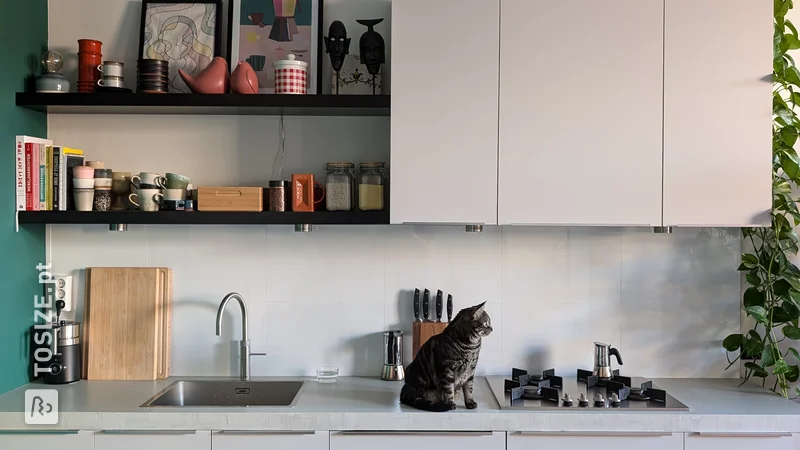
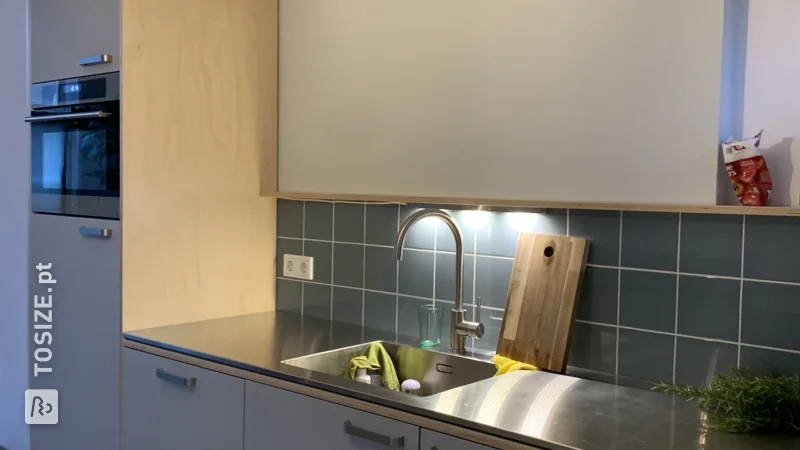
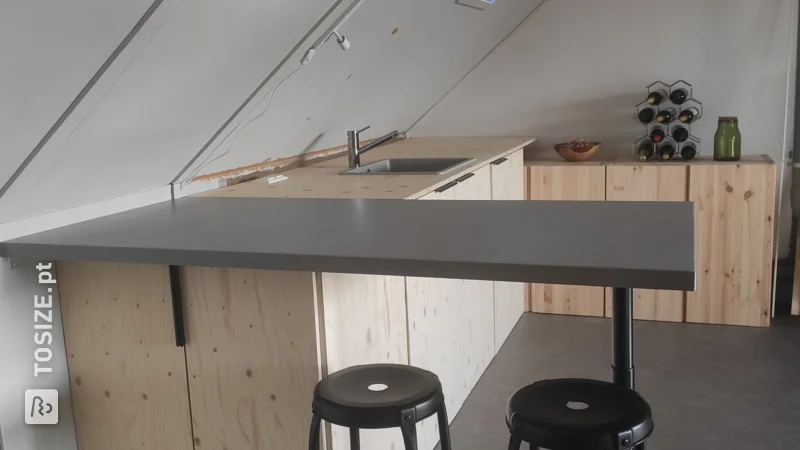
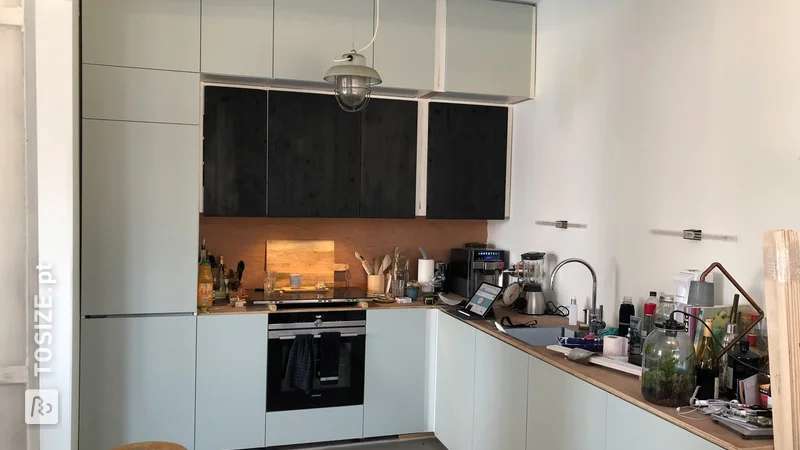
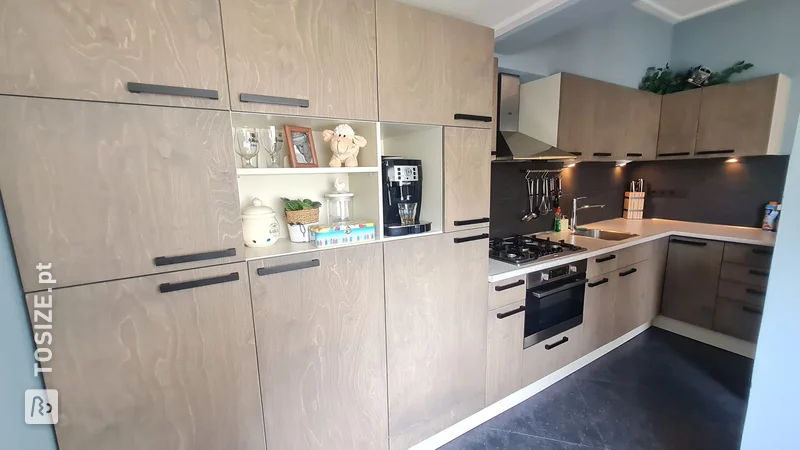
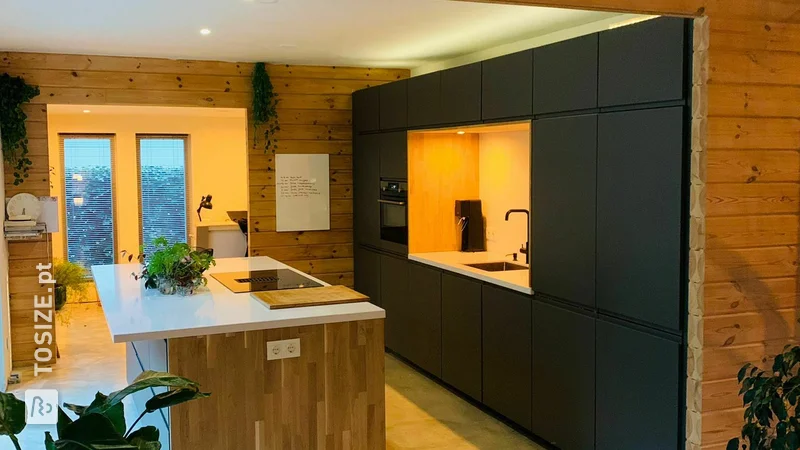
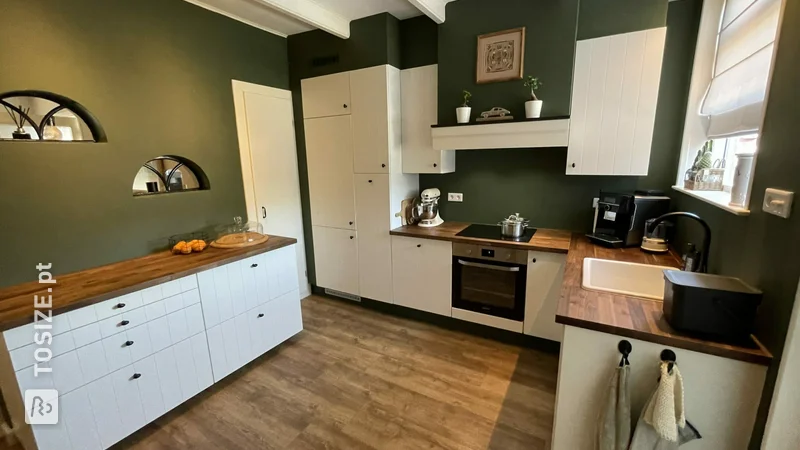
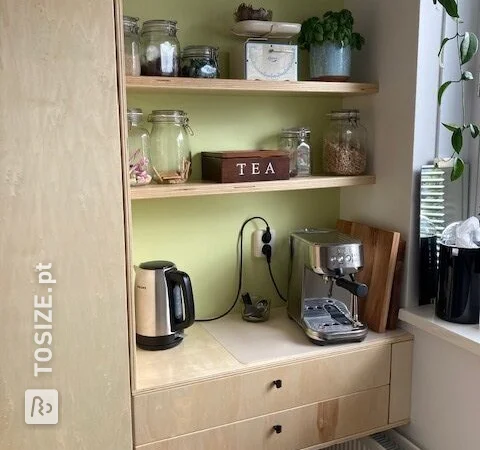
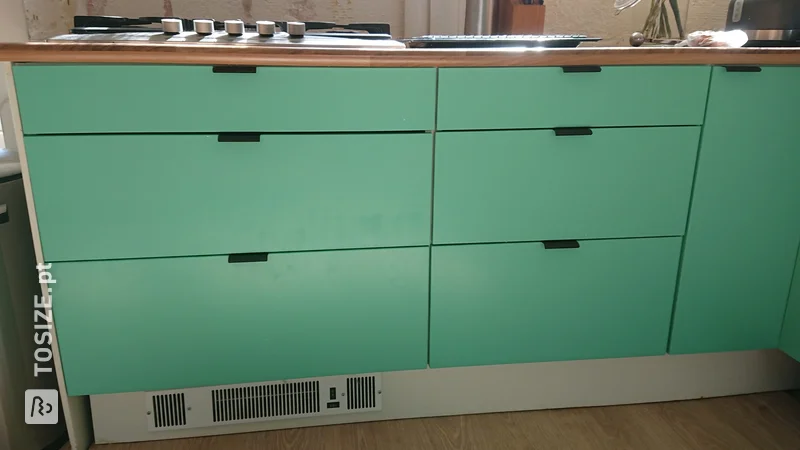
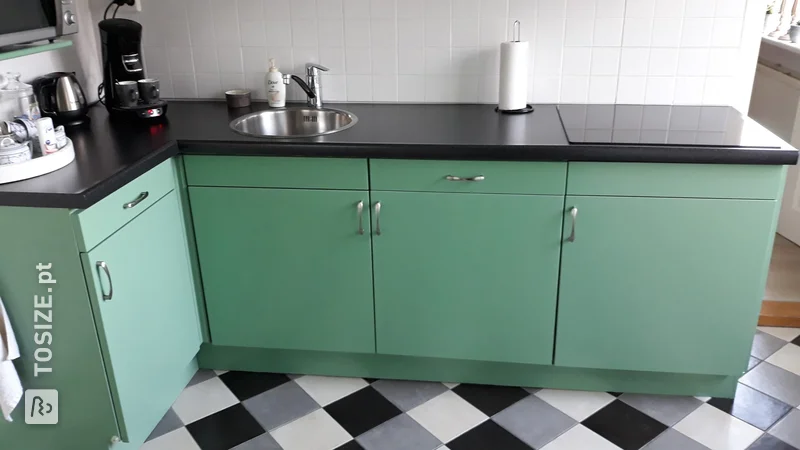
Laura has cleverly created a beautiful kitchen in her new home. Using the basis of an Ikea kitchen, she had 18mm birch plywood fronts cut to size. By calling in the help of a handyman, the difficult work is outsourced. The end result is beautiful!
Description by Laura
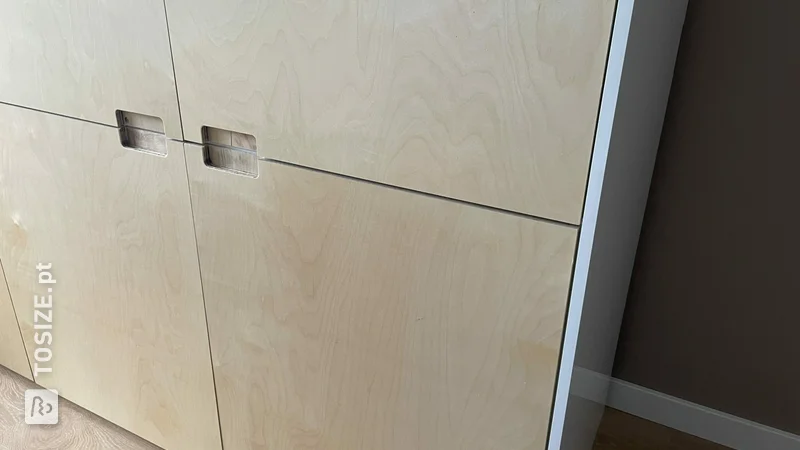
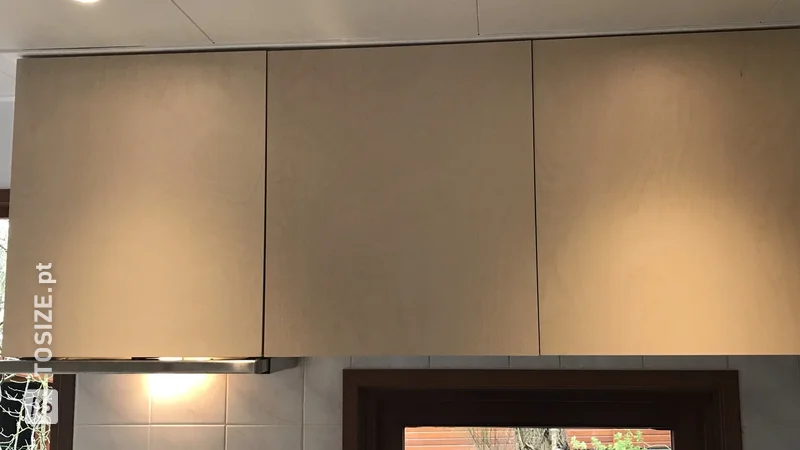
Kitchen doors for IKEA kitchen in Multiplex Birch 18 mm, concerns door for dishwasher, carousel, chest of drawers, sink cabinet, side panels and skirting boards. These were then sealed and painted in Flexa kitchen cabinet paint Saloon 7.
How I made this project
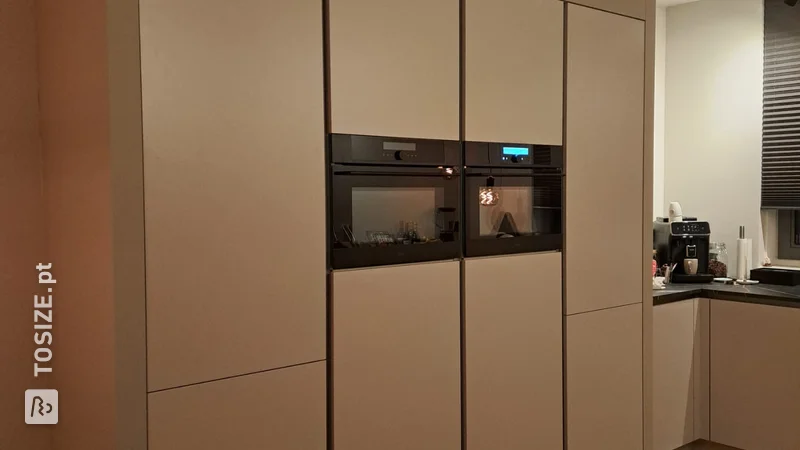
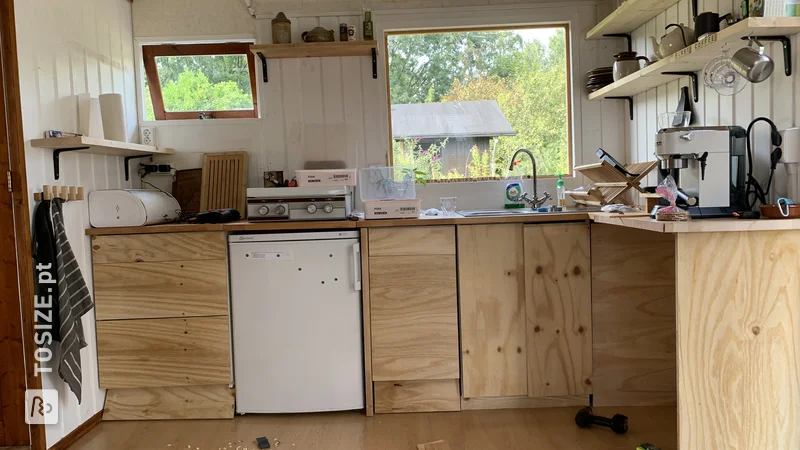
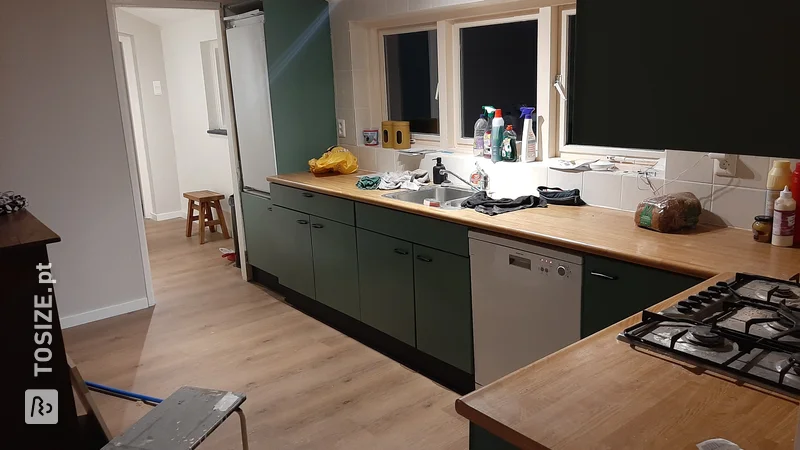
In order not to incur too many costs in my new rental home, I decided to order the base from IKEA and have the doors made by https://www.tosize.pt/en-pt/. These doors give the kitchen a much more robust appearance. Total price of entire kitchen, refrigerator, incl. plasterwork, rerouting gas pipe and handyman: +/- € 3,500 Base Dishwasher: IKEA (€ 299) Boretti stove: Marktplaats (€ 275) Extractor hood: Bol.com (€ 119) Corner cupboard carousel (frame, hinges and carousel): IKEA Sink cabinet: IKEA Chest of drawers: IKEA Feet and hanging rail: IKEA Doors from https://www.tosize.pt/en-pt/
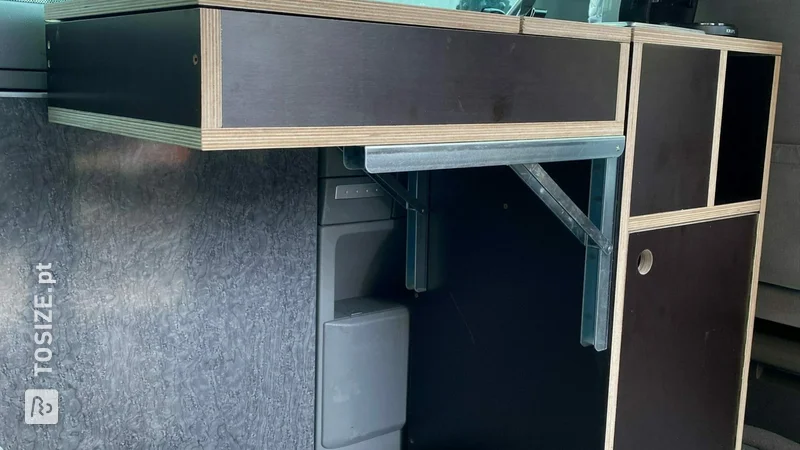
I measured all the dimensions of the doors at IKEA. I took pictures of the inside and hinges for my handyman so he knew exactly how to put it together. IKEA doors already have the right notches for the hinges. You can also use lay-flat hinges for a regular door. This is not possible for the doors for the carousel. You have to mill this. To make the right holes, I bought the carousel doors from IKEA so that we could make the holes ourselves. I returned the doors again. Tip: first place the base, measure all dimensions again and then order the parts from https://www.tosize.pt/en-pt/l.
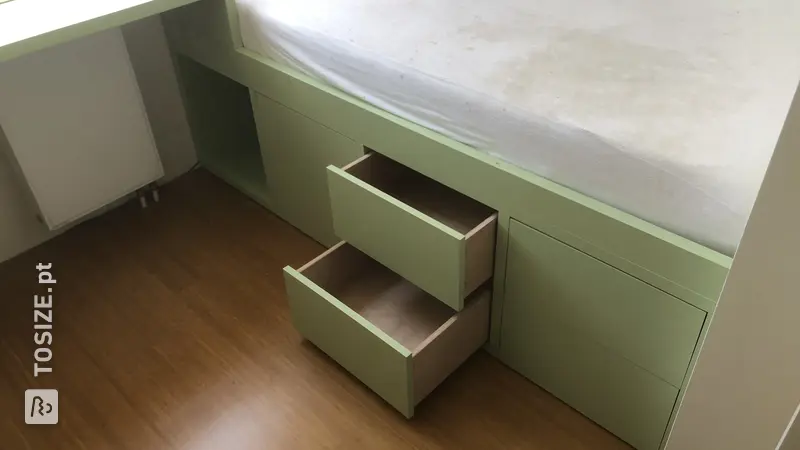
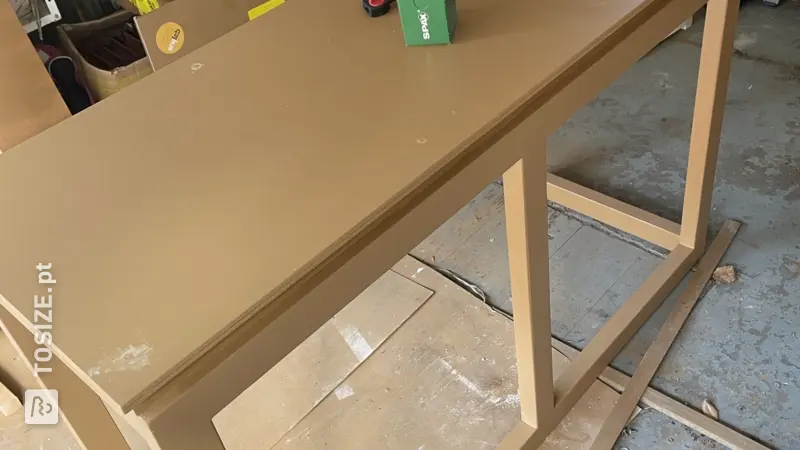
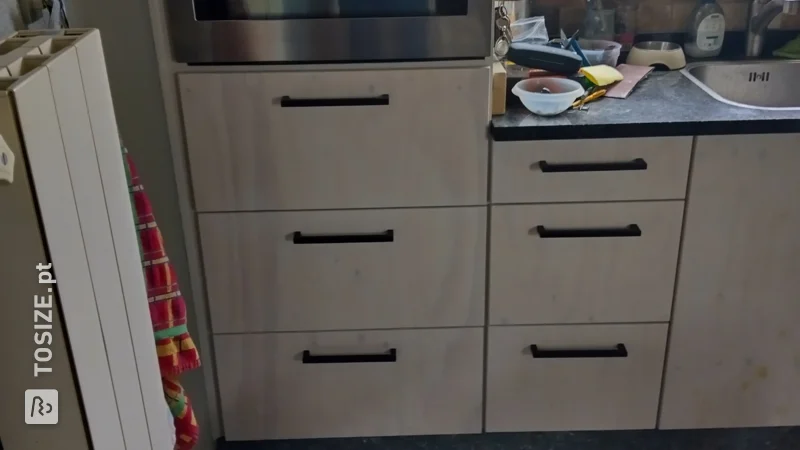
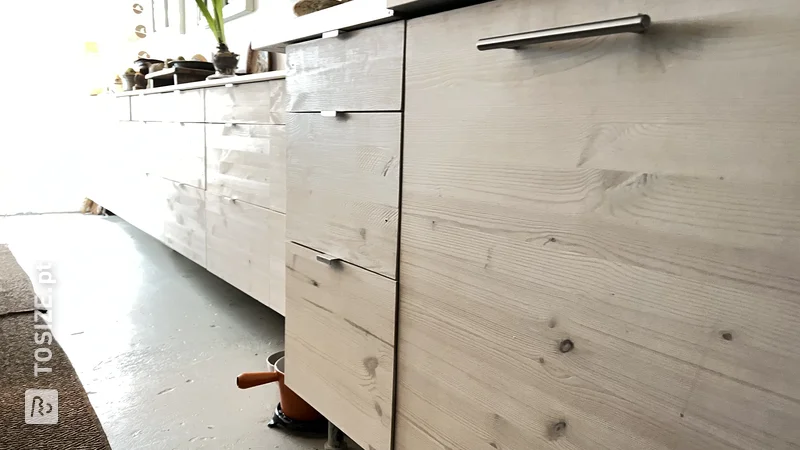
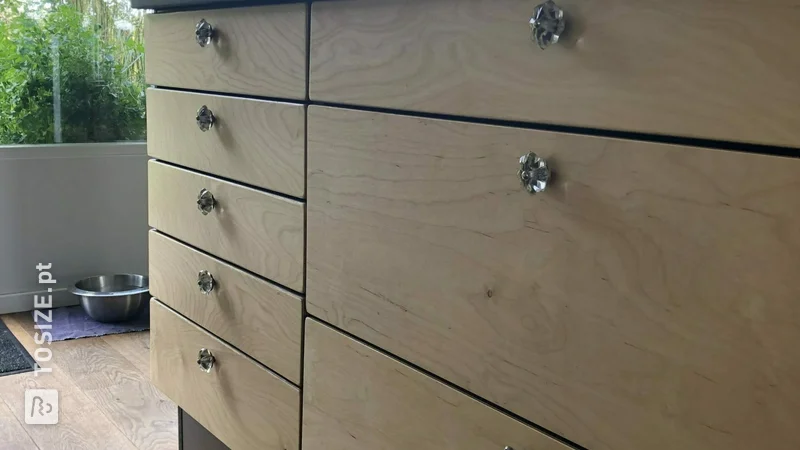
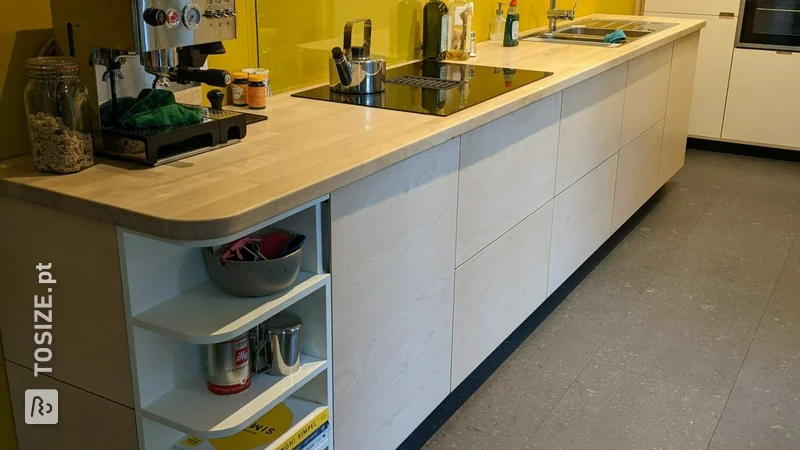
Doors https://www.tosize.pt/en-pt/ I have chosen for Plywood Birch in 18mm, 18mm is a standard thickness for kitchen doors and corresponds to the thickness of IKEA doors. Plywood Birch has a natural appearance and can easily be painted over. Door for chest of drawers, sink cabinet and dishwasher door - 3 pieces Birch plywood 18 mm per piece: € 50.54 Shape: Rectangle | 79.7 x 59.7 cm Finishes (both sides have a slight curve): Long side 1: Rounding at the top Radius: 4 mm Long side 2: Rounding at the top Radius: 4 mm Carousel doors – 2 pieces Plywood Birch 18 mm per piece: € 21.88 Shape: Rectangle | 79.7 x 25.6 cm Finishes: Long side 2: Rounding at top Radius: 4 mm Plywood Birch 18 mm Shape: Rectangle | 79.7 x 25.6 cm Finishes: Long side 1: Rounding at top Radius: 4 mm The doors for the carousel do not require rounding on both sides. One door on the left and the other door on the right. Side panel for along the wall - 2 pieces Plywood Birch 18 mm each: € 9.99 Shape: Rectangle | 100.0 x 10.0 cm Dishwasher side panels My dishwasher is on the side and next to the stove. This meant I needed two side panels. If your dishwasher will be placed between two normal cabinets, these are not necessary. I had these panels made longer, but in the end I needed an extra piece since it is positioned away from the wall. Plywood Birch 18 mm per piece: € 61.34 Shape: Rectangle | 100.0 x 61.4 cm Skirting boards Multiplex Birch 18 mm Multiplex Birch 18 mm per piece € 17.58 Shape: Rectangle | 160.0 x 11.0 cm 8 cm or 11 cm height, this depends on the length of the legs. Operation 1. My handyman made a tight grain in the average of the doors (from top to bottom) 2. I sanded the doors by hand 3. I first treated the edges of the doors 2 or 3 times with edge sealer (for wood) to prevent moisture from entering. 4. After this I painted the doors with Flexa kitchen cabinet paint in the color Saloon 7. You need just over 750 ml for this job. The paint is washable and ideal for the kitchen. 5. Place the handles on the door. 6. Attach the doors.
Other kitchen parts Handles: https://www.interieurbeslag.nl/industriele-knop-vierkant-zilver-antiek-binnen-en-buiten
Sink: Bol.com
Faucet: we still had it lying around
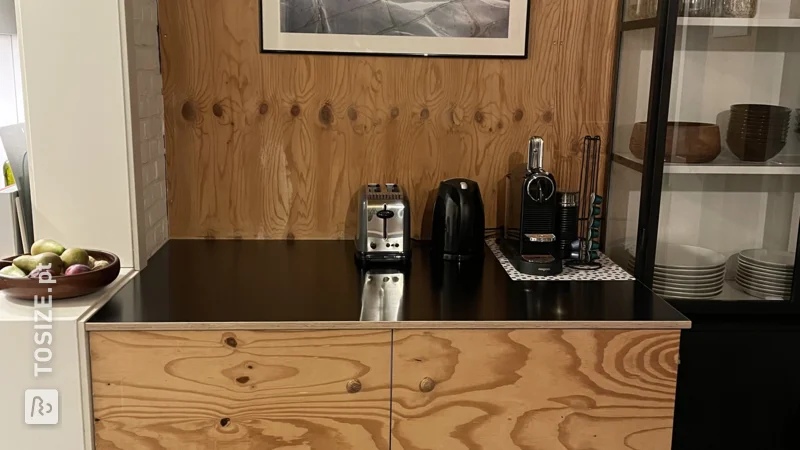
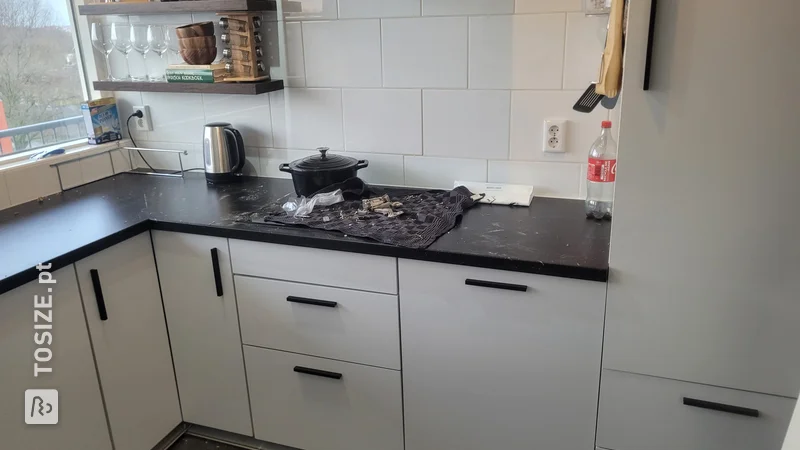
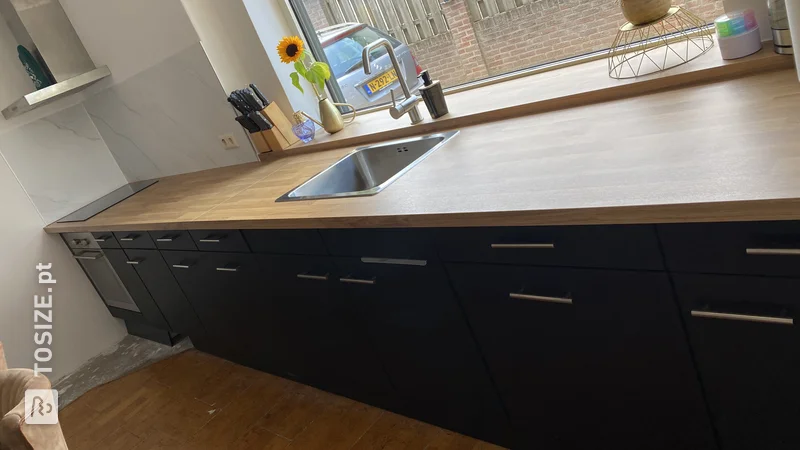
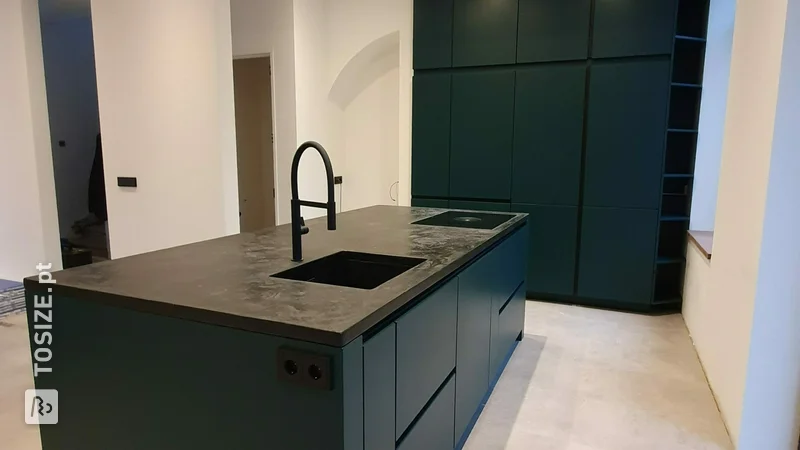
Kitchen top: Two sheets of MDF waterproof with 3 layers of concrete cire on top - there are several online web shops that supply this and it is (after watching some YouTube videos) very easy to do yourself. Beton cire is slightly more sensitive to stains. If you have stains on the top, treat it with HG natural stone color stain remover.
Tiles: these should actually go on the back of the wall, but I might leave it as is and only use the tiles as a plate for the coffee maker. to set up. Ordered via https://www.designtegels.nl/producten/marokkaanse-tegels/bejmat/bejmat-neige-blanc-m Fridge:
Haier 70cm width. purchased via Marktplaats for €400. Bought a new door for €160 due to... dent. New it costs €850. Difference between standard IKEA kitchen and this kitchen: €84 more. The costs of my handyman were €905. In addition to installing the kitchen, he had to do some extra work on plasterwork, cutting the hole for the extractor hood to size and fitting the extractor hood and rerouting the gas pipe. If you are handy and don't live in a crooked old house like me, you could already save these costs.
Dimensions of my DIY project
Differs per door and see description .
Tip! Also check out our handy DIY tips!
What now?
This is a project for inspiration. Because our assortment has changed, (some of) the products are no longer available.
View all sheet materials