- TOSIZE.pt
- Do it yourself
- DIY Projects
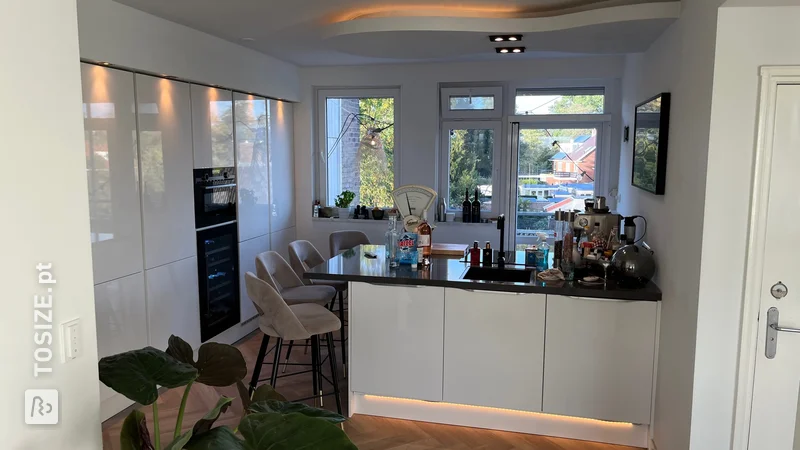
Make your own cove above a kitchen island, by Bas
Make your own cove above a kitchen island, by Bas
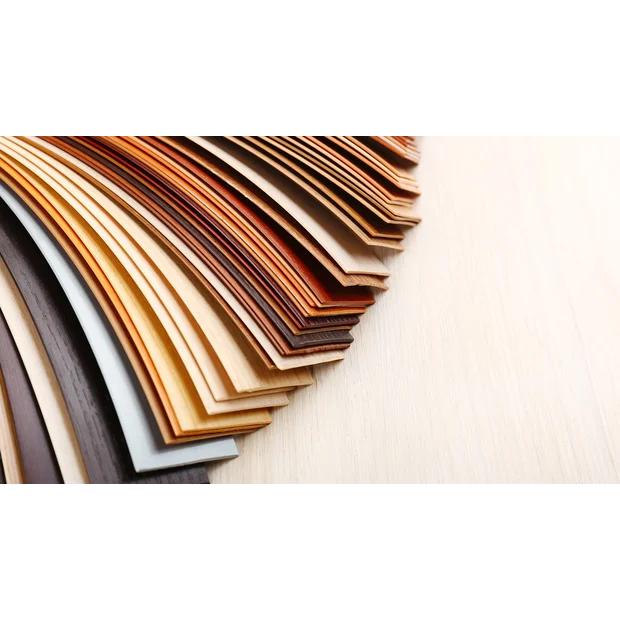
Create this project yourself with sheet material cut to size by TOSIZE.pt!
Above average
3 minutes
Description
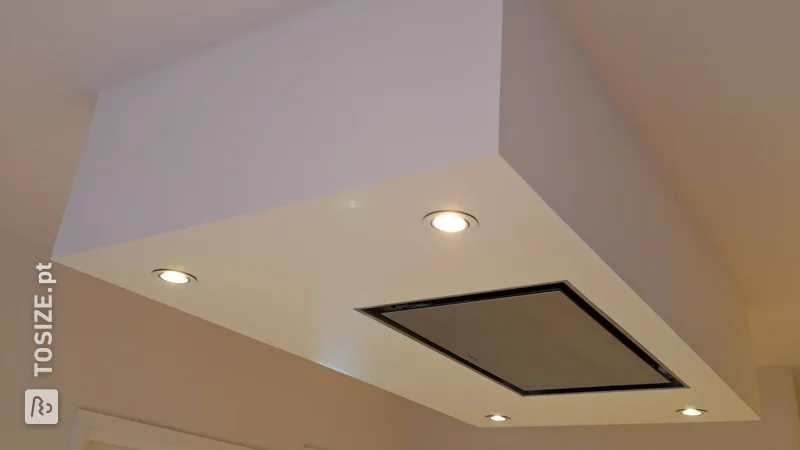
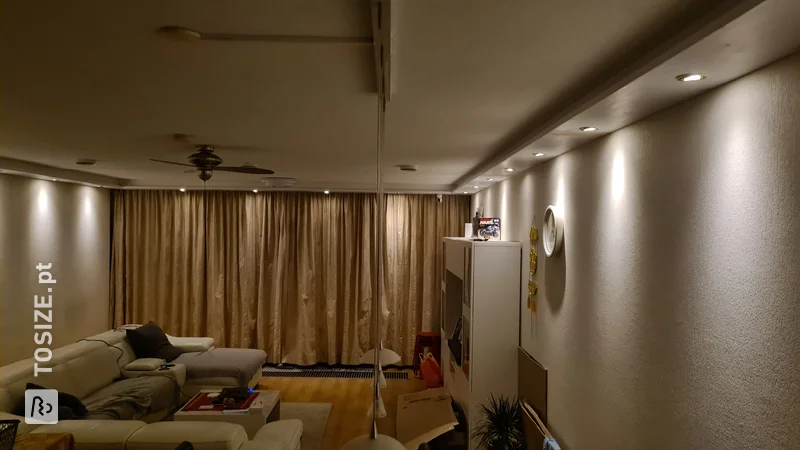
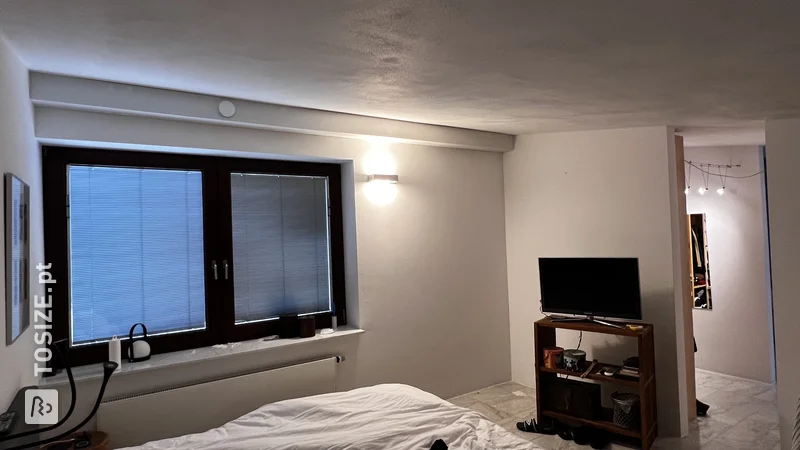
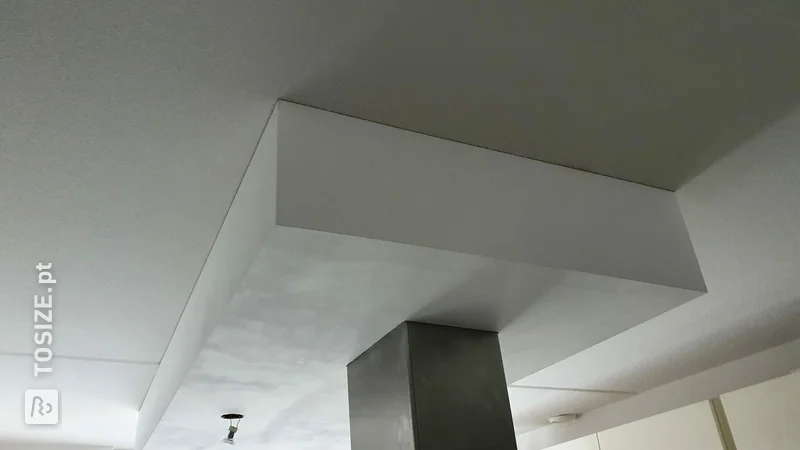
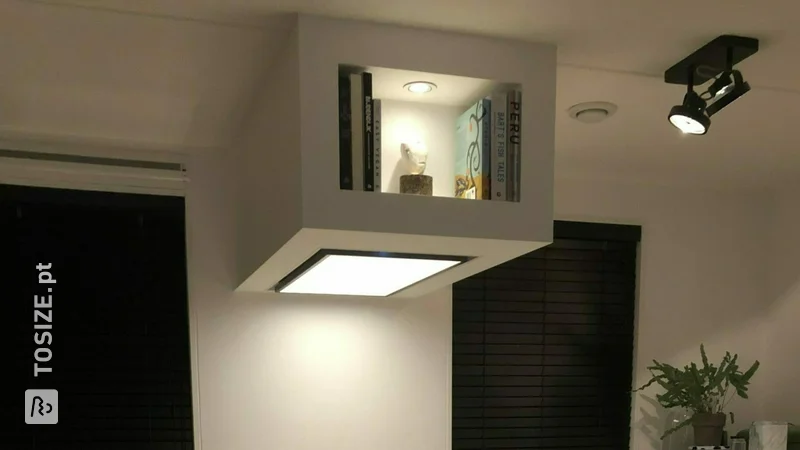
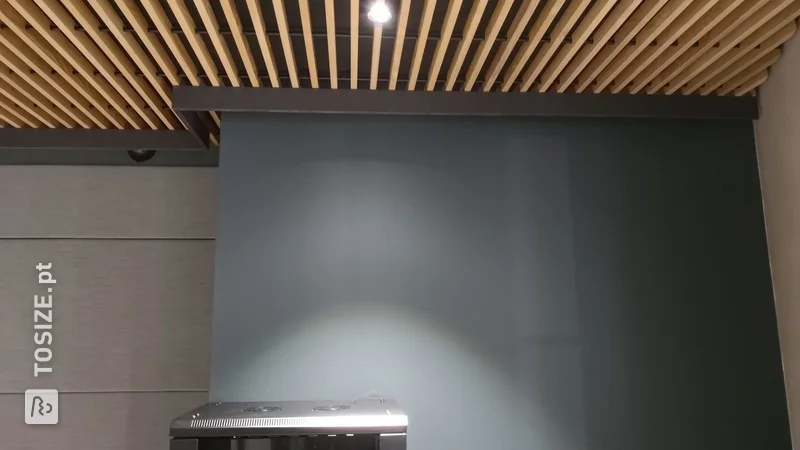
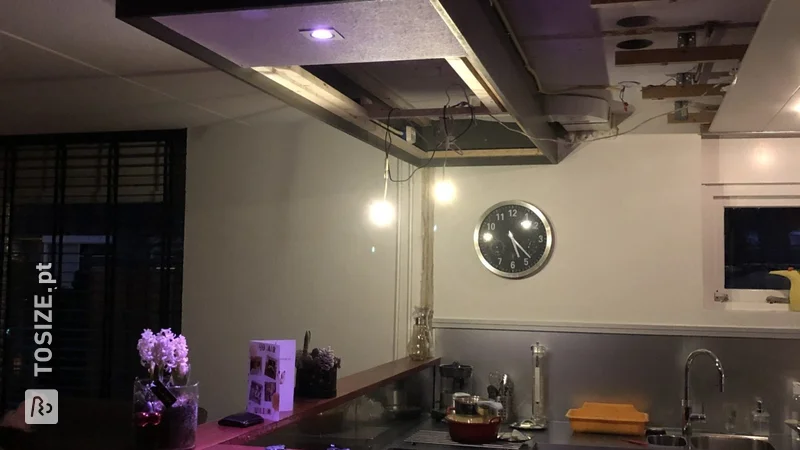
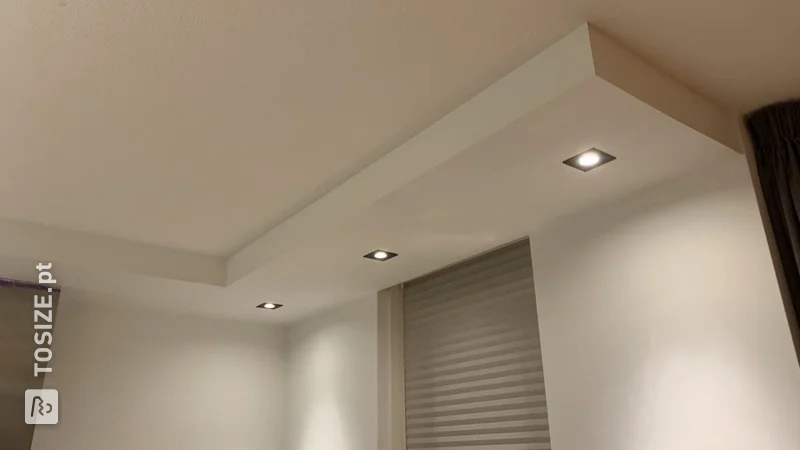
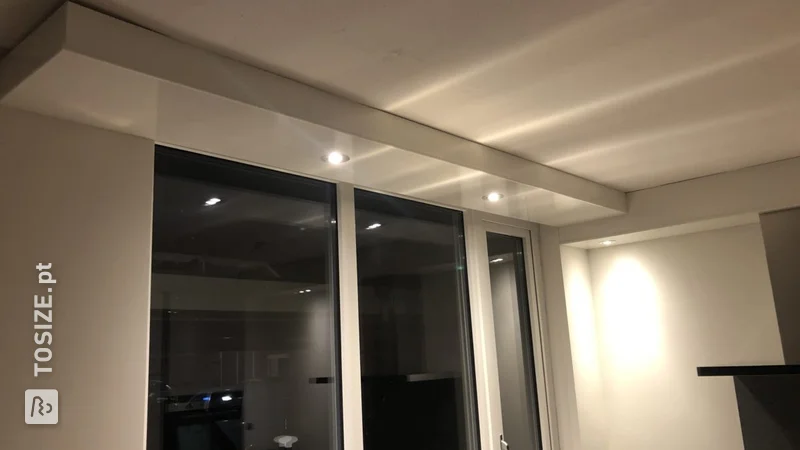
In this project I created a cove that hangs loosely from the ceiling. This is a bit more difficult than when it is attached to the wall on 1 or 2 sides. After carefully measuring and calculating, I ordered the custom sheet material from TOSIZE.pt
Work description: how did you realize your project
The Netherlands was just in lockdown due to Covid-19 outbreak. Handymen were up to their eyeballs in work and charged such ridiculously high prices. That made me decide to make the cove for above the kitchen island myself. Unfortunately, I did not find a comparable project in the inspiration corner of TOSIZE.pt, the projects for a cove or suspended ceiling were all projects in which the workpiece was attached to a wall.
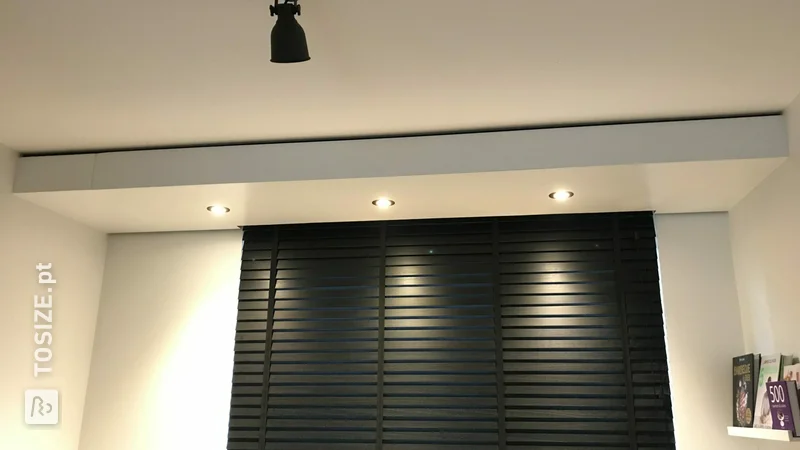
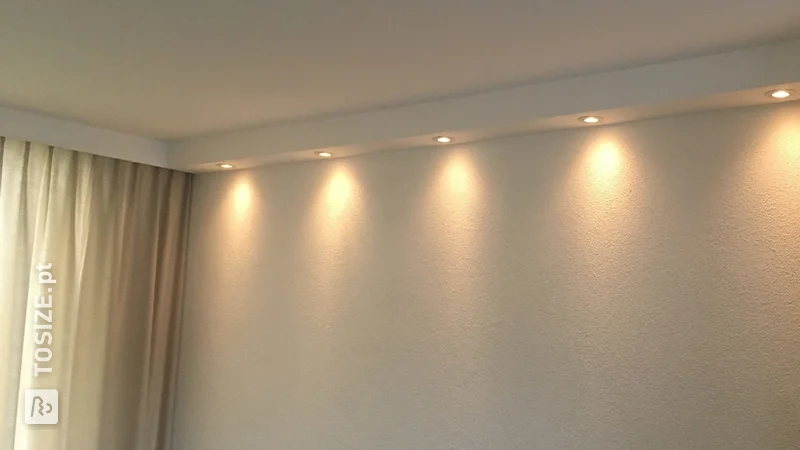
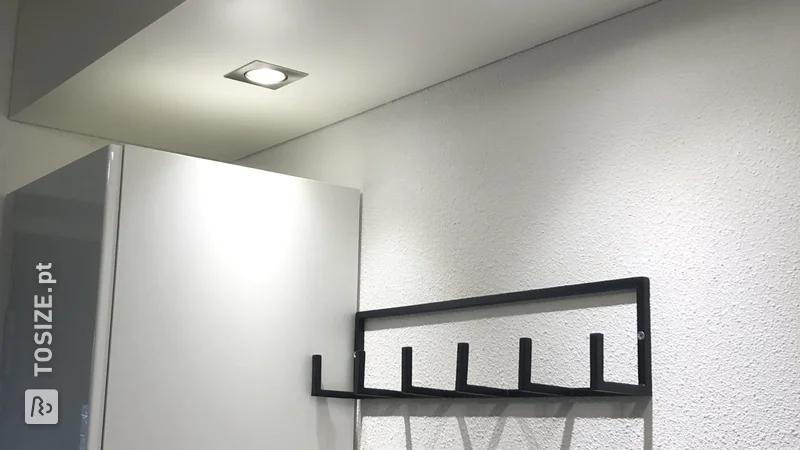
I started working with a few simple sketches and a few basic principles in terms of dimensions: The cove had to be 3.6 m by 1.2 m, at least 35.0 cm high so that the extraction unit fits in and there must be a few spotlights.
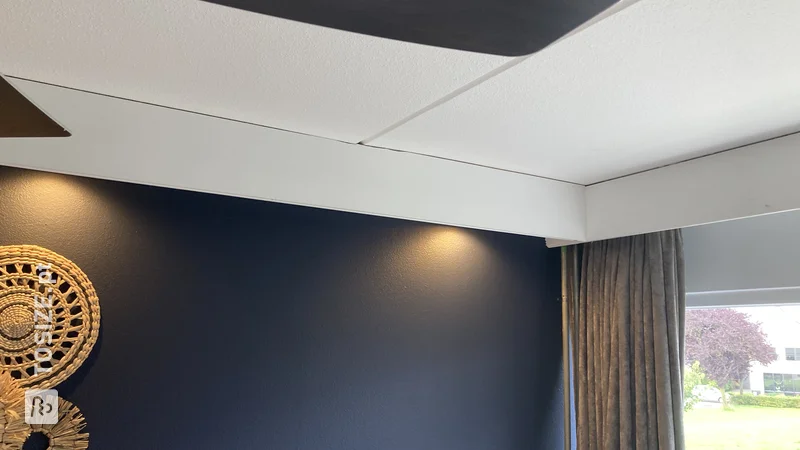
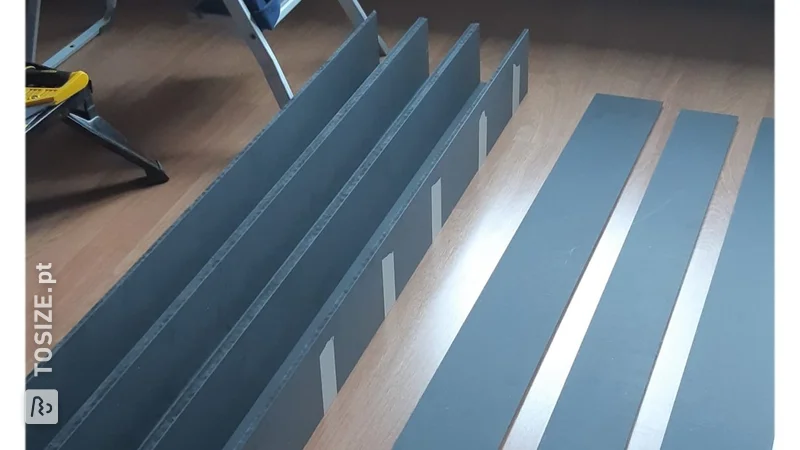
The blank MDF board material was delivered perfectly to size by TOSIZE.pt and with super tight (and sharp by the way, they were so tightly sawn) mitered edges. I sawed the 44x44 pine beams to size on site.
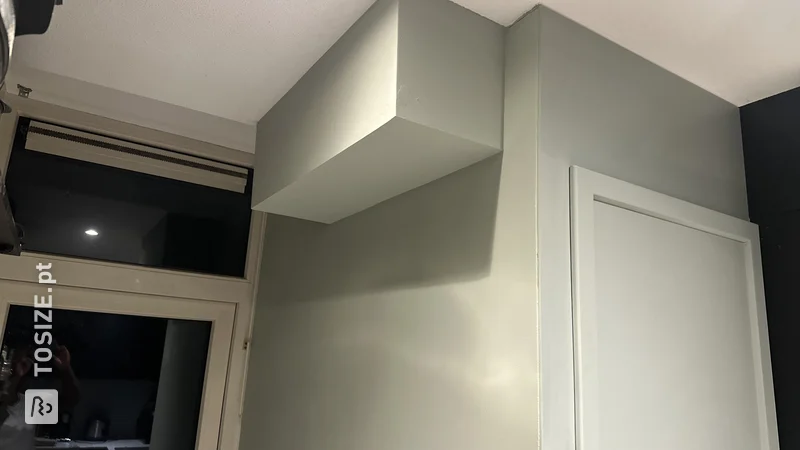
I first made the frame that is attached to the ceiling. In this frame I pre-drilled the holes where the ceiling will later be attached and then used this frame to mark the holes on the ceiling (2 men hold the frame, 1 mark).
Then it is frame was removed from the ceiling and the lower part of the frame was assembled. Small beams of 35-(4.4+4.4) were attached to this bottom part, because these beams come between 2 frames.
Finally, the entire frame is on the ground put together, screws for the ceiling already placed in the beams with a small point protruding. Then the whole thing was attached to the ceiling with the SPAX Torx chipboard screws. First insert all screws a little into the plug, then fully into the plug up to 1/2 cm and finally tighten all screws. I have a Makita impact screwdriver, this was really necessary to get that last 1/2 cm completely in.
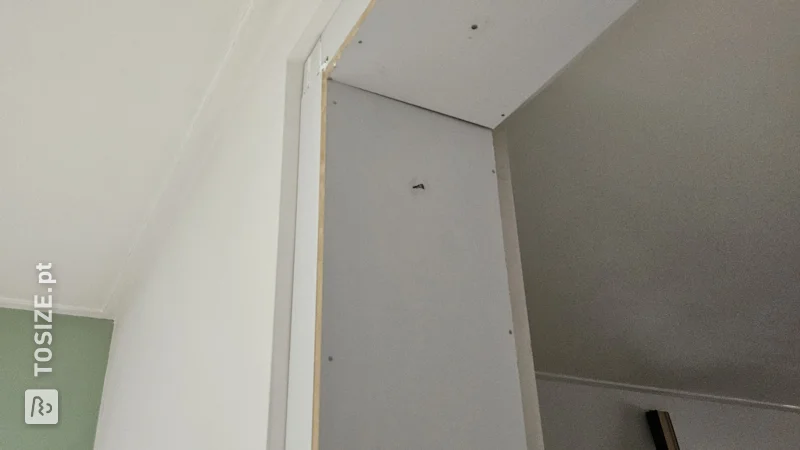
The frame is the most difficult job, because the sheet material was already perfectly sized and mitered so that they fit together nicely. Using the MDF sheet metal screws, securing the MDF sheets was very easy.
Finally, all holes and small cracks were filled shut. It remains a wood product of course and tightening the mounting screws on one side causes the workpiece to pull on the other side. After closing the holes, the cove is primed and then painted twice.
Note! I had to miter the short side of two 180x35 panels myself.
Final size: What are the outside dimensions?
The cove is 3.60m by 1.20m, the same size as the kitchen island it will hang above.
Tip! Also check out our handy DIY tips!
What now?
This is a project for inspiration. Because our assortment has changed, (some of) the products are no longer available.
View all sheet materials