- TOSIZE.pt
- Do it yourself
- DIY Projects
Wall cabinet for the office: lots of storage space! By René
Wall cabinet for the office: lots of storage space! By René
Create this project yourself with sheet material cut to size by TOSIZE.pt!
Average
2 minutes
Description
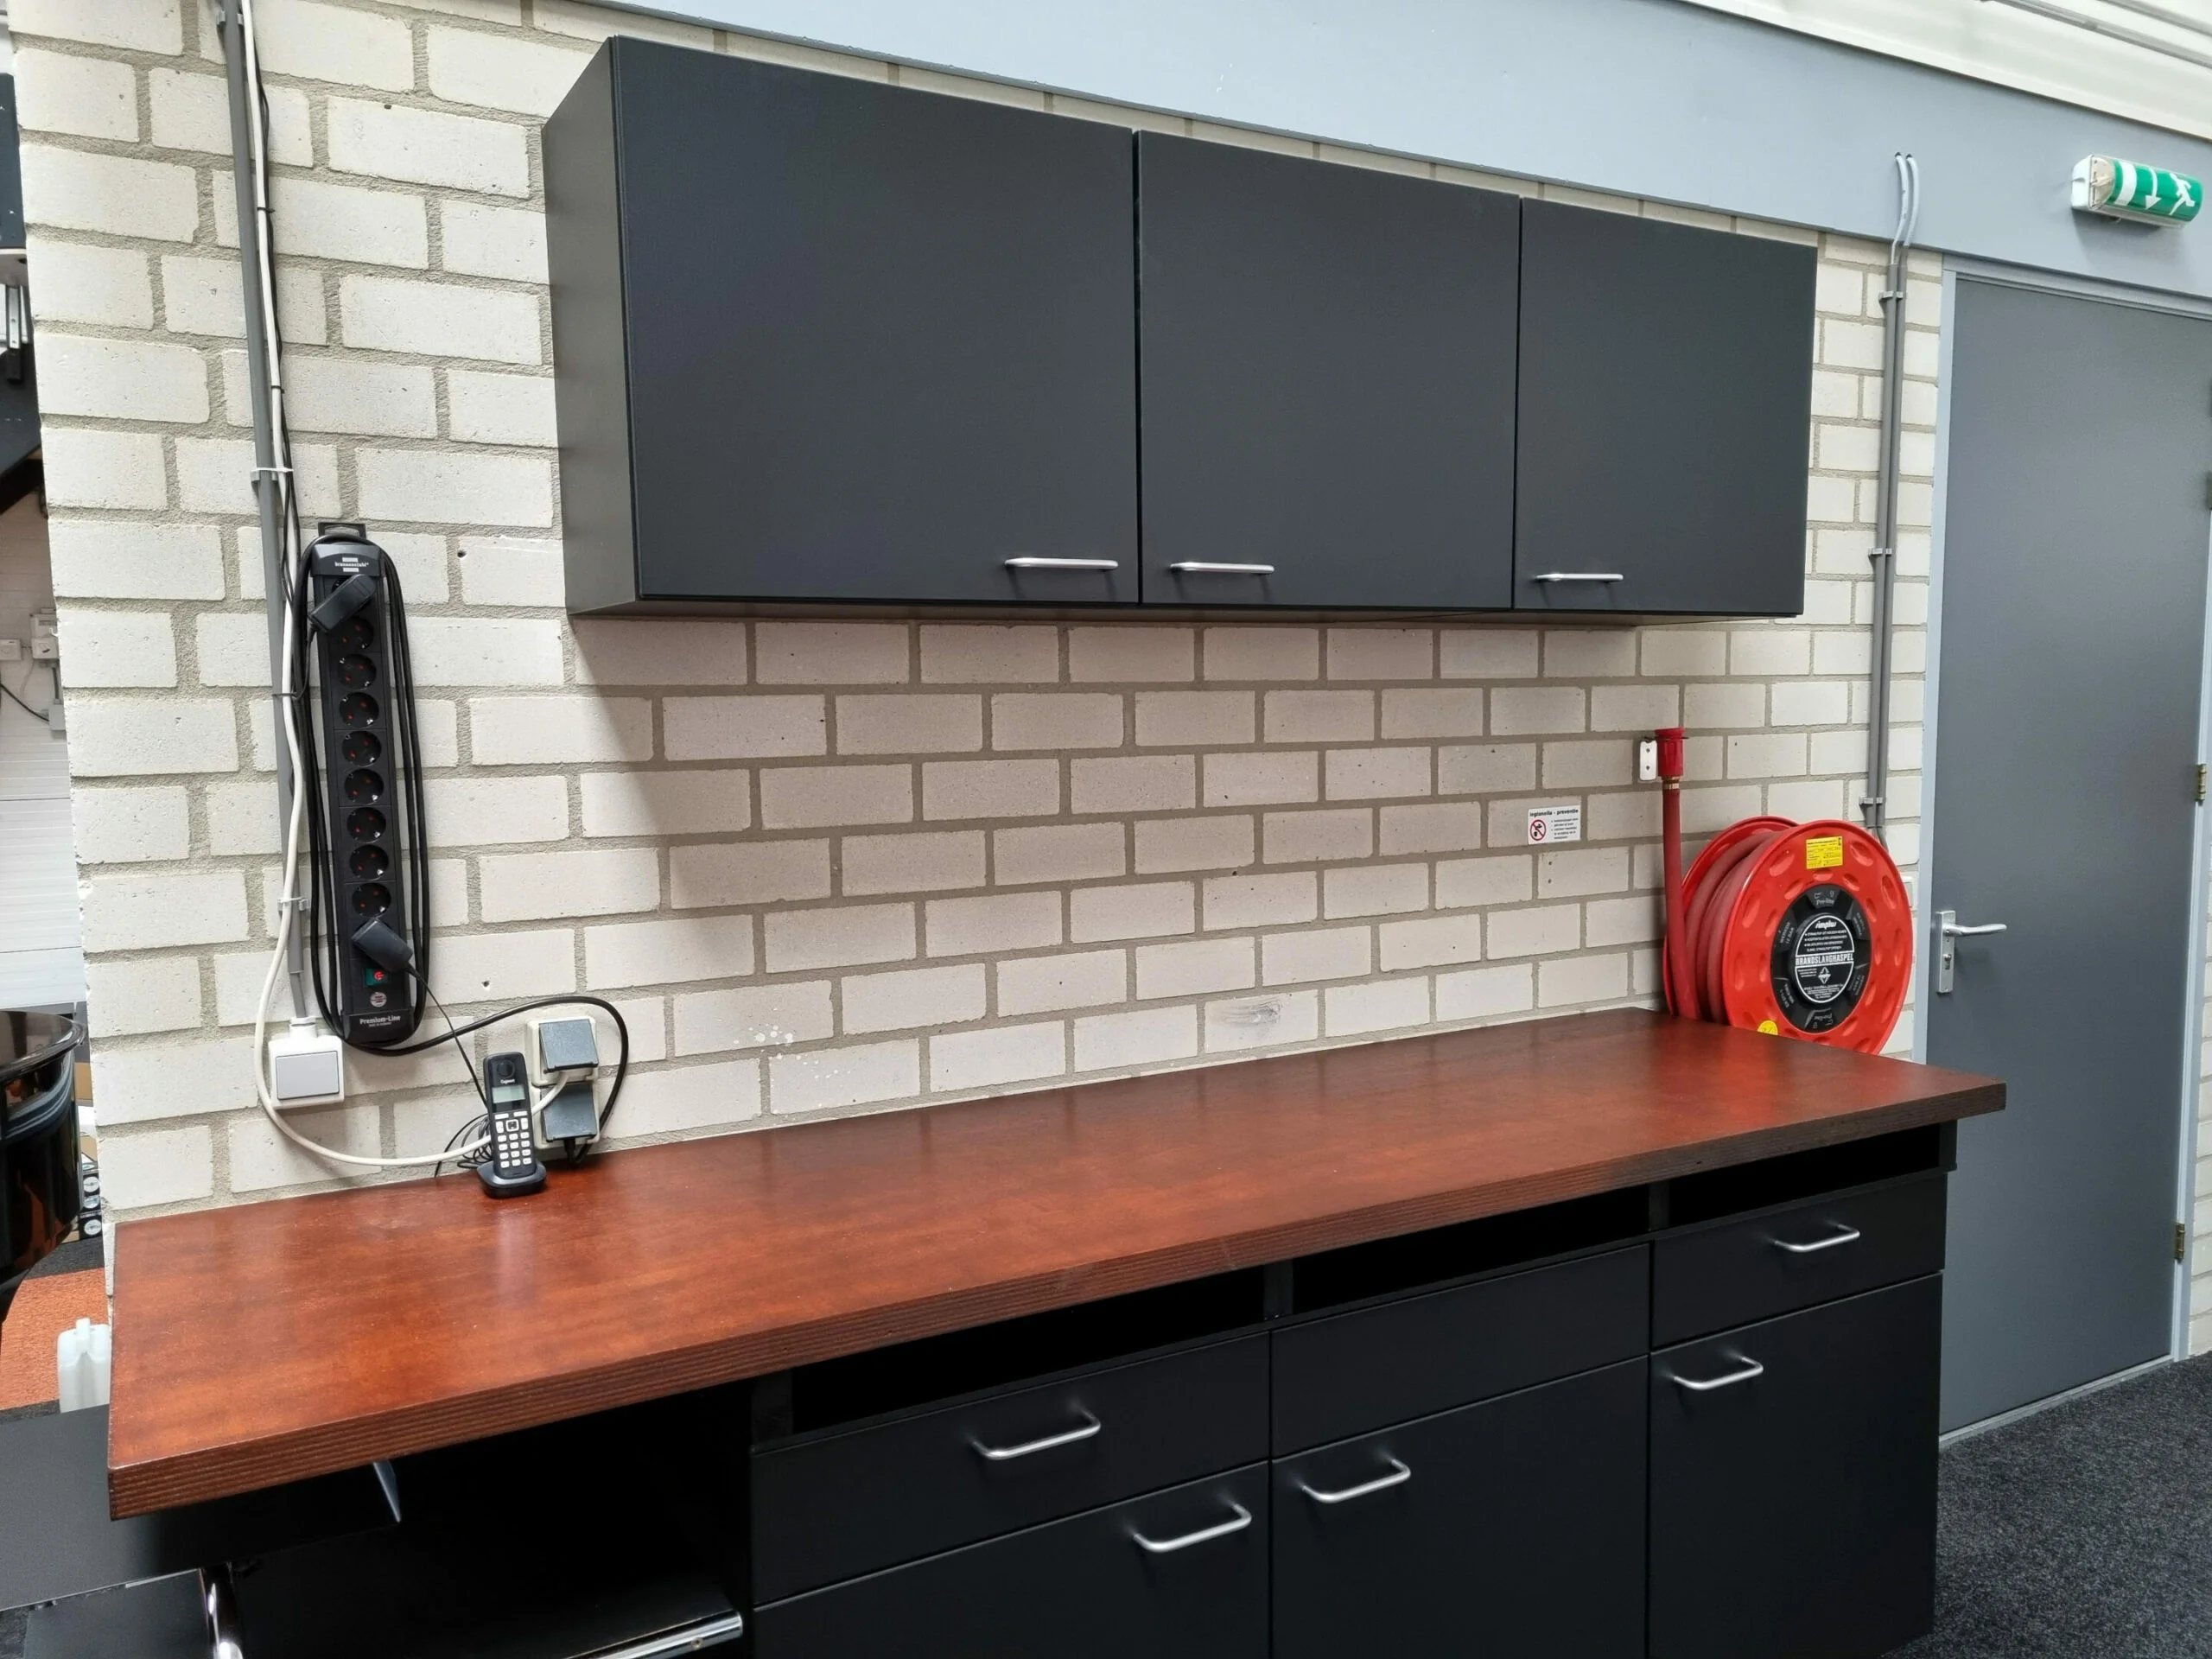
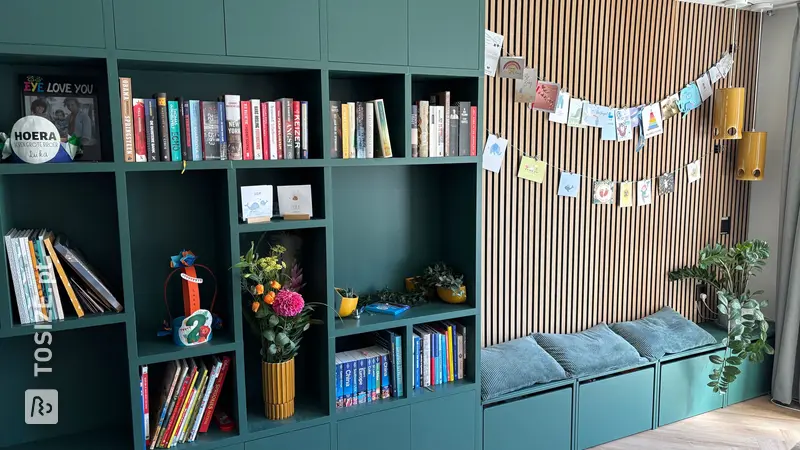
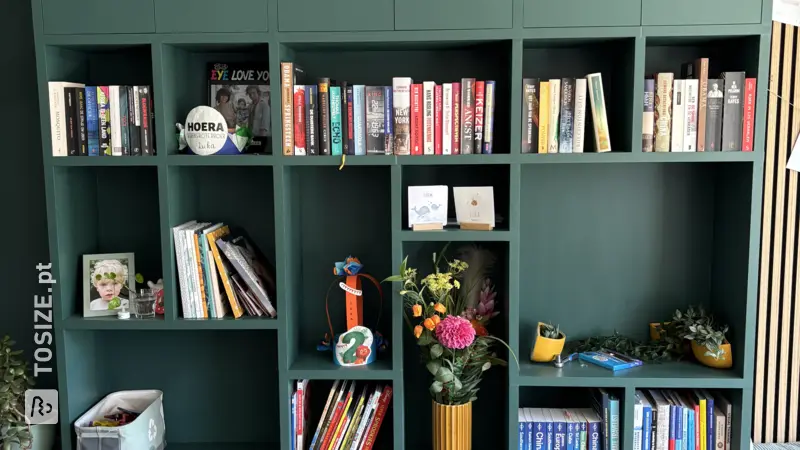
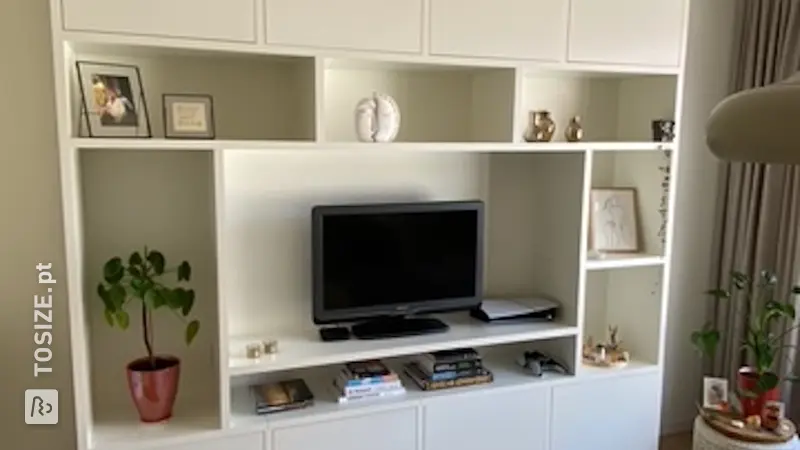
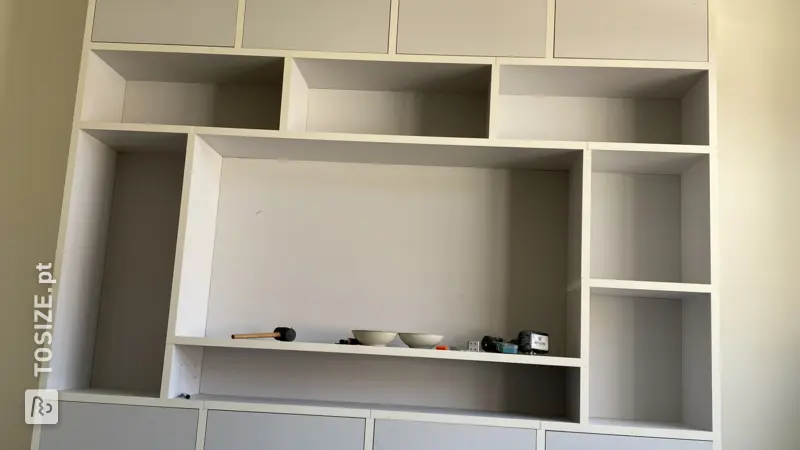
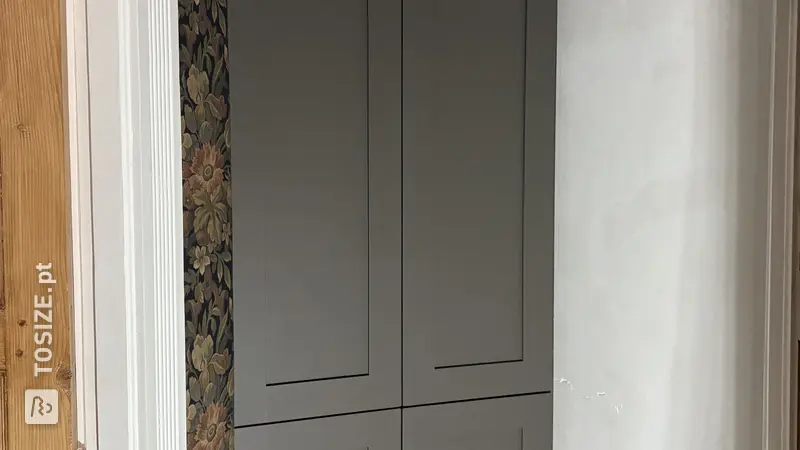
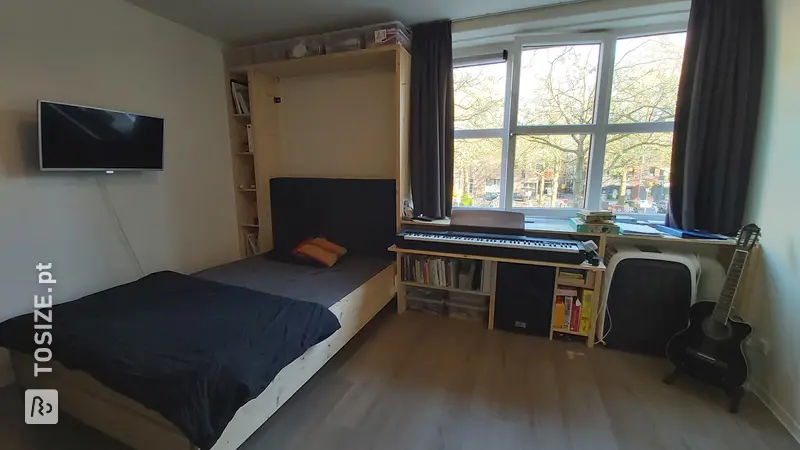
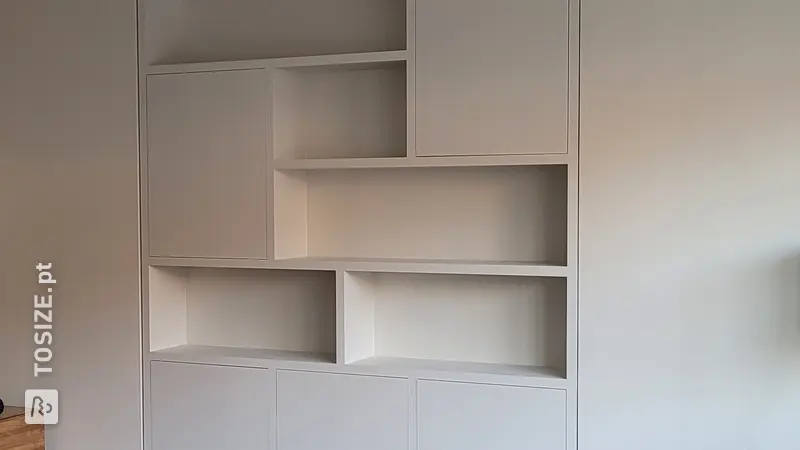
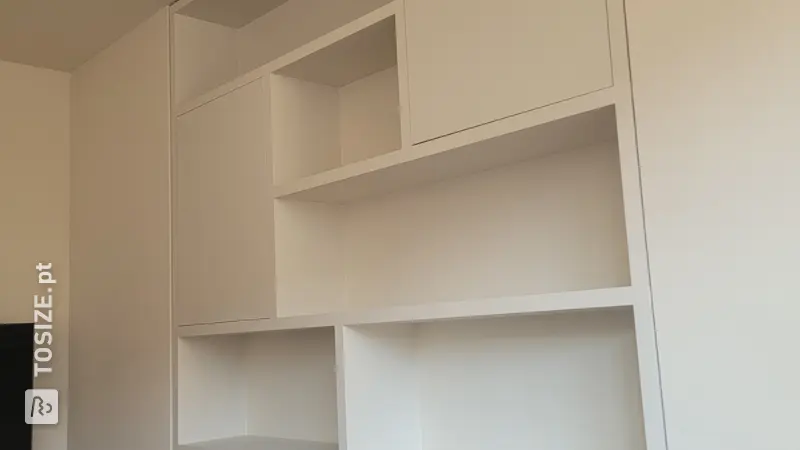
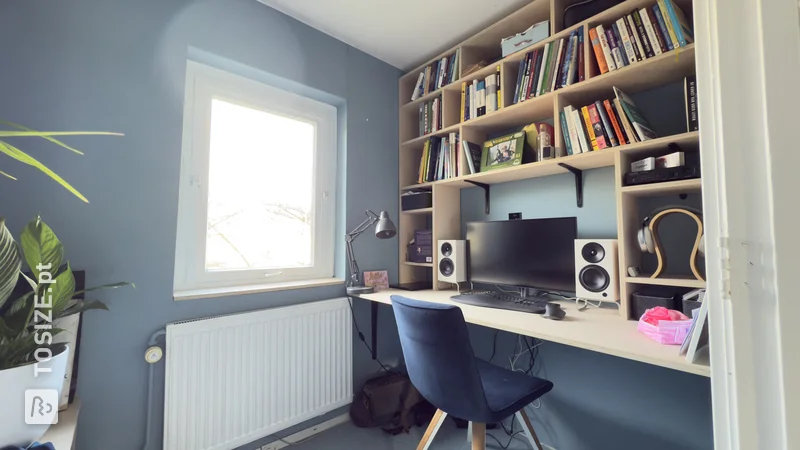
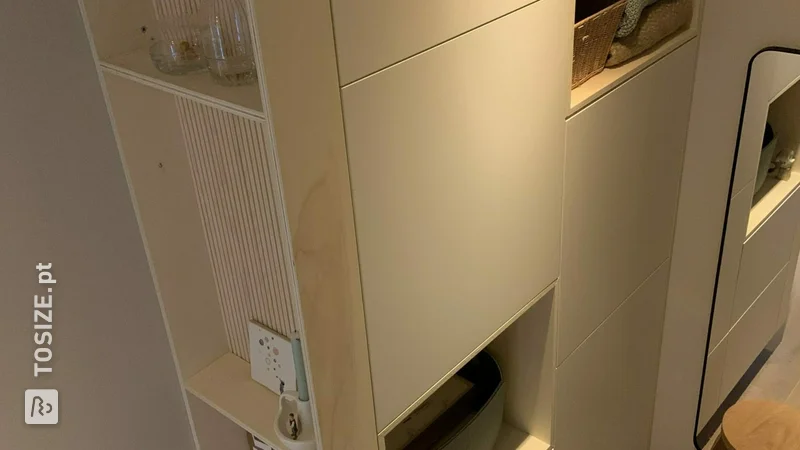
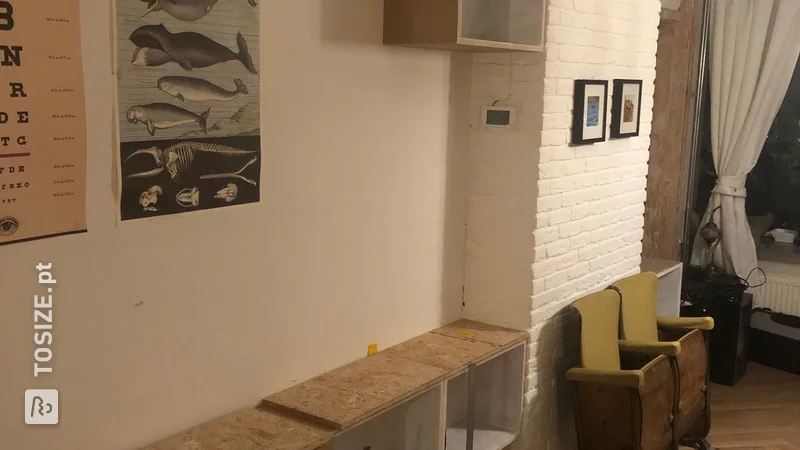
Upper cabinet for above a desk in the office space. This is made to fit into a niche. There is a hole pattern on the inside so that the height of the shelf beams can be adjusted.
Top cupboard in a niche
1. I made a drawing in which I divided the width over which the top cabinet should be located into 3 separate cabinets. This was to make mounting easier (otherwise the cabinet could not climb the stairs and would become too heavy to hang conveniently).
2. Put together a shopping list and then ordered wood and furniture fittings.
3. Then made all the holes in the panels, such as the holes for the shelf holders and the furniture hinges.
4. End edges that are visible, sanded, primed with MDF, sanded again, and primed again with MDF.
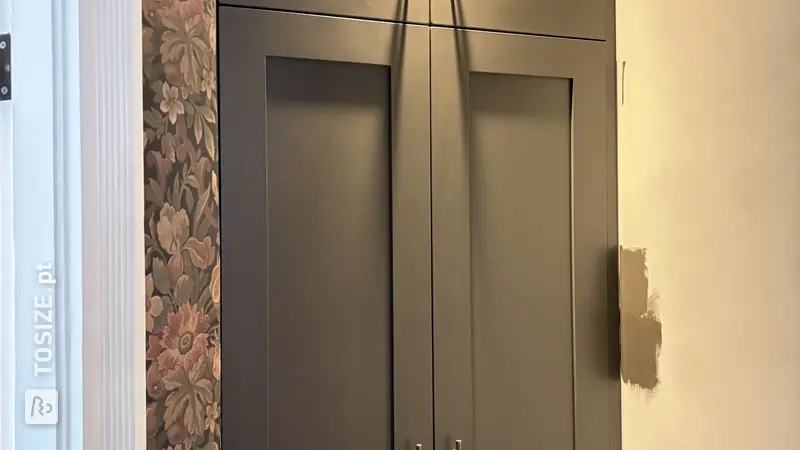
5. All visible ends are rounded with the router (radius 2mm). Also given are the doors around the rounded edges.
6. Completely glued and screwed together (not the door fittings screwed on).
7. Everything painted twice.
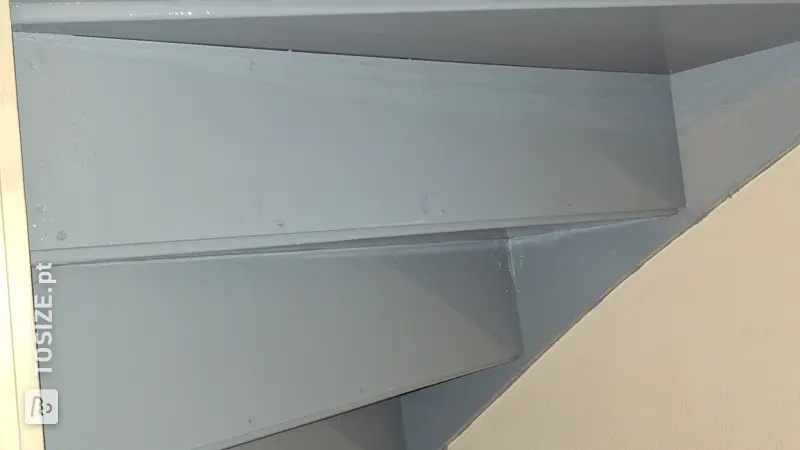
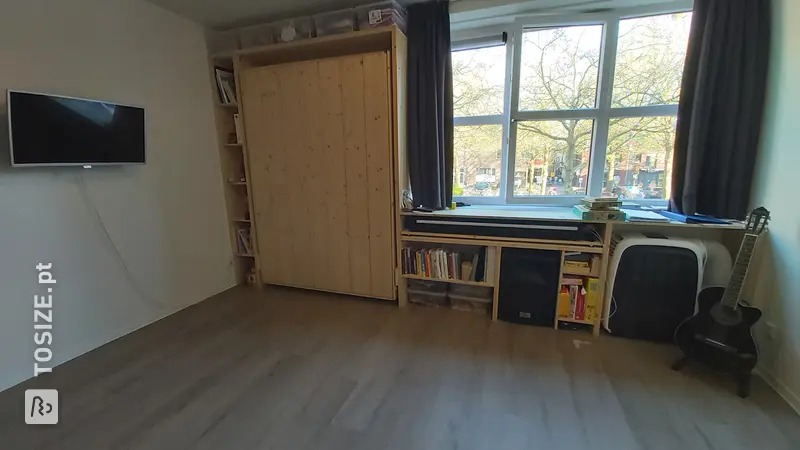
8. Hanging cupboards. This is done by screwing a long slat against the wall (top of the slat 15cm from the ceiling). Then also mounted a slat on the back of each cupboard (bottom slat 15cm from the top of the cupboard). This allowed the cabinets to be hung on the slat on the wall, and the cabinets all hang neatly at the same height. Then the cabinets were screwed to the wooden slat on the wall.
9. Doors assembled and door dampers glued.
TIP: do not reverse steps 4 and 5.
The dimensions of the cabinet
253.0x100.0x43 .0cm (L x H x D)
Tip! Also check out our handy DIY tips!
What now?
This is a project for inspiration. Because our assortment has changed, (some of) the products are no longer available.
View all sheet materials